There’s something exciting about wearing a shirt that no one else has — especially when you’ve made it yourself. Thanks to Cricut, you can create professional-looking t-shirts at home using iron-on vinyl. Whether you’re personalizing gifts, making shirts for an event, or even starting a small t-shirt business, Cricut makes it easy to get crisp, long-lasting designs.
This guide will walk you through everything you need to know about making a DIY iron-on shirt with Cricut, starting with the essential tools, the main step-by-step tutorial, and then 10 creative ideas with their own mini tutorials to inspire your next project.
Materials and Tools You’ll Need
Tools:
- Cricut machine (Maker, Explore, or Joy)
- Cricut Design Space software
- Standard Grip mat
- Weeding tool set
- Heat press (Cricut EasyPress recommended) or household iron
Materials:
- Heat Transfer Vinyl (HTV) in your chosen colors/finishes
- Blank shirt (cotton, cotton blend, or polyester)
- Teflon sheet or parchment paper
- Lint roller
- Optional: heat-resistant tape, pressing mat
How to Make a DIY Iron-On Shirt with Cricut
Step 1: Design in Cricut Design Space
- Create or upload your design.
- Size it based on the shirt (adult shirts: 8–11 inches wide; kids’ shirts: 6–7 inches).
Step 2: Mirror the Design
Always mirror for iron-on vinyl, or your design will transfer backward.
Step 3: Cut the Vinyl
- Place vinyl shiny side down on the mat.
- Select correct cut settings and let Cricut cut.
Step 4: Weed the Vinyl
Remove all unwanted vinyl pieces, leaving only your design.
Step 5: Prep the Shirt
- Wash/dry the shirt (no fabric softener).
- Preheat for 5–10 seconds to remove wrinkles and moisture.
Step 6: Apply the Design
- Place the vinyl on the shirt (shiny side up).
- Cover with Teflon sheet.
- Heat press at 315–340°F for 15–30 seconds.
Step 7: Peel the Carrier Sheet
Follow warm or cool peel instructions depending on the vinyl type.
Now that you know the process, let’s turn to the fun part: creative shirt ideas with mini tutorials.
10 Detailed Quick Tutorials for DIY Iron-On Shirts with Cricut
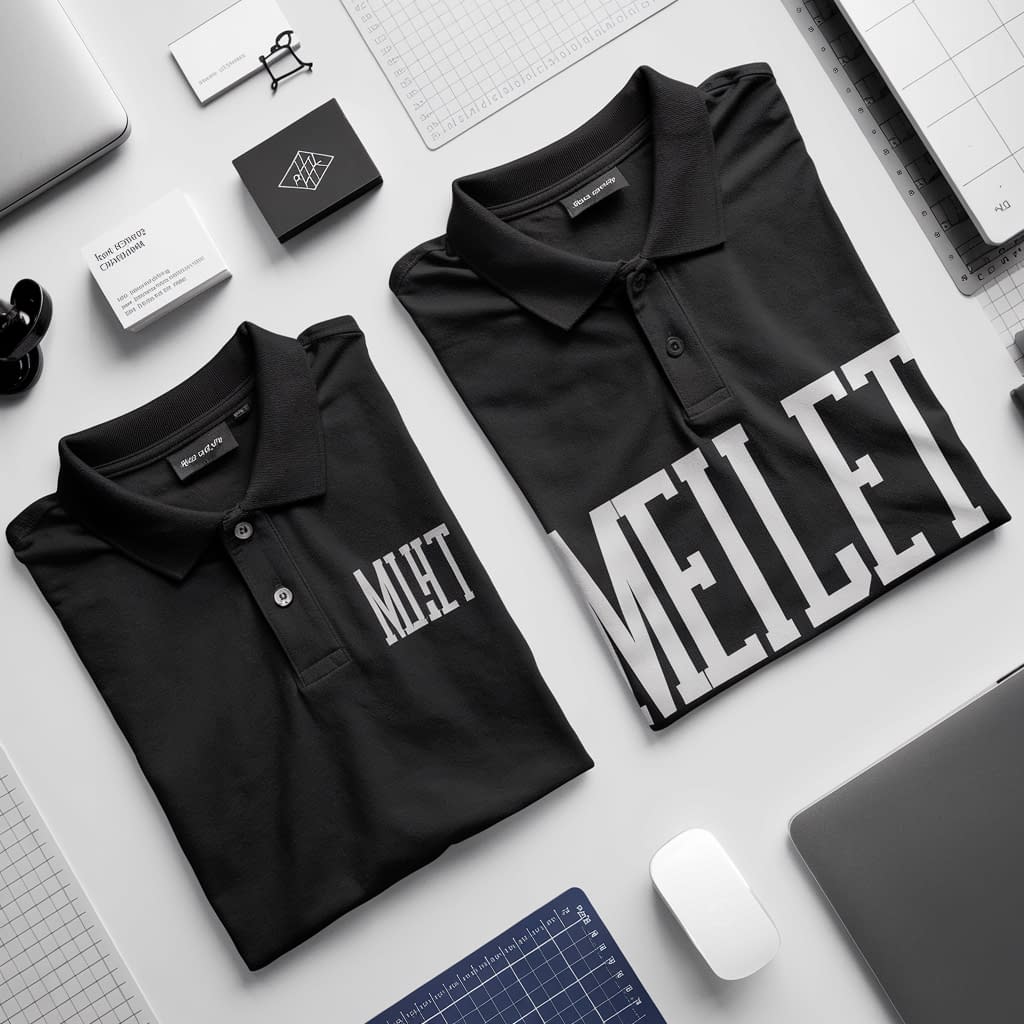
1. Personalized Name Shirts
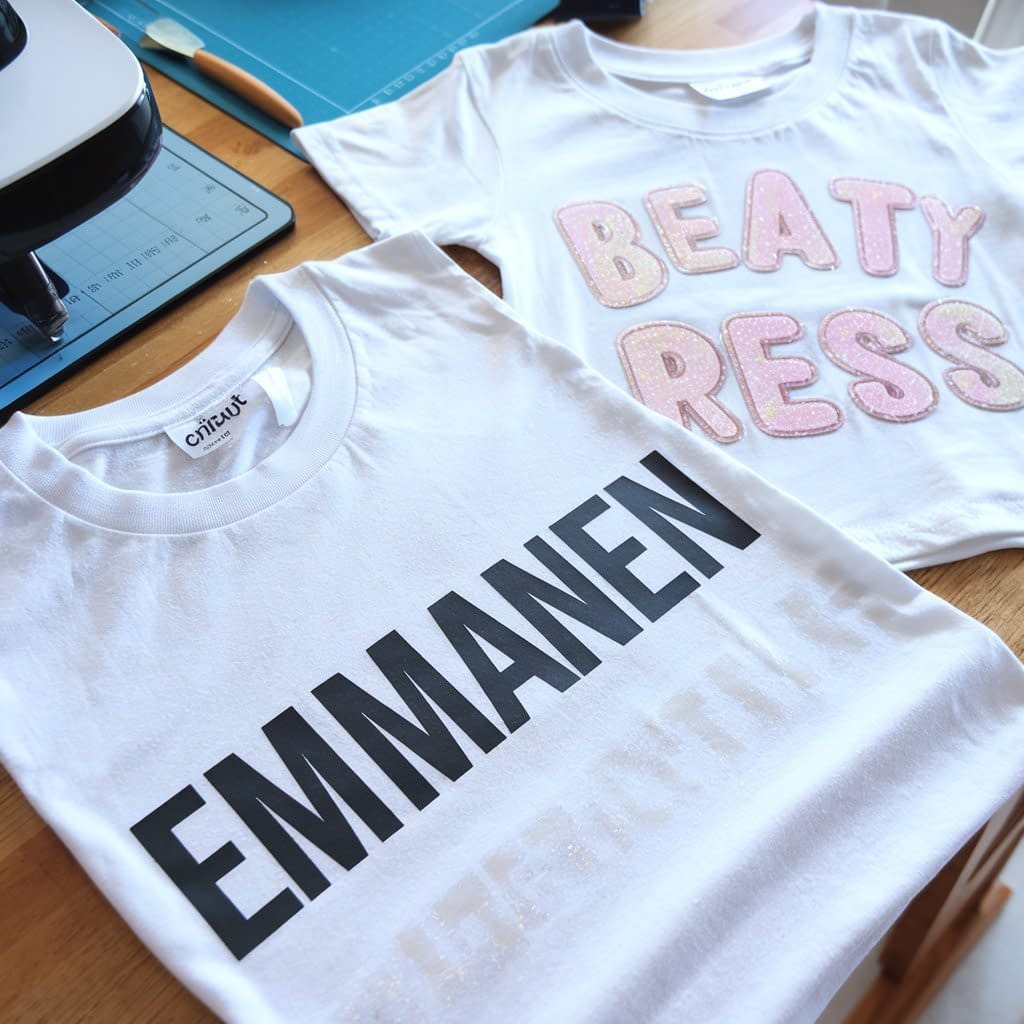
Nothing says “custom” like a name shirt, and with Cricut, it’s one of the easiest projects to start with.
Step 1: Design in Cricut Design Space
- Open a blank canvas and type the name in your chosen font.
- For kids, playful script or bubble fonts work well. For adults, bold sans-serif or cursive styles look polished.
Step 2: Choose Vinyl
- Everyday Iron-On is best, but glitter vinyl adds fun for kids. Metallic works beautifully for adults.
Step 3: Cut and Weed
- Size the design (typically 8–10 inches wide for adults, 6–7 for kids).
- Mirror the image and cut on shiny side down. Weed carefully, especially if using script fonts.
Step 4: Placement and Press
- Center the name across the chest, or place a smaller version over the pocket area.
- Use 315–340°F for 15–30 seconds with a Teflon sheet.
Extra Idea: Pair the name with a small icon, like a crown, star, or heart, to make it feel even more unique. These shirts are perfect for birthdays, family reunions, or team events.
2. Quote or Slogan Tees
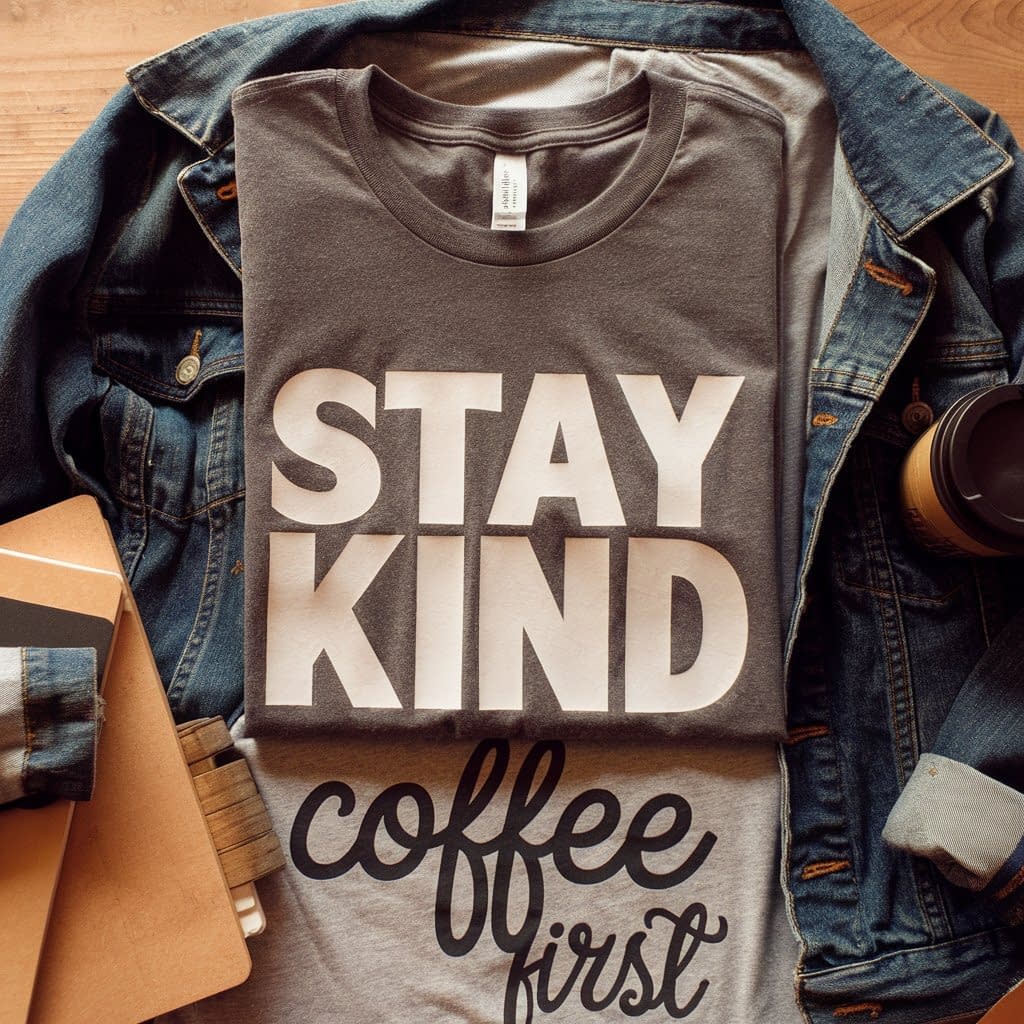
A simple phrase can make a big impact — whether it’s motivational, funny, or just stylish.
Step 1: Create the Quote
- Use Cricut Design Space to type your phrase.
- Keep it short: “Dream Big,” “Coffee First,” or “Stay Kind.” Long text works better stacked.
Step 2: Font and Layout
- Use clean, easy-to-read fonts. Bold sans-serif makes powerful statements, while script adds elegance.
- Experiment with stacking words or placing them diagonally.
Step 3: Choose Vinyl
- High-contrast colors (black on white shirts, white on dark shirts) give the best readability.
- For fashion-forward looks, try matte or holographic finishes.
Step 4: Cut, Weed, and Press
- Mirror, cut, and weed.
- Position in the chest center or slightly higher for a trendy look. Press at standard settings.
Styling Tip: Pair with jeans and a denim jacket for a casual outfit. Quote tees also make excellent gifts for friends who have catchphrases or personal mottos.
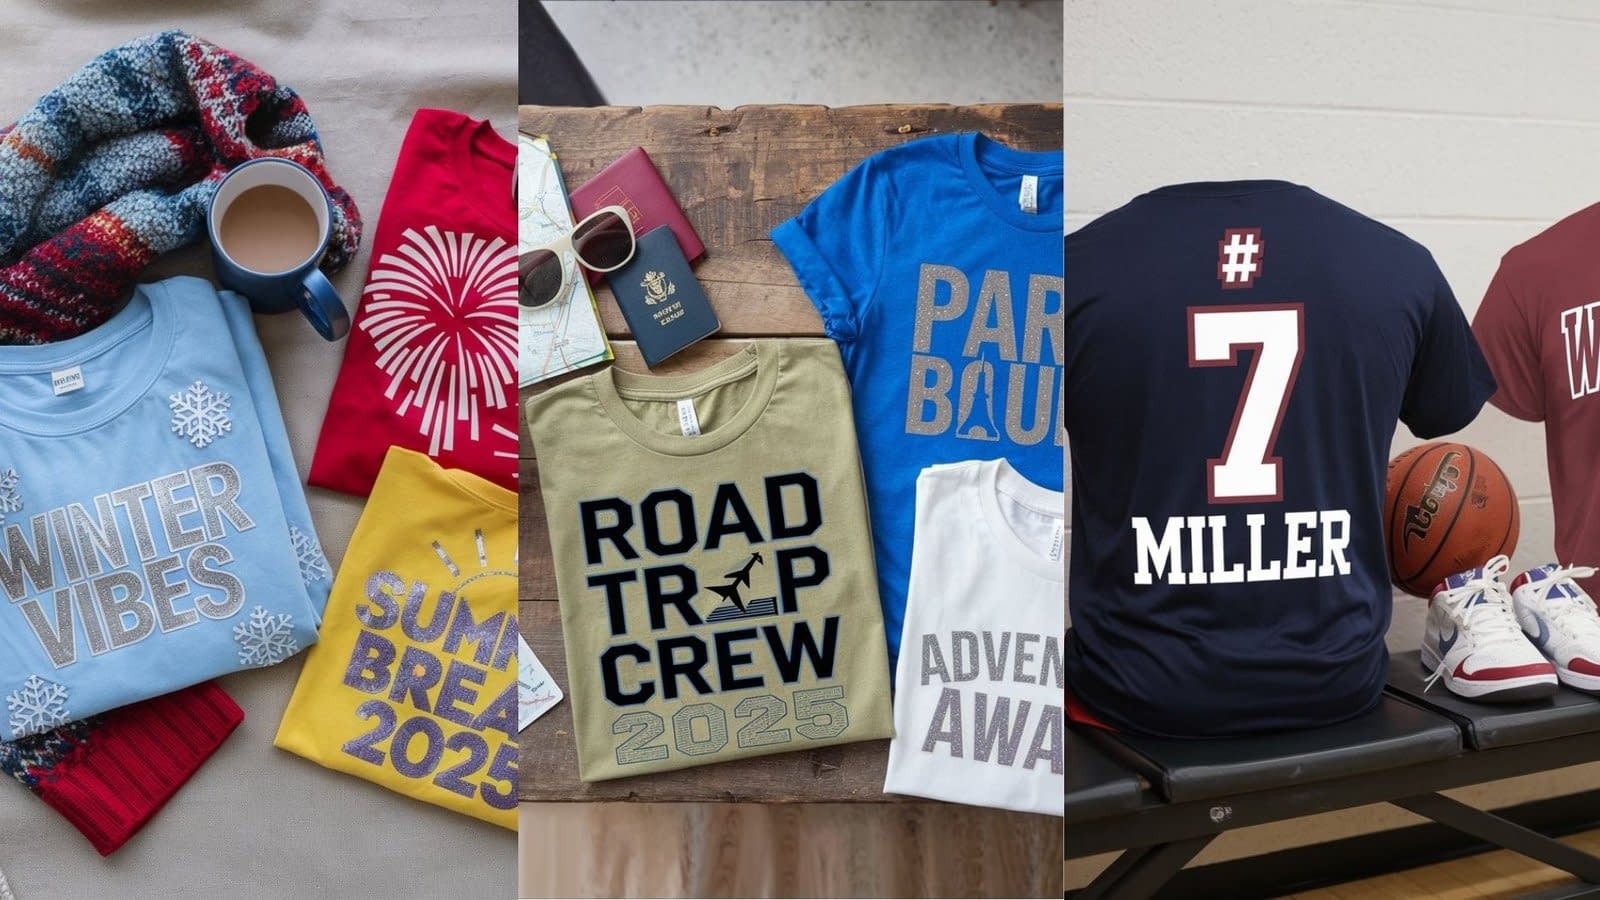
3. Holiday-Themed Shirts
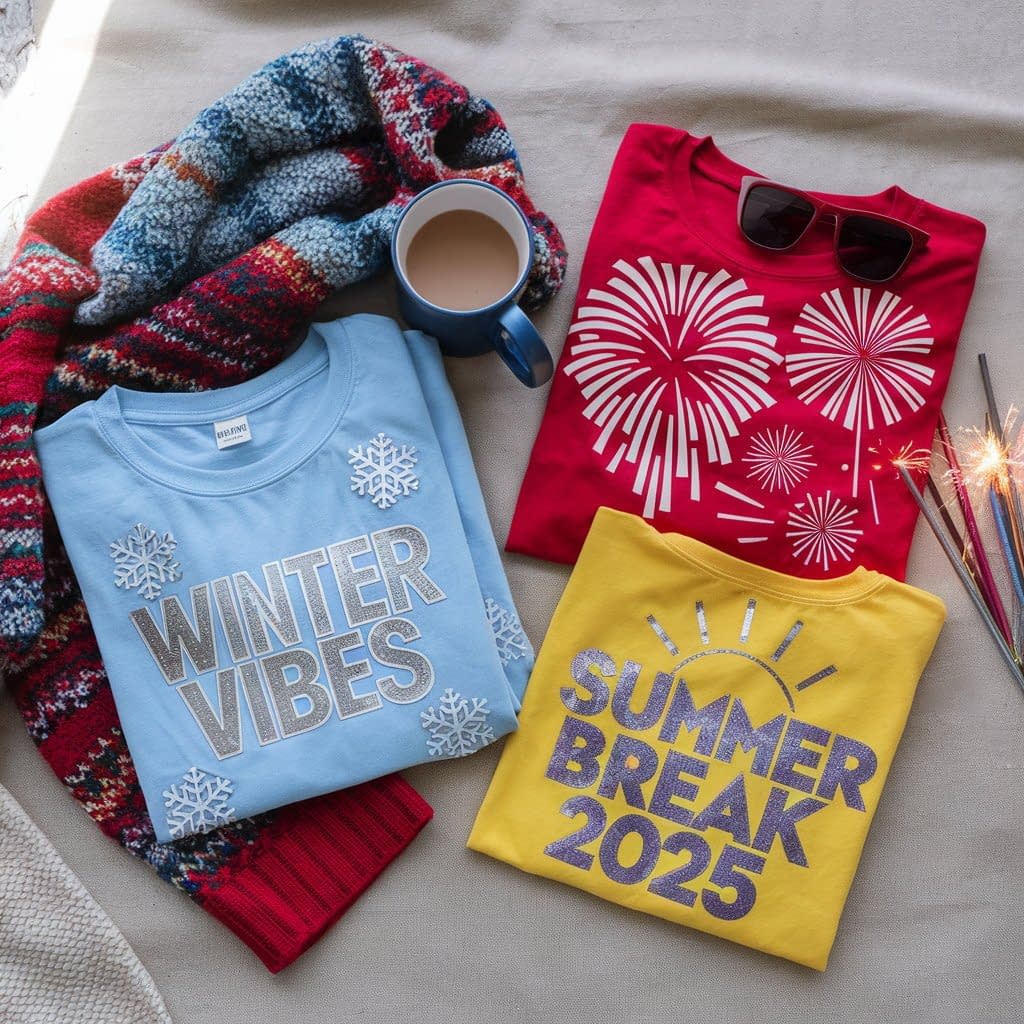
Make holidays even more festive with themed iron-on shirts for the whole family.
Step 1: Pick a Theme
- Christmas: snowflakes, reindeer, or “Santa’s Helper.”
- Halloween: pumpkins, bats, or “Trick or Treat Squad.”
- Fourth of July: stars, fireworks, or patriotic slogans.
Step 2: Design in Cricut Design Space
- Use pre-made holiday images or upload your own SVGs.
- Combine text with simple graphics for more impact.
Step 3: Vinyl Selection
- Glitter or holographic vinyl enhances the festive vibe. Red, green, orange, or metallics match holiday palettes.
Step 4: Application
- Center the design on the shirt.
- Press at recommended temperature, peel carefully, and check edges.
Extra Touch: Make matching shirts for family photos or pajama sets for Christmas morning. Adding the year (“Christmas 2025”) makes the shirt a keepsake.
4. Kids’ Character Shirts
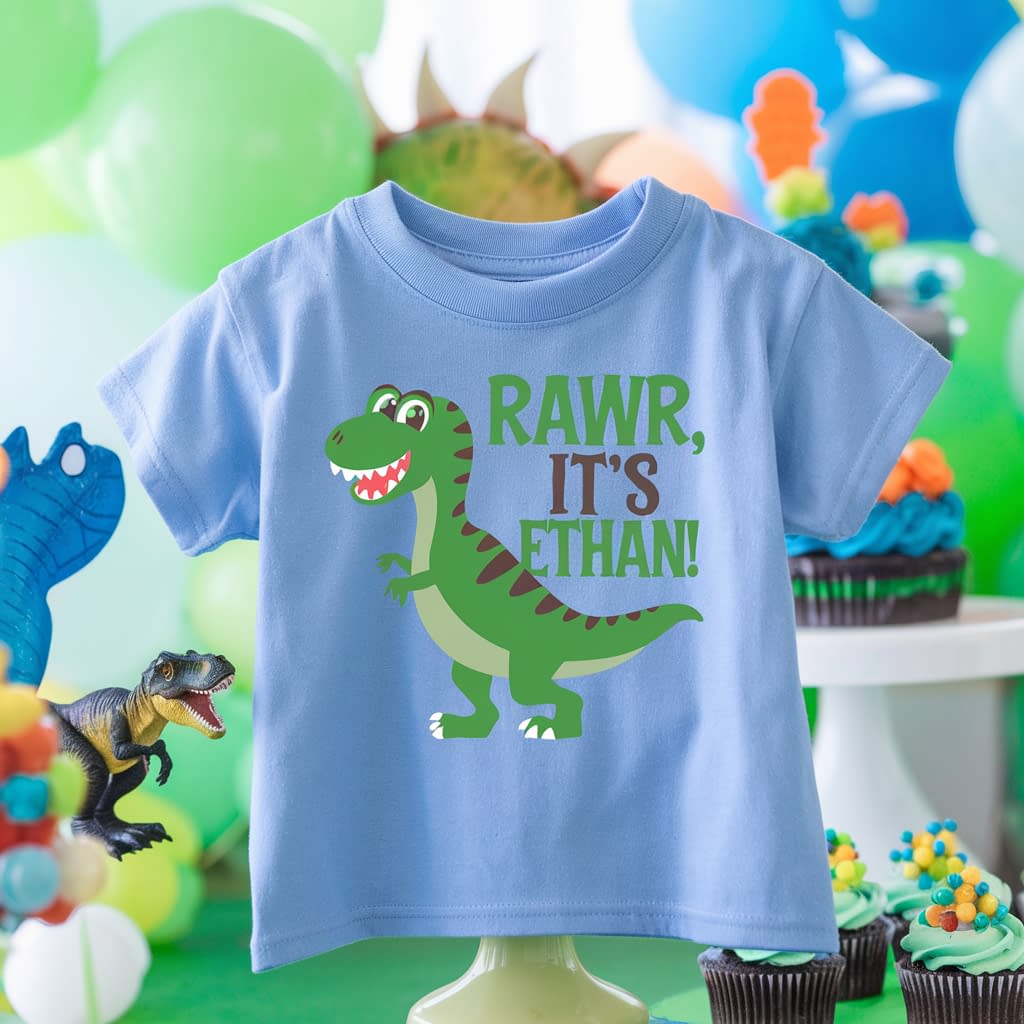
Children love wearing shirts with their favorite characters or playful animals.
Step 1: Pick a Character or Theme
- Animals, dinosaurs, cars, or fairy-tale motifs are great starting points.
- Personalize by adding the child’s name below the design.
Step 2: Use Bright Vinyl
- Kids’ shirts pop with neon, glitter, or holographic vinyl. Everyday Iron-On in bold colors also works.
Step 3: Size Correctly
- For toddlers, designs around 5–6 inches look best. For older kids, go up to 8 inches.
Step 4: Placement and Press
- Place the design in the center or slightly above midline for comfort.
- Press according to vinyl instructions.
Example: A green dinosaur with “Rawr, It’s Ethan!” underneath makes a birthday shirt they’ll love.
Tip: These also work as party favors — create themed shirts for all the kids attending.
5. Matching Family Outfits
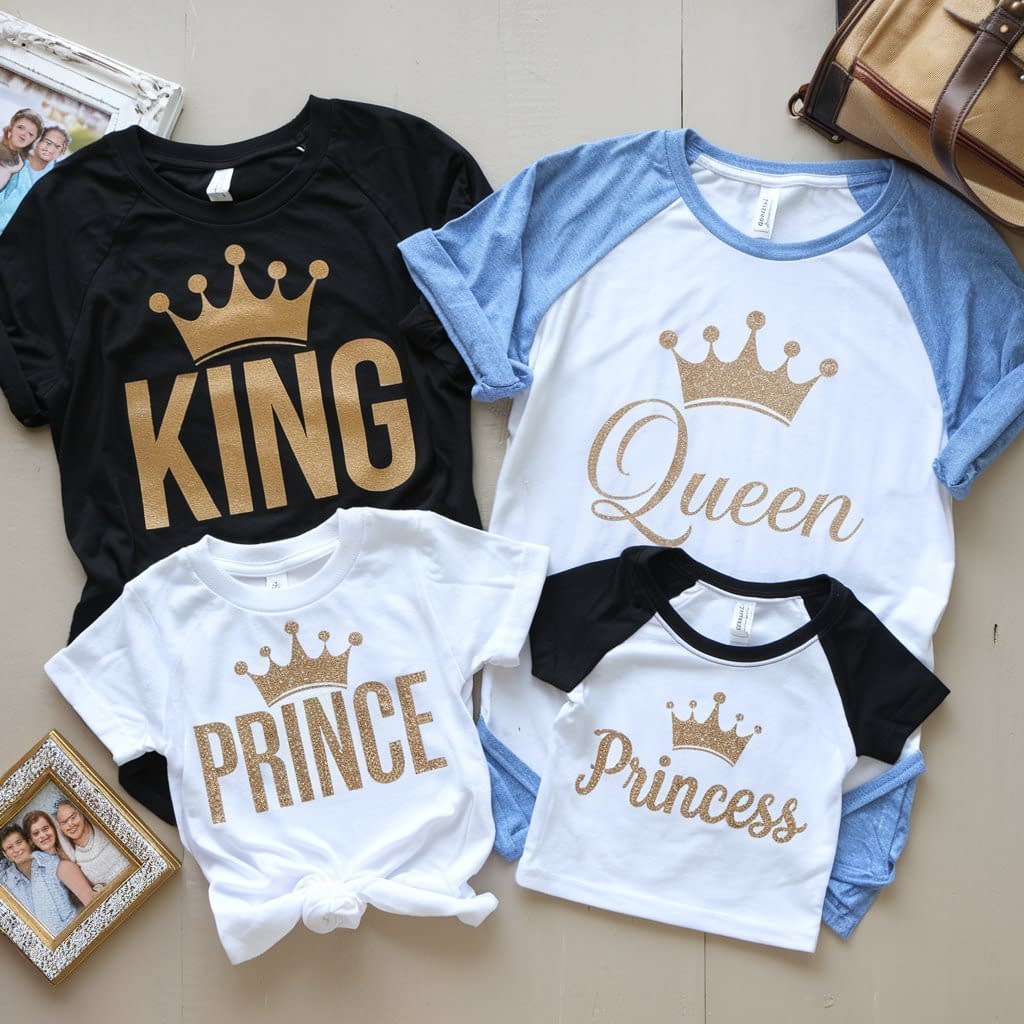
Coordinated shirts for families are both stylish and practical for special occasions.
Step 1: Pick a Theme
- Classic examples: “King,” “Queen,” “Prince,” and “Princess.”
- Or try “Vacation Crew” or “Birthday Squad.”
Step 2: Design Each Shirt
- Create designs in different sizes but keep the style consistent (same font, same colors).
- Add small variations to personalize each member’s shirt.
Step 3: Vinyl Choices
- Neutral colors like white, black, or metallics work for everyone.
- For vacations, go bold with tropical colors.
Step 4: Application
- Center the design across the chest.
- Press each shirt individually, making sure designs line up consistently.
Extra Tip: These are perfect for Disney trips or family reunions. Adding the family name and year makes them memorable keepsakes.
6. Business or Logo Shirts
Promote your brand or event with custom logo shirts.
Step 1: Upload Your Logo
- Save your logo as an SVG file for the cleanest cut.
- Upload it to Cricut Design Space and size accordingly.
Step 2: Decide Placement
- For a professional look, place the logo on the left chest.
- For events, use the full chest area and add a tagline.
Step 3: Vinyl Choice
- Matte black, white, or metallic vinyl looks professional.
- Glitter or bright vinyls are best for fun, casual businesses.
Step 4: Application
- Press with consistent pressure to ensure logos adhere evenly.
- Peel carefully and double-check corners.
Tip: Logo shirts are great for craft fairs, local businesses, or team uniforms. Add a website or social handle below for extra exposure.
7. Sports Team Shirts
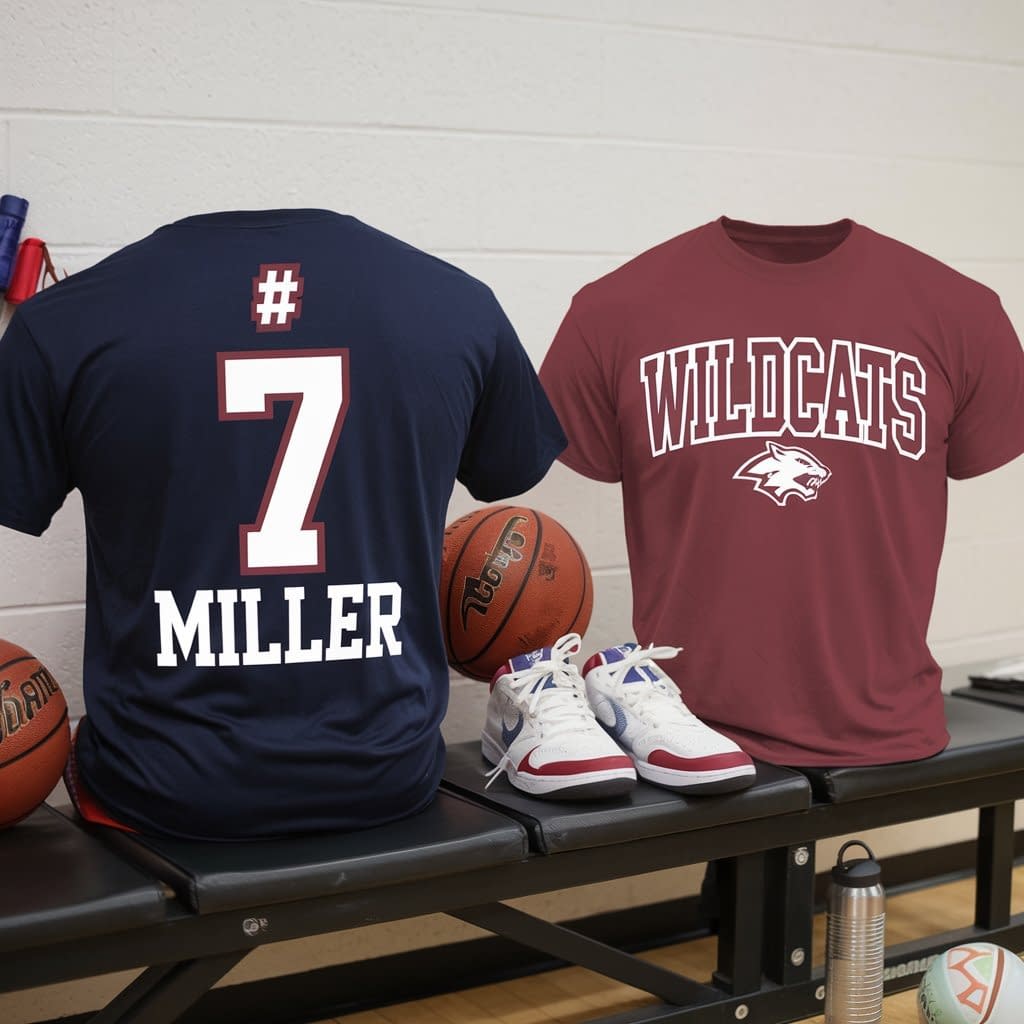
Show team spirit with custom shirts for players or fans.
Step 1: Choose Fonts and Numbers
- Bold block fonts are best for visibility.
- Add player names above numbers or across the chest.
Step 2: Team Colors
- Use vinyl in the team’s official colors.
- Add glitter vinyl for cheerleading or spirit squads.
Step 3: Placement
- Large numbers (8–10 inches) go on the back.
- Logos or smaller designs can go on the front chest.
Step 4: Application
- Carefully align numbers so they sit straight.
- Press evenly, especially over large areas.
Example: Back: “#7 Miller,” Front: “Wildcats.”
Tip: These shirts also make great souvenirs for parents and fans.
8. Monogram Shirts
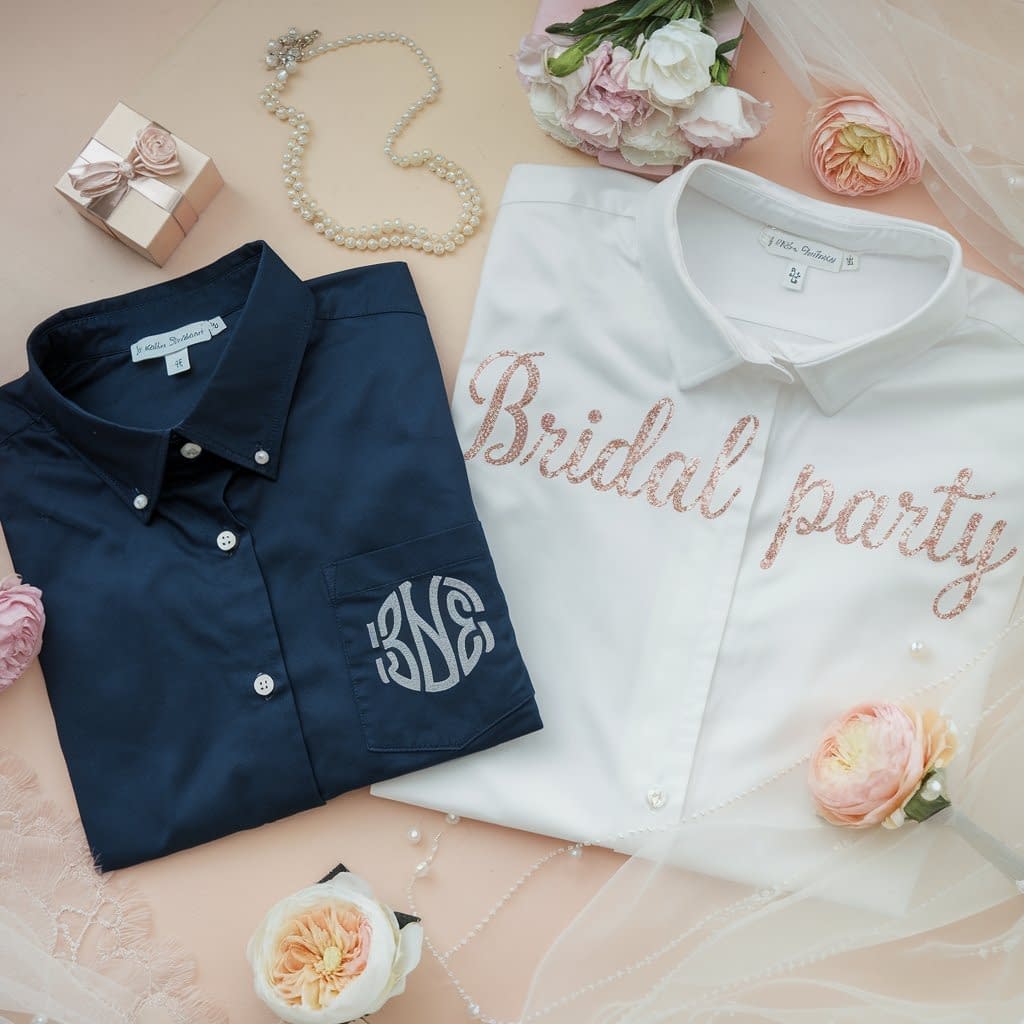
Elegant and timeless, monogram shirts are perfect for gifts or bridal parties.
Step 1: Create the Monogram
- Use a monogram font (downloadable online).
- Style with initials inside a shape (circle, wreath, or heart).
Step 2: Choose Vinyl
- Foil, metallic, or glitter vinyl elevates the design.
- Neutral colors like black or navy keep it classic.
Step 3: Placement
- Place monograms on pocket areas, sleeves, or shirt hems.
- For bridal parties, center them on the chest.
Step 4: Application
- Press according to vinyl type.
- Double-check placement for alignment — small designs show imperfections easily.
Extra Idea: Create monogrammed shirts as bridesmaid gifts, pairing each shirt with matching tote bags.
9. Travel Shirts

Make trips memorable with custom travel shirts for your group.
Step 1: Add Destination or Theme
- Use text like “Road Trip Crew 2025” or “Paris Bound.”
- Add icons such as airplanes, cars, or map outlines.
Step 2: Design in Cricut Space
- Stack text and pair it with travel graphics.
- Size designs for the shirt front (8–9 inches).
Step 3: Vinyl Selection
- Bold colors look great for group visibility.
- Glow-in-the-dark vinyl adds fun for nighttime adventures.
Step 4: Press and Wear
- Place centrally on the chest.
- Ensure consistency across all shirts in the group.
Tip: Add dates or trip names for keepsake value. These also work as conversation starters while traveling.
10. Trend-Inspired Designs
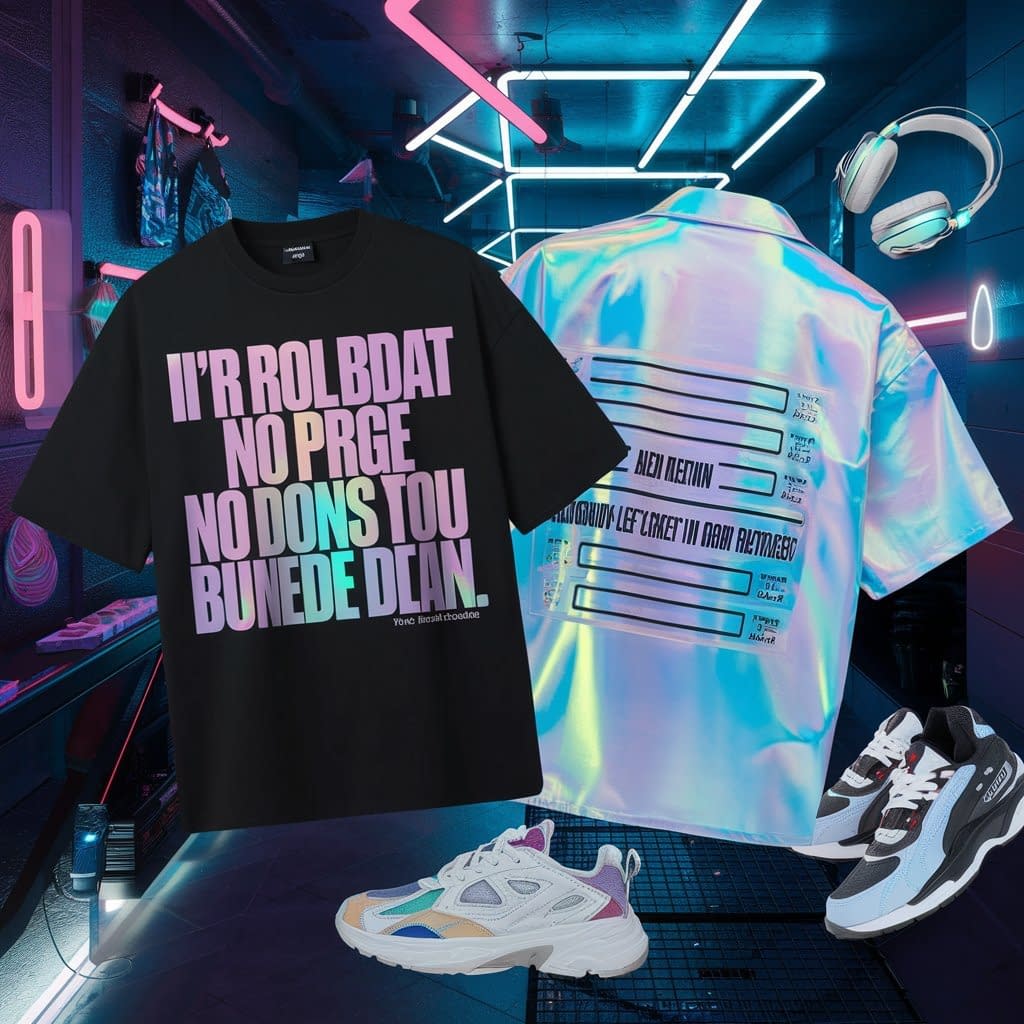
Stay on top of fashion by making shirts inspired by current memes or pop culture.
Step 1: Choose the Trend
- Popular memes, quotes from TV shows, or music references.
- Keep designs fun, bold, and recognizable.
Step 2: Fonts and Layout
- Use playful fonts to match the mood.
- Pair text with simple illustrations or icons.
Step 3: Vinyl Choices
- Layered vinyl works for colorful designs.
- Matte or glitter finishes help mimic current fashion styles.
Step 4: Application
- Place centrally or experiment with oversized placements.
- Press evenly and peel carefully.
Extra Idea: Since trends change quickly, making small batches lets you stay up-to-date without overcommitting. Great for personal wear or selling in an online shop.
Tips for Perfecting Every Shirt
- Always do a test cut before committing to a full design.
- Preheat the shirt to remove moisture.
- Don’t skip mirroring your design.
- Use a Teflon sheet for protection.
- Wash shirts inside out and air dry for longevity.
Final Thoughts
Making a DIY iron-on shirt with Cricut opens the door to endless creativity. By mastering the basic process and then experimenting with these 10 design ideas, you can create shirts for every occasion — from family gatherings to professional branding.