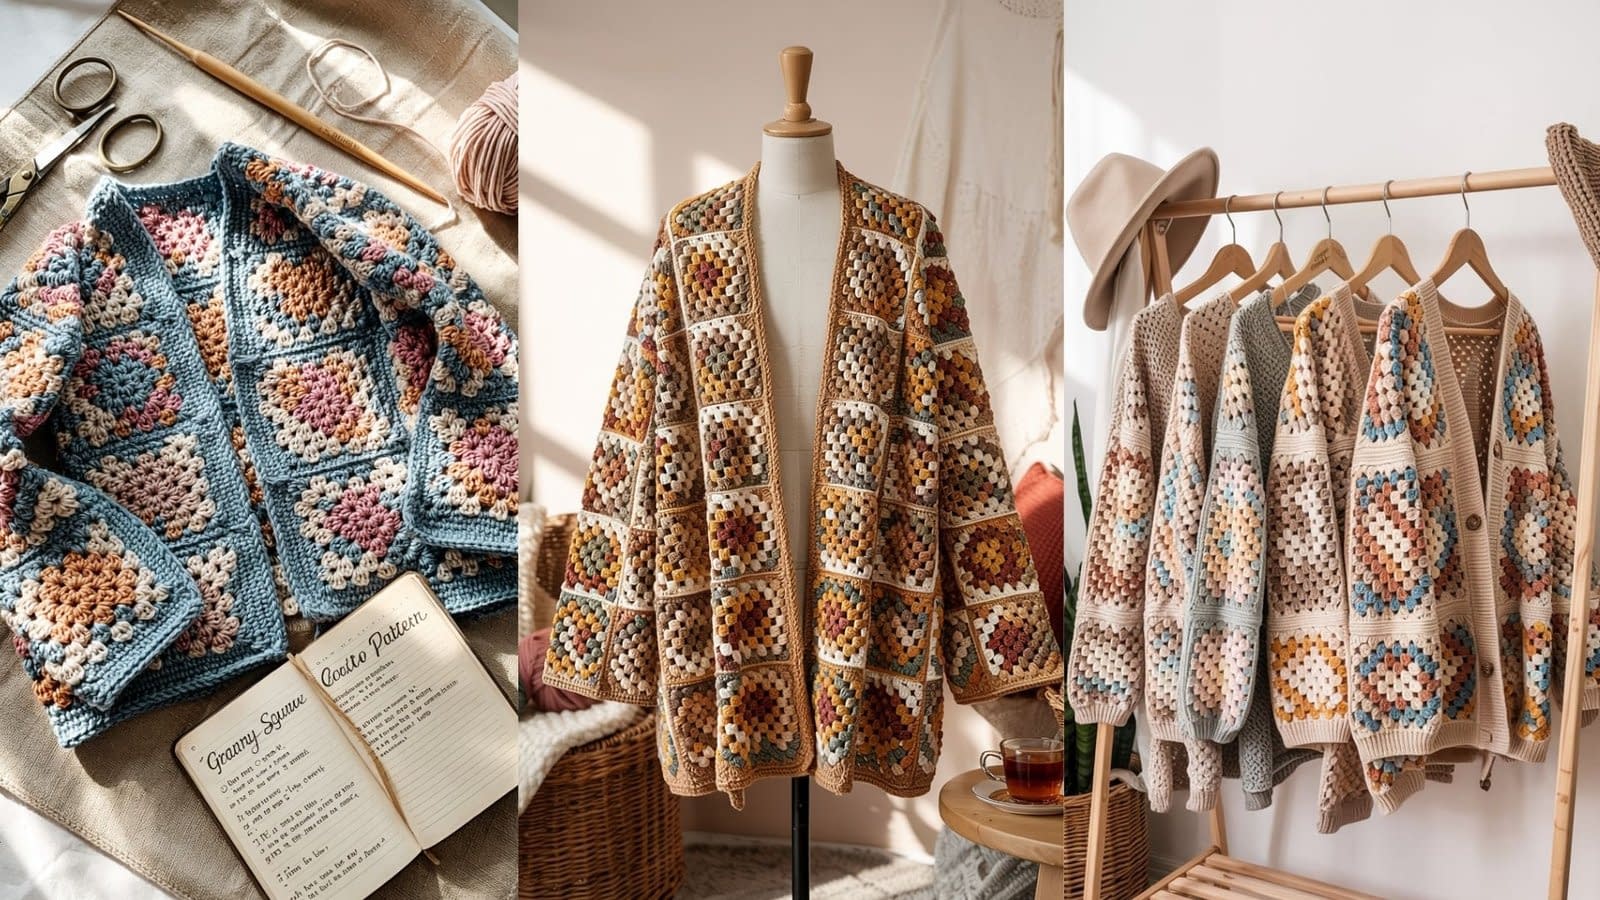
Granny square cardigans have made a major comeback—and for good reason. They blend vintage charm with modern flair, offering a customizable canvas for color, pattern, and texture. Whether you’re a beginner looking to dive into your first large crochet project or an experienced maker ready to bring your creativity to life, this Granny Square Cardigan Tutorial will provide everything you need.
In this guide, we’ll cover all the essentials: choosing yarn, planning your design, crafting perfect squares, joining techniques, assembly, finishing touches, and style inspiration. By the end, you’ll have a unique and beautiful piece that reflects your personal taste.
What Is a Granny Square Cardigan?

A Granny Square Cardigan is a handmade sweater composed of multiple crocheted granny squares. These small, modular pieces are typically square in shape and worked in rounds using a combination of double crochet stitches and chain spaces.
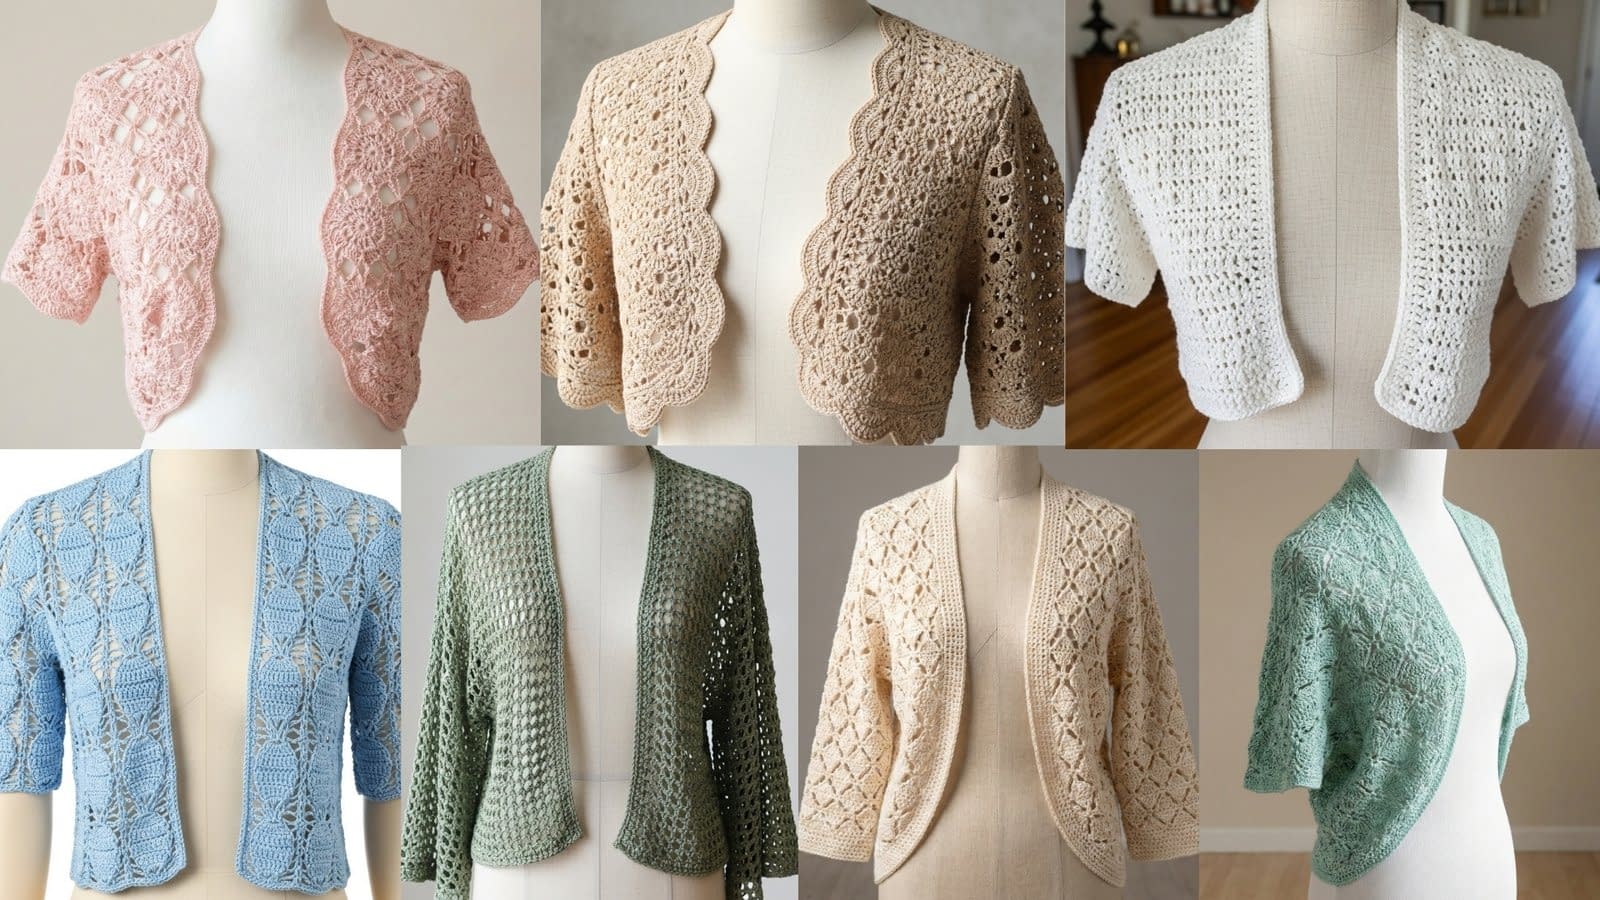
Granny squares are incredibly versatile and can be made in solid colors, concentric multi-color designs, or with intricate motifs. Once a desired number of squares is made, they are joined together and shaped into panels to form a wearable cardigan.
Why Make a Granny Square Cardigan?
Here are some reasons crafters are loving this project:
- Customizable: Choose your own color scheme, size, and shape.
- Portable: Easy to work on in small segments.
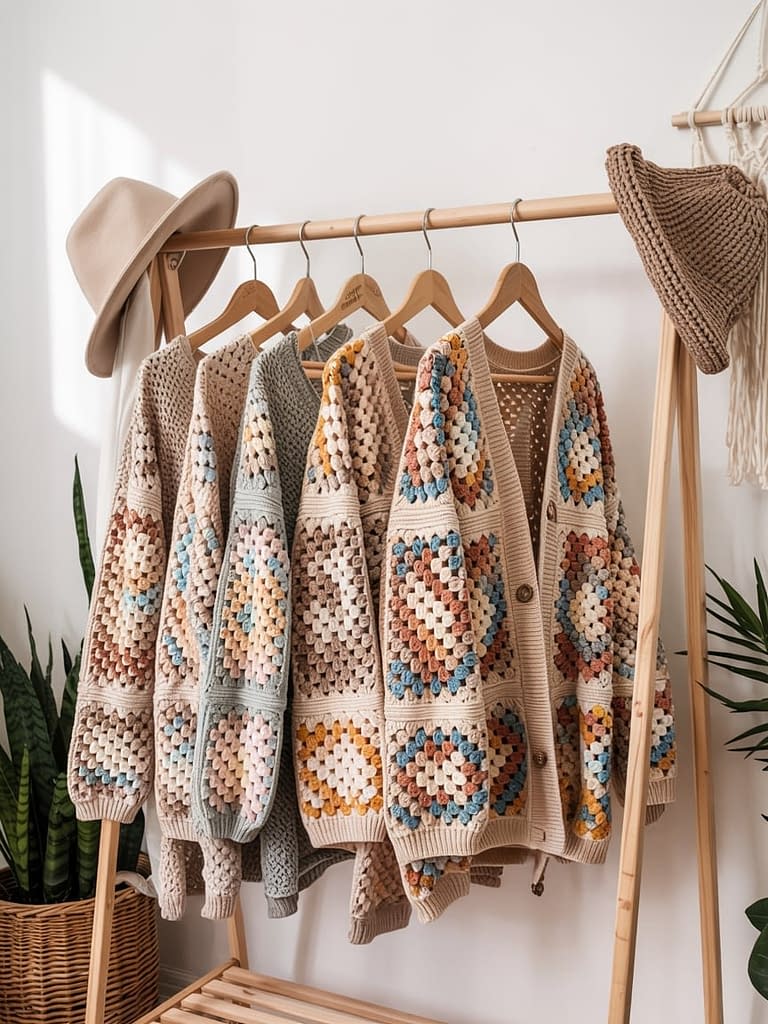
- Sustainable: A great way to use leftover yarn or repurpose vintage fibers.
- Stylish: Works across seasons and fashion trends.
- Creative Freedom: Each piece becomes a reflection of your taste and artistry.
Whether you want a bold statement piece or a cozy neutral cardigan, this project lets you take full control of your style.
3. Materials & Tools You’ll Need
Before diving in, gather the following essentials:
Tools
- Crochet hooks (typically sizes 4.0 mm to 5.5 mm)
- Scissors
- Yarn needle or tapestry needle
- Stitch markers (optional)
- Measuring tape
Materials
- Worsted weight or DK yarn in various colors
- Blocking mats and pins (optional but recommended)
- Buttons or ties (if you want a front closure)
Tip: Check your yarn label to ensure it matches your desired thickness and fiber type.
Choosing the Right Yarn & Color Palette
Selecting yarn is one of the most creative steps. Your choice will affect not only the cardigan’s appearance but also its texture, warmth, and durability.
Fiber Types
- Cotton: Lightweight, breathable, ideal for spring/summer.
- Acrylic: Affordable, machine-washable, and great for beginners.
- Wool: Warm, textured, and cozy for cooler seasons.
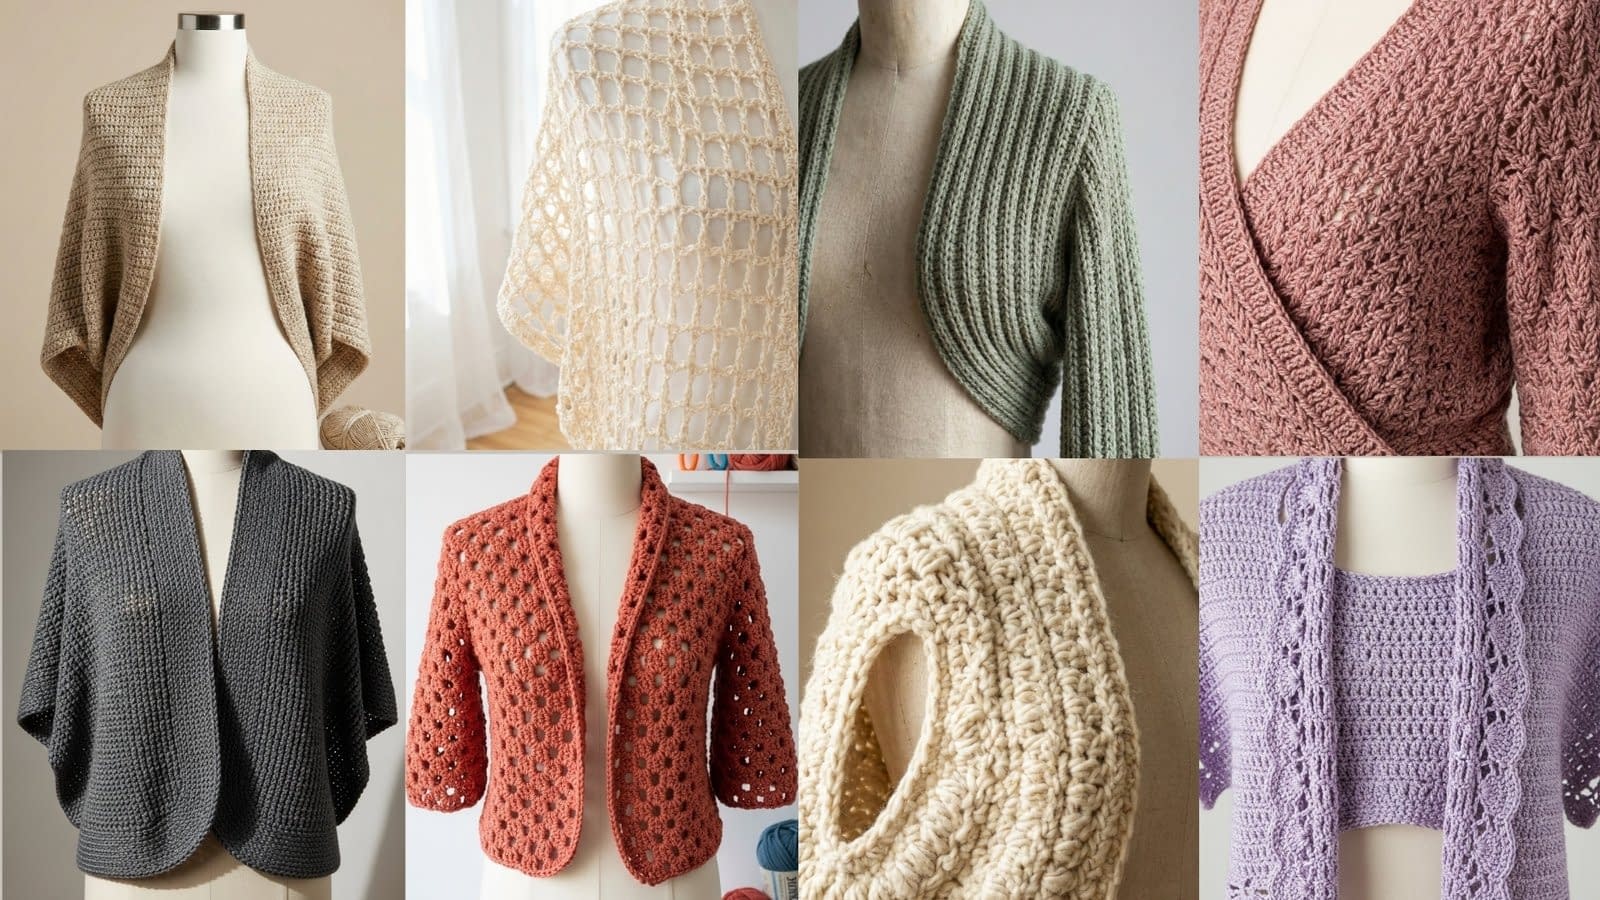
Color Tips
- Go for complementary shades for a harmonious look.
- Use a neutral base with pops of bright squares.
- Opt for an ombré or gradient effect using one main color family.
Don’t be afraid to experiment—granny square cardigans are meant to be bold and expressive.
How to Make the Classic Granny Square (Step-by-Step)
Here’s a basic 4-round granny square you can build upon:
Materials
- Worsted weight yarn
- 5.0 mm crochet hook
Abbreviations (US Terms)
- ch = chain
- dc = double crochet
- sl st = slip stitch
- sp = space
Instructions
Round 1:
Ch 4, sl st to form a ring.
Ch 3 (counts as first dc), 2 dc into ring, ch 2.
3 dc into ring, ch 2 – repeat 3 times.
Sl st to top of ch-3 to close round. (4 clusters)
Round 2:
Sl st to corner space, ch 3, 2 dc, ch 2, 3 dc (first corner made).
In next ch-2 sp: 3 dc, ch 2, 3 dc. Repeat in remaining 2 corners.
Sl st to join.
Round 3-4:
Continue working in each ch-2 corner space: 3 dc, ch 2, 3 dc.
In each side space: 3 dc.
Sl st to finish.
You can stop at Round 4 or continue building larger squares depending on your design.
Deciding on Sizing and Layout
The number of squares and overall dimensions depend on your size and the finished square dimensions.
Sample Measurements
- Each Square Size: ~4.5″ (unblocked)
- Small Cardigan: ~60 squares (8 per row)
- Medium-Large: ~80 squares (10 per row)
Layout Planning
Sketch your layout on paper or use a spreadsheet to visualize:
- Front panels
- Back panel
- Sleeves
- Optional hood or collar
How Many Squares Do You Need?
Here’s a rough breakdown:
| Part | Small (in squares) | Medium | Large |
|---|---|---|---|
| Back panel | 20 | 25 | 30 |
| Front panels | 10 x 2 | 12 x 2 | 15 x 2 |
| Sleeves | 10 per sleeve | 12 | 15 |
| Total | ~60 | ~74 | ~90 |
Always make a few extras in case of layout changes or tension adjustments.
Joining the Squares Together
There are many ways to join granny squares:
Whip Stitch (Sewing)
- Fast and nearly invisible
- Good for neat, flat seams
Slip Stitch Join
- Use hook and yarn to crochet pieces together
- Adds a visible, textured seam
Join-As-You-Go (JAYG)
- Join squares during final round
- Great for minimizing sewing later
Choose the method that matches your aesthetic and patience level.
Assembly & Shaping the Cardigan
Once your squares are ready and joined into panels, it’s time to assemble:
Basic Steps
- Join back panel
- Attach front panels at shoulder
- Seam sides under armhole
- Attach sleeves
- Seam sleeves and sides
- Add any edging, buttons, or closures
Be sure to try it on frequently to check the fit and adjust as needed.
Adding Edges, Sleeves, and Final Details
To give your cardigan a polished finish:
Border Edging
- Work a few rows of single or double crochet around the front edges and hem
- Optional: shell stitch or picot for a decorative edge
Sleeve Cuffs
- Add ribbing or simple rounds to snug the fit
Button Band
- Leave buttonholes during border row or sew buttons for style
Washing, Blocking & Finishing Touches
Blocking is key to making your cardigan drape well and look professional.
How to Block
- Lay cardigan flat on blocking mats
- Pin into shape (especially edges)
- Steam block with iron (hover, don’t touch)
- Let dry completely
This helps even out tension, define edges, and give it that final polish.
Style Ideas: How to Wear Your Granny Square Cardigan
Your new cardigan is versatile and can be styled in multiple ways:
- Over a simple tee and jeans
- With a maxi dress for a boho vibe
- Belted at the waist
- Paired with boots and a beanie in fall
Use your creation as both fashion and function.
Common Mistakes and How to Avoid Them
- Uneven Square Sizes: Check your gauge and block often.
- Color Pooling: Plan color combinations in advance.
- Loose Joins: Reinforce seams or use a different joining method.
- Inconsistent Tension: Stick with the same yarn type and hook size throughout.
Final Thoughts and Encouragement
Crocheting a Granny Square Cardigan is both a labor of love and a rewarding creative project. Don’t worry if it takes time—every square brings you closer to your finished wearable art.