
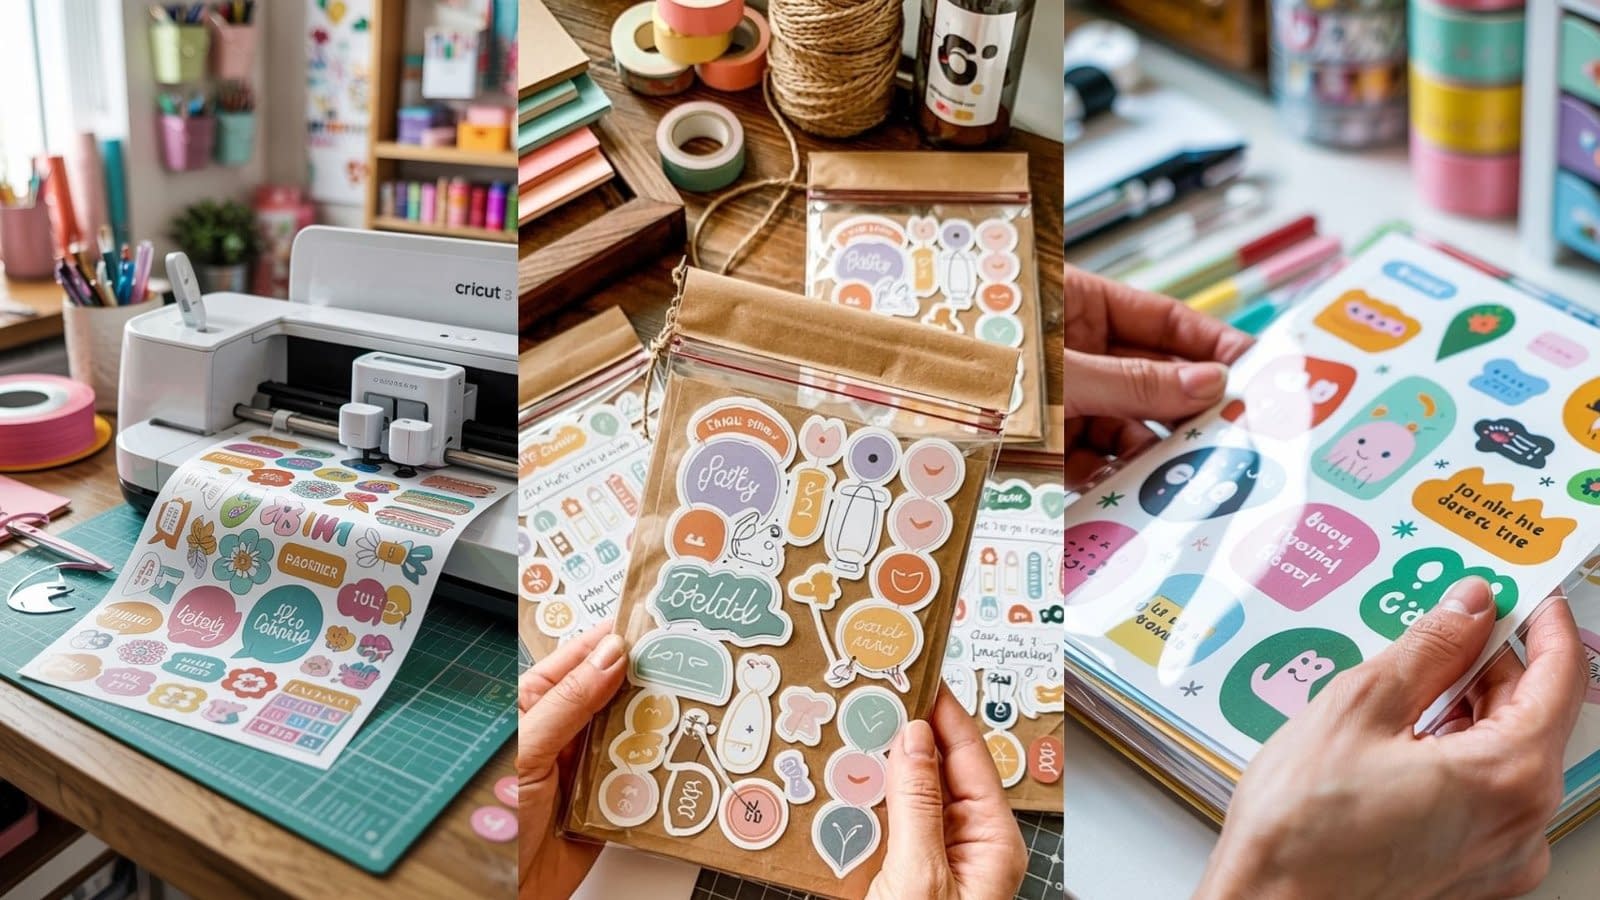
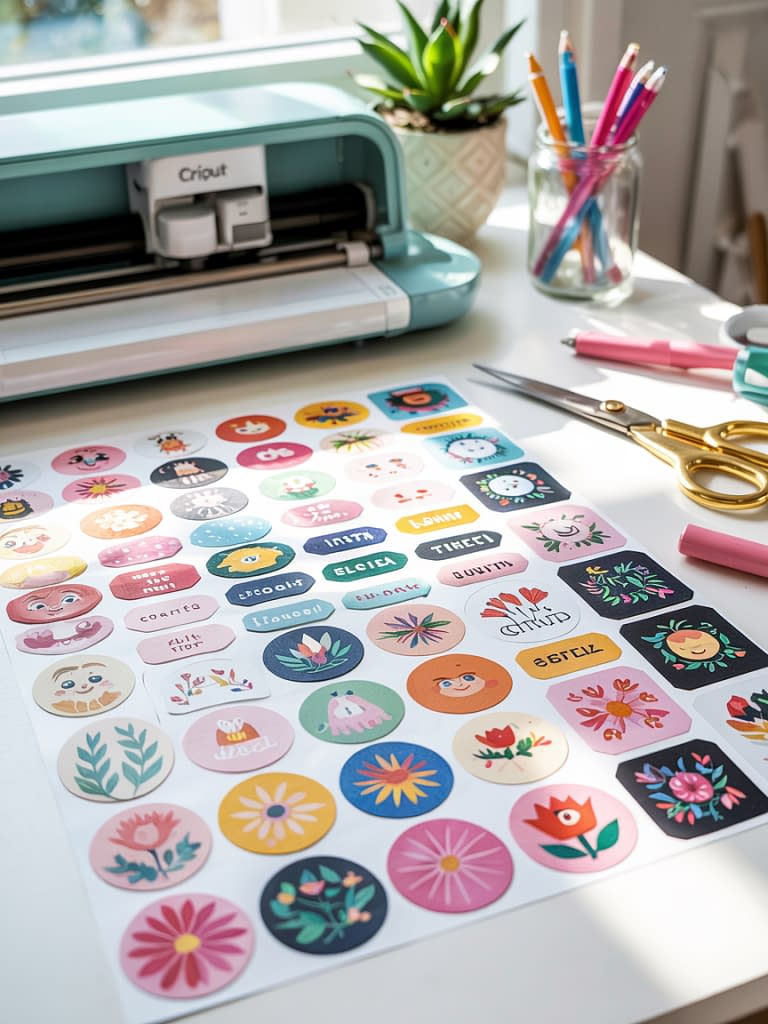
Stickers are more than just fun stationery items — they’re a creative way to personalize your belongings, start a small business, or enhance your crafting projects. And thanks to modern cutting machines, making them at home has never been easier. If you’ve been curious about creating DIY stickers using Cricut, this guide will walk you through every detail, from choosing materials to sealing your final designs.
Whether you’re a hobbyist looking for a new creative outlet or an entrepreneur planning to sell custom stickers, this post will give you the knowledge, tools, and techniques to succeed.
Tools & Materials You’ll Need
Before starting your sticker-making journey, gather these essentials:
1. Cricut Machine
- Recommended Models: Cricut Explore Air 2, Cricut Maker, or Cricut Maker 3.
- Each model can cut stickers, but the Maker series offers more versatility with materials.
2. Design Software
- Cricut Design Space (free with your Cricut account).
- Optional alternatives: Canva, Adobe Illustrator, or Procreate (you can upload designs into Cricut Design Space).
3. Sticker Material
- Printable Sticker Paper – Matte or glossy, depending on your preference.
- Printable Vinyl – More durable and water-resistant, perfect for outdoor use.
- Specialty Sticker Sheets – Holographic, clear, or glitter for unique effects.
4. Printer
- Inkjet printers work best for vibrant colors.
- Laser printers are fine for certain materials, but always check manufacturer guidelines.
5. Cutting Tools (Optional)
- Standard Grip Mat (green).
- Light Grip Mat (blue) for thinner materials.
- Weeding tool for removing excess vinyl (if using vinyl-based stickers).
6. Protective Finish (Optional but Recommended)
- Clear laminate sheets for extra durability.
- Spray sealant to make stickers waterproof.
Step-by-Step: How to Make DIY Stickers Using Cricut
This section breaks down the entire sticker-making process, from concept to final product.
Step 1: Create or Choose Your Design
Option A: Design Your Own Stickers
If you have design skills, use Cricut Design Space, Canva, or Illustrator to make custom designs.
- Use high-resolution images (300 DPI) for crisp prints.
- Include a small offset or border around the design to make cutting easier.
Option B: Download Pre-Made Designs
- Sites like Creative Market, Etsy, or Freepik offer sticker packs.
- Always check licensing terms if you plan to sell your stickers.
Tip: Save your designs in PNG format with a transparent background for best results.
Step 2: Upload Your Design to Cricut Design Space
- Open Cricut Design Space.
- Click Upload, then select your PNG file.
- Choose “Print Then Cut” as the operation type.
- Resize your sticker design to your desired dimensions.
- Arrange multiple stickers on a single canvas to save material.
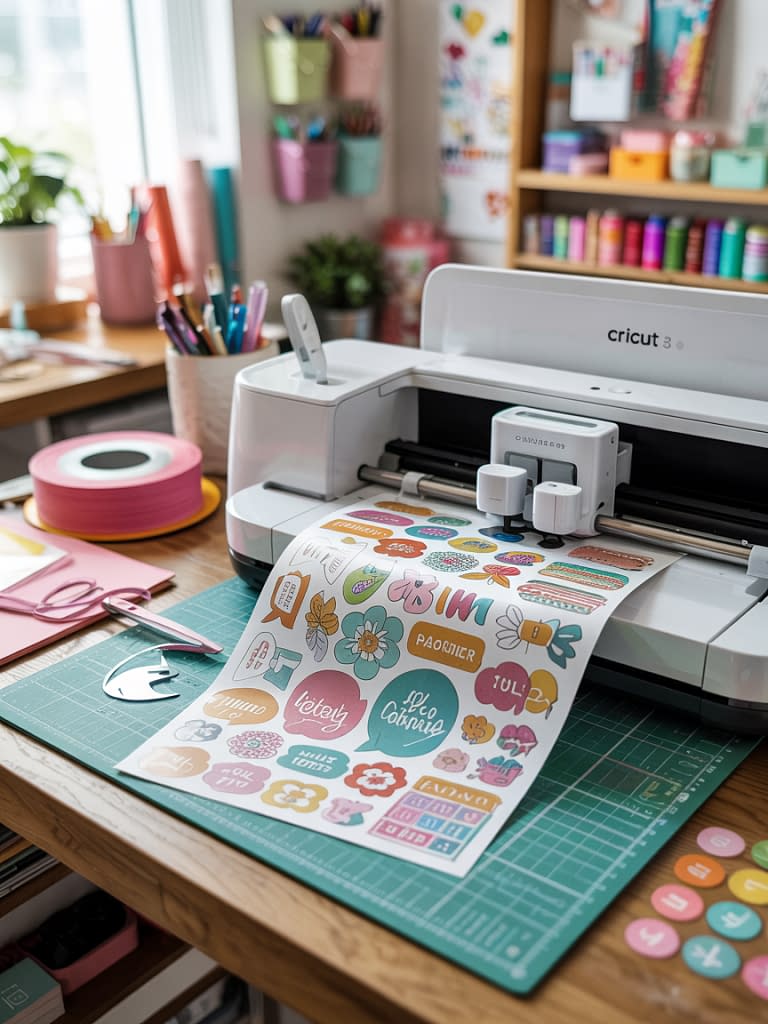
Step 3: Print Your Stickers
- Select Make It in Cricut Design Space.
- The program will show your design with a black registration box — this is how Cricut knows where to cut.
- Load your printable sticker paper into your inkjet printer.
- Print at the highest quality setting for vibrant colors.
Step 4: Cut Your Stickers with Cricut
- Place the printed sheet on your Cricut mat (align it to the top-left corner).
- Load the mat into the Cricut machine.
- Choose your material setting:
- For sticker paper: “Sticker Paper” or “Printable Vinyl” setting.
- For kiss-cut (only cutting the sticker outline, leaving the backing intact), adjust the pressure settings manually.
- Press Go and let Cricut do the cutting.
Step 5: Add a Protective Finish (Optional)
If you want your stickers to be waterproof and long-lasting:
- Apply a clear laminate sheet over the printed sticker sheet before cutting.
- Alternatively, use a spray sealant and allow it to dry completely before cutting.
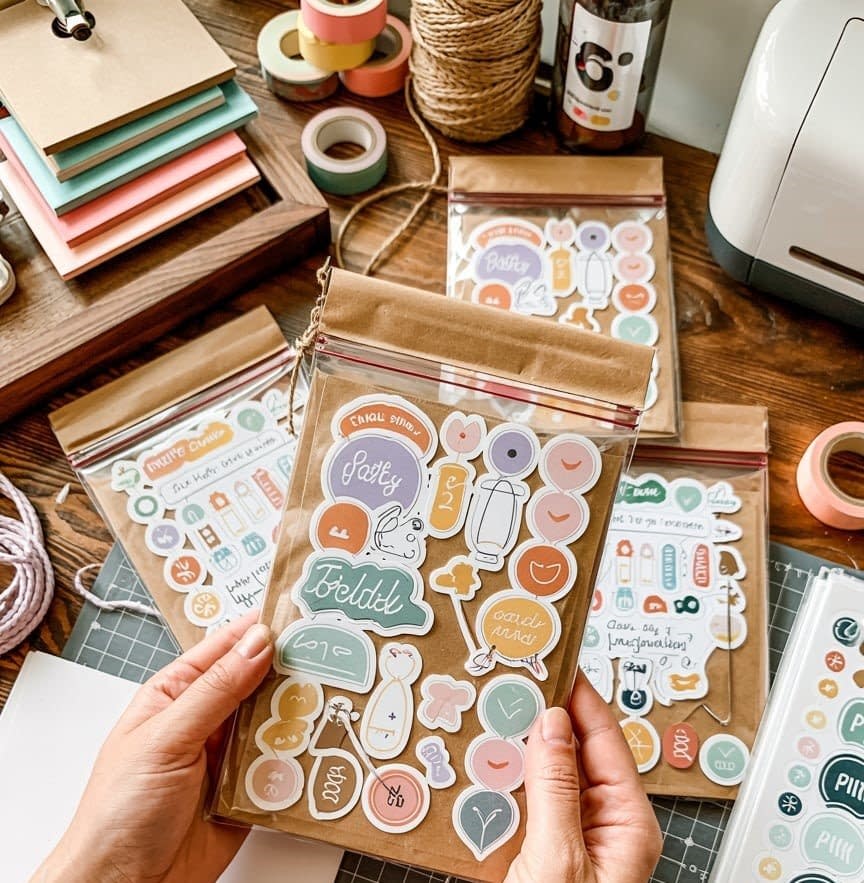
Types of Stickers You Can Make with Cricut
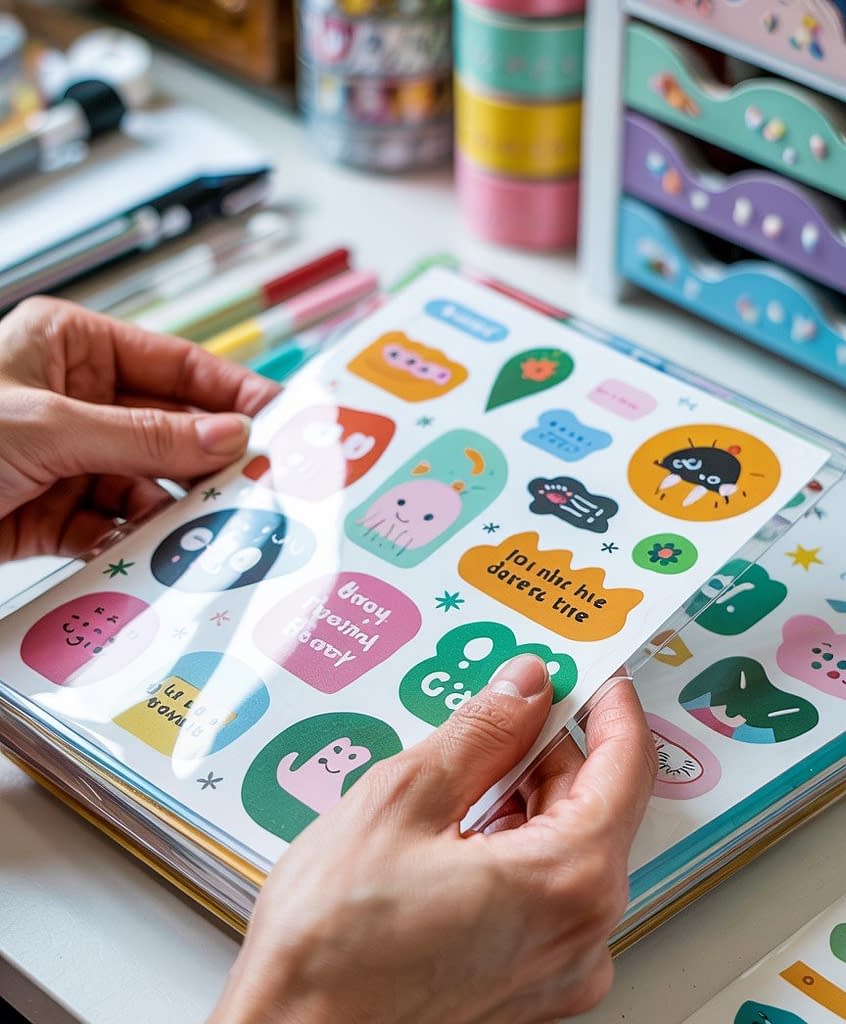
The beauty of making DIY stickers using Cricut is that you’re not limited to one type. Here are some ideas:
- Planner Stickers – Functional stickers for to-do lists, calendars, and reminders.
- Decorative Stickers – For scrapbooking, journaling, or personalizing items.
- Business Branding Stickers – Logos, product labels, or thank-you seals for packages.
- Custom Gift Stickers – Holiday, birthday, and event-themed designs.
- Waterproof Outdoor Stickers – For water bottles, laptops, or cars (use printable vinyl + laminate).
Tips for Perfect DIY Cricut Stickers
- Test Cut First: Especially with new materials.
- Color Calibration: Check printer settings to avoid dull colors.
- High DPI Designs: Always use 300 DPI images for crisp lines.
- Leave an Offset: A 0.05–0.1 inch white border helps Cricut cut accurately.
- Store Properly: Keep unused sticker sheets in a dry, cool place to prevent curling.
Common Mistakes to Avoid

Even with Cricut’s precision, mistakes can happen. Avoid these pitfalls:
- Wrong Material Setting – Using the wrong cut setting can slice through the backing paper.
- Poor Print Quality – Using low-quality printer settings results in blurry images.
- Skipping the Laminate Step – If you need waterproof stickers, skipping this step will lead to fading or smudging.
- Not Checking Registration Marks – Misalignment can occur if your printer scales the design. Always print at 100%.
Selling Your DIY Stickers

If you plan to sell stickers made with Cricut, here are some quick tips:
- Packaging: Use cello bags or small envelopes to protect stickers during shipping.
- Branding: Add a small card insert with your shop name or social media handle.
- Pricing: Factor in material costs, time, and market demand.
- Marketing: Share photos on Instagram, TikTok, and Pinterest to reach your target audience.
Final Thoughts
Making DIY stickers using Cricut is an accessible, creative, and highly customizable craft. Whether you’re designing for personal enjoyment, organizing your life with functional planner stickers, or starting a small sticker business, the Cricut machine offers endless possibilities.
With the right materials, careful setup, and a few finishing touches, your stickers can rival professional products in quality — all from the comfort of your home.


