
Origami — the traditional Japanese art of paper folding — has long been celebrated for its ability to transform a simple sheet of paper into intricate, beautiful shapes. One of the most charming projects you can create with origami is a flower bouquet. Not only does it make for a thoughtful, handmade gift, but it’s also a sustainable, lasting alternative to fresh flowers.
In this Origami Flower Bouquet Tutorial, we’ll walk through every detail you need to create your own. From selecting the right paper and tools to folding various flower types and arranging them into a cohesive bouquet, this guide will help you craft a masterpiece worthy of any celebration.
Why Choose an Origami Flower Bouquet?
Before we dive into the tutorial, let’s explore why origami flower bouquets are becoming increasingly popular:
- Long-lasting beauty – Unlike fresh flowers, origami bouquets never wilt or fade.
- Eco-friendly – They can be made from recycled paper or reused materials.
- Customizable – You can choose any color, size, and flower variety you like.
- Budget-friendly – No need to purchase expensive blooms; your main investment is time and creativity.
- Perfect for any occasion – Birthdays, weddings, anniversaries, or simply as a heartfelt “thank you.”
Materials You’ll Need for Your Origami Flower Bouquet
A great bouquet starts with the right materials. Here’s what you’ll need:
Paper
- Origami paper: Best choice for crisp folds, available in countless colors and patterns.
- Recycled paper: Old book pages, sheet music, or decorative wrapping paper can add a unique charm.
- Cardstock: Offers sturdiness for flowers with larger petals.
Tip: Stick to square sheets for traditional folds. Sizes from 6×6 inches to 8×8 inches are most common.
Tools
- Bone folder or scoring tool – For sharp, clean folds.
- Glue stick or craft glue – To secure petals and stems.
- Scissors – For trimming paper or shaping petals.
- Floral wire – Acts as stems for the flowers.
- Floral tape – Covers the wire and gives a finished look.
Additional Decorative Elements
- Ribbon for bouquet wrapping.
- Small beads or buttons for flower centers.
- Tissue paper for bouquet filler.
Step-by-Step: Folding Origami Flowers
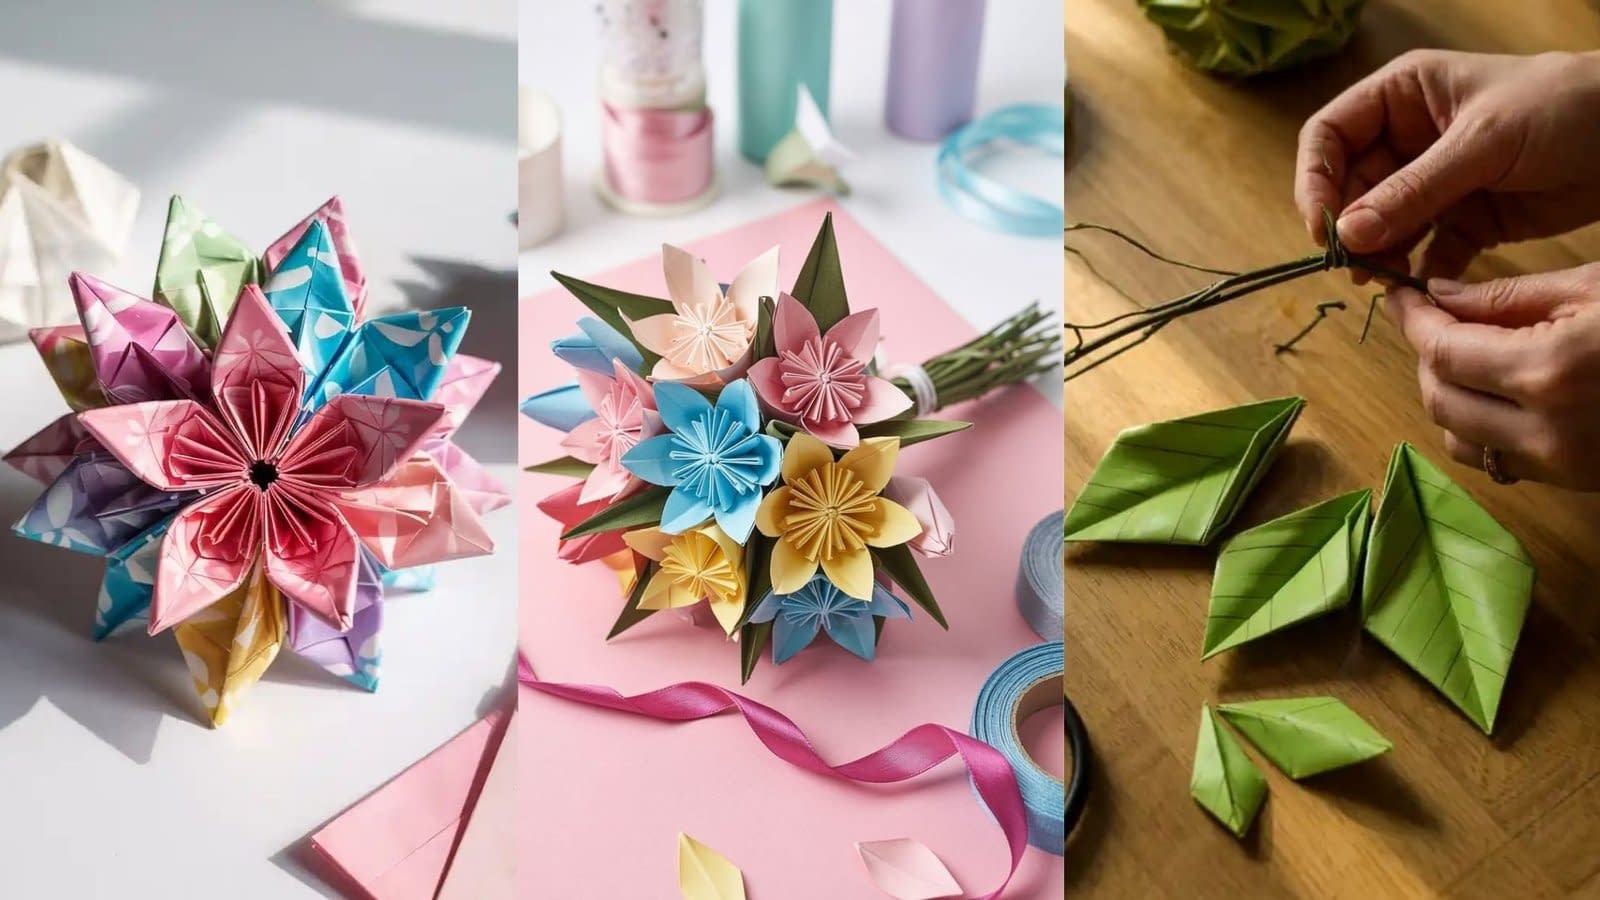
We’ll cover three popular origami flower designs for your bouquet: the Kusudama flower, the Lily, and the Tulip. Combining these creates visual variety and depth.
1. Kusudama Flower
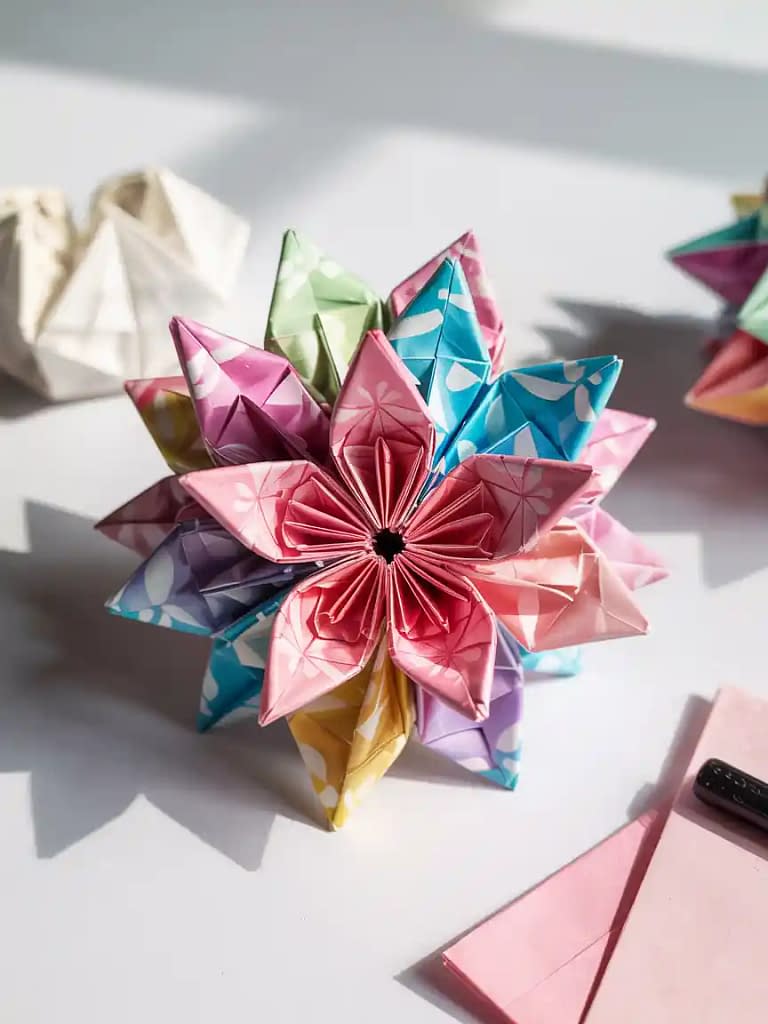
The Kusudama flower is made by folding multiple petals and gluing them together.
Steps:
- Start with a square piece of paper, colored side down.
- Fold diagonally in half to form a triangle.
- Take the two corners of the triangle’s base and fold them up to meet the top point. You now have a diamond shape.
- Fold the flaps back outward, aligning with the diamond edges.
- Open each flap and flatten into a kite shape.
- Fold each small triangle at the top of the kite shape downwards.
- Fold the outer edges of each flap inward to align with the center.
- Glue one folded edge to the other to form a single petal.
- Repeat 4–6 times to create enough petals for one flower.
- Glue petals together in a circular shape.
Pro Tip: Mix patterned and solid paper petals for a striking effect.
2. Origami Lily
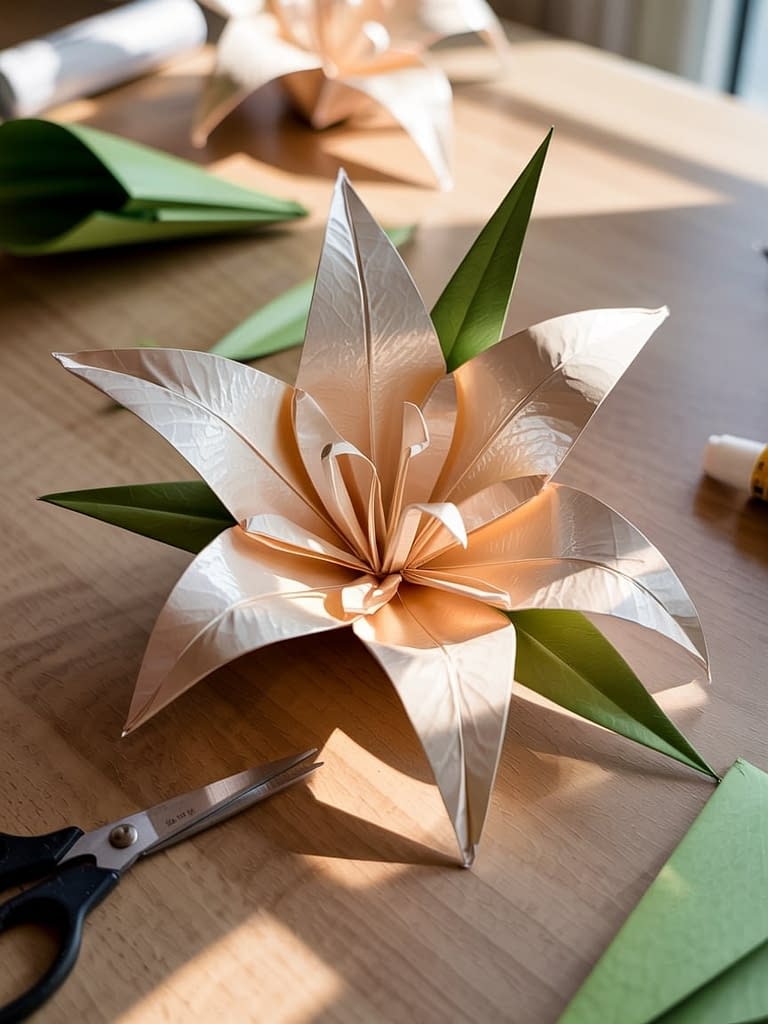
This classic design has elegant, curved petals.
Steps:
- Begin with a square sheet, colored side up.
- Fold diagonally in both directions to form a cross crease.
- Flip the paper and fold it in half both vertically and horizontally.
- Collapse the paper into a square base by pushing diagonal creases inward.
- Fold the two outer edges of one triangle to the centerline. Repeat on all four flaps.
- Fold the top points down to create creases, then unfold.
- Lift each flap, reverse-fold it inside, and flatten to form long triangular shapes.
- Curl the tips of the petals outward with a pencil for a natural look.
3. Origami Tulip
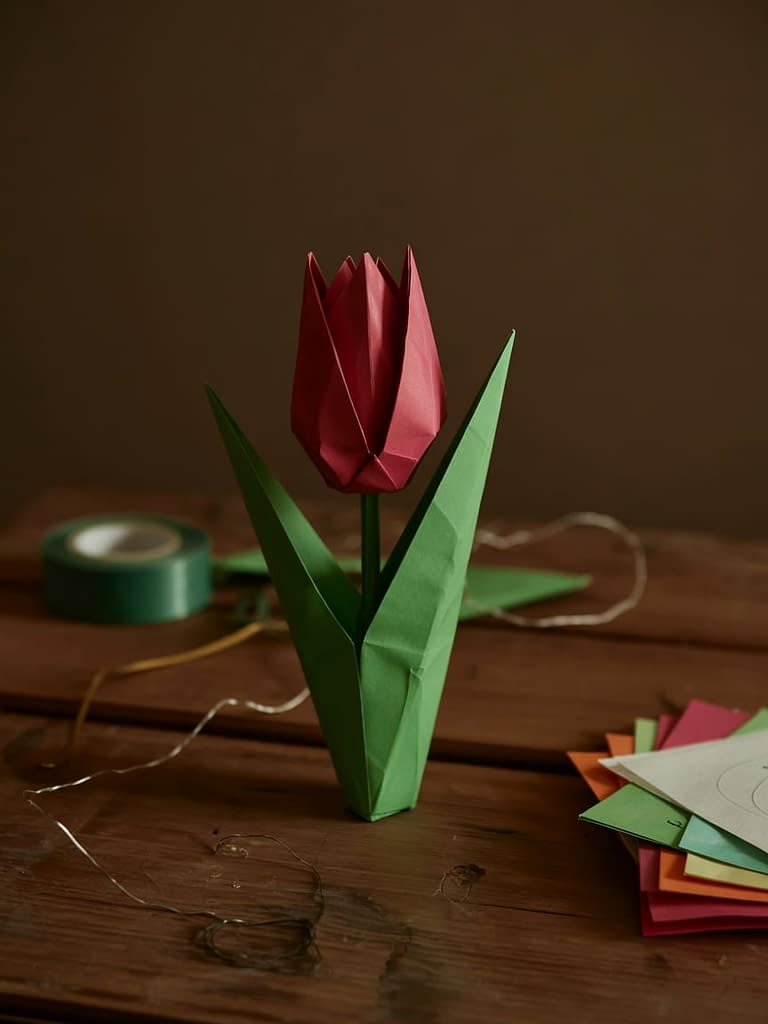
A tulip adds volume and a charming shape to your bouquet.
Steps:
- Start with the paper colored side up.
- Fold diagonally in both directions and unfold.
- Fold in half both vertically and horizontally, then collapse into a waterbomb base.
- Fold each corner up to meet the top point on all four sides.
- Twist the base slightly to open the petals.
- Gently blow air into the bottom opening to puff the flower.
- Shape petals outward.
Creating the Stems and Leaves
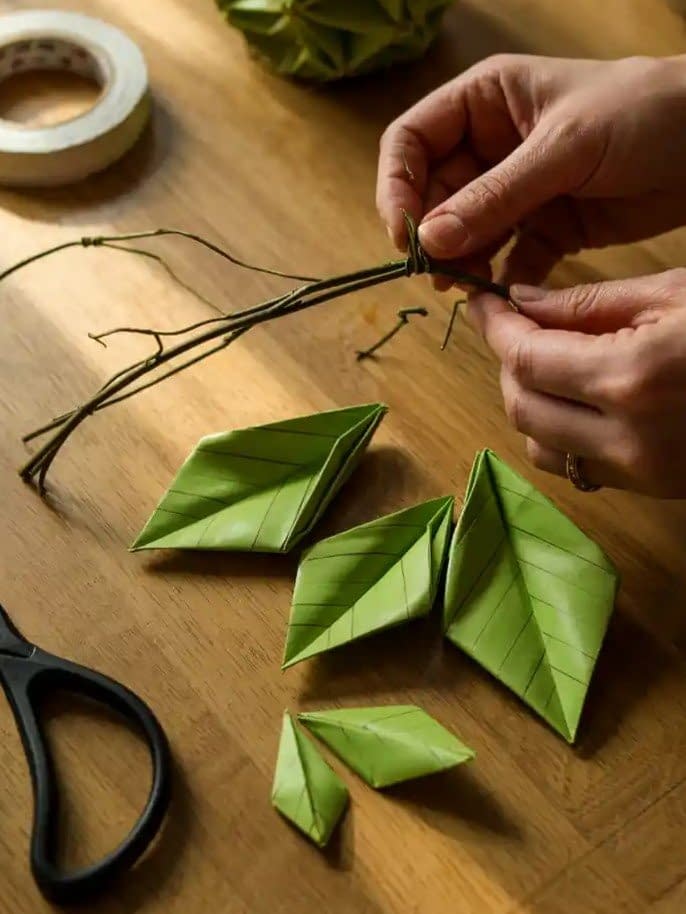
Your origami flowers need sturdy stems to form a bouquet.
- Cut floral wire to your desired length (8–10 inches is common).
- Wrap floral tape around the wire to create a green, natural-looking stem.
- Attach stems to flowers:
- For Kusudama: Insert the wire into the base and glue securely.
- For Lily and Tulip: Poke a small hole at the base and insert the wire with glue.
- Add leaves by folding green paper into long, pointed shapes and attaching them with floral tape.
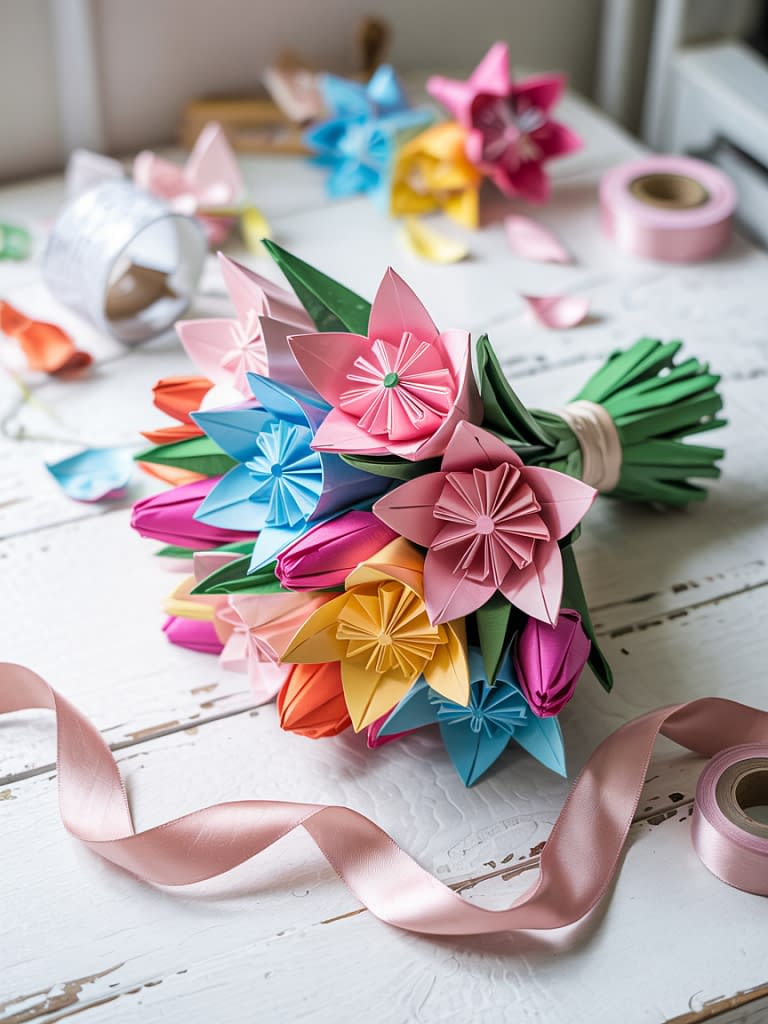
Assembling the Bouquet
- Arrange flowers by height and variety for visual balance.
- Secure stems together using floral tape, starting from the flower base and working downwards.
- Wrap the bouquet with decorative ribbon, tying a bow at the front.
- Add tissue paper or lace around the flowers for a fuller appearance.
Design Tips for a Stunning Origami Flower Bouquet
- Color coordination: Choose a theme (pastels, bold colors, monochrome) for a cohesive look.
- Mix flower types: Different shapes add texture and depth.
- Layer sizes: Include smaller flowers near the edges for a natural spread.
- Use embellishments: Beads, sequins, or buttons for flower centers can make your bouquet pop.
- Consider fragrance: Lightly spray with a pleasant scent for an extra sensory element.
Creative Variations
- Seasonal Bouquets – Use autumn colors for fall, pastels for spring, or red and gold for the holidays.
- Theme Bouquets – Incorporate book pages for literary gifts or maps for travel lovers.
- Mini Bouquets – Perfect for wedding favors or place settings.
- Paper Types – Experiment with textured paper, metallic foils, or handmade sheets.
Caring for Your Origami Bouquet
- Keep away from direct sunlight to prevent fading.
- Avoid moisture, as paper can warp or discolor.
- Store in a dry place or display in a vase without water.
A well-cared-for origami bouquet can last for years, preserving both the beauty and the memory behind it.
Final Thoughts
Crafting an origami flower bouquet is a rewarding project that blends artistry with personal touch. Whether you’re creating one as a heartfelt gift or as a unique décor piece for your home, the process offers a relaxing, creative outlet.
This Origami Flower Bouquet Tutorial has walked you through every step — from choosing paper to folding flowers, assembling stems, and arranging them into a harmonious display. With patience and practice, you can produce a bouquet that looks as beautiful as any fresh arrangement — and lasts far longer.


