
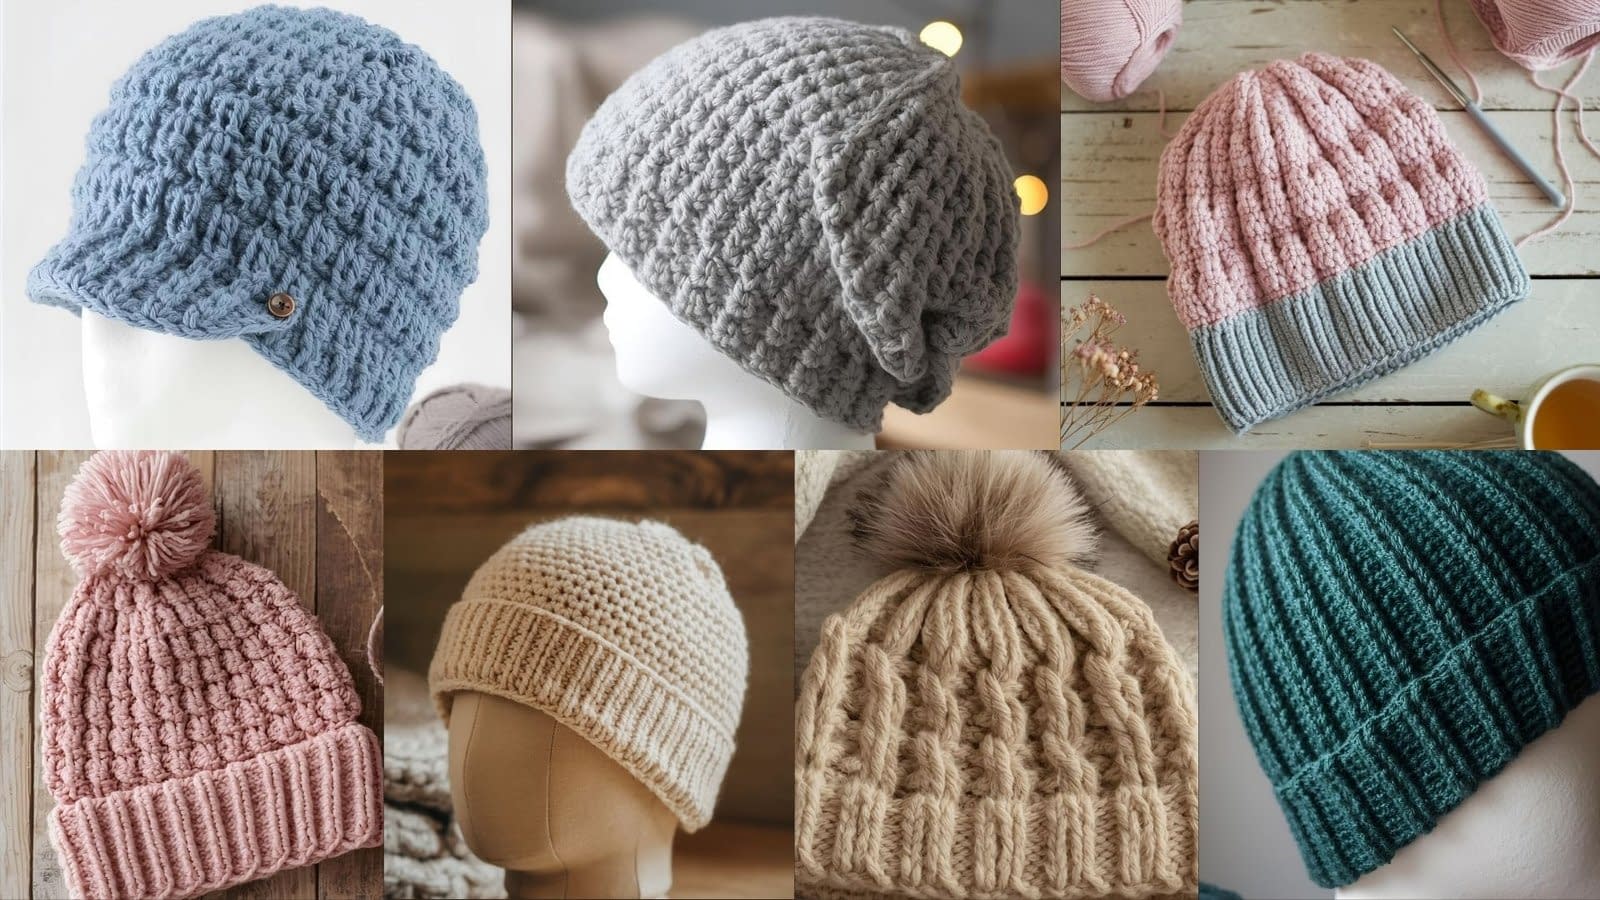
Crochet puff stitch beanies are loved for their texture, warmth, and stylish look. The puff stitch gives a soft, cushioned texture that looks intricate but is surprisingly easy once you learn the rhythm. For a quick weekend project or designing a winter accessory set, puff stitch beanies are a perfect blend of comfort and creativity.
In this post, you’ll find seven unique crochet puff stitch beanie patterns — each one explained in depth with materials, size adjustments, and step-by-step instructions. You’ll also get helpful tips on yarn selection, shaping, and finishing to make every hat look professional.
1. Classic Puff Stitch Beanie Pattern
Skill Level: Beginner
Finished Size: Adult medium (fits 21–23″ head circumference)
Materials
- Worsted weight (#4) yarn (approx. 200 yards)
- Crochet hook 5.0 mm (H)
- Yarn needle and scissors
- Stitch marker (optional)
Notes
This pattern works from the top down in continuous rounds, building a smooth dome shape. The puff stitches are alternated with single crochet rounds for flexibility and stretch.
Instructions
Crown
- Start: Create a magic ring.
- Round 1: Ch 2 (does not count as a stitch). Work 10 puff stitches into the ring. (To make a puff stitch: Yarn over, insert hook in ring, yarn over, pull up a loop — repeat 3 more times — yarn over and pull through all loops on the hook. Ch 1 to close the puff.) Join with a sl st to the top of the first puff.
- Round 2: Ch 1. Work 2 puff stitches in each puff from the previous round. Join. (20 puffs total.)
- Round 3: Ch 1. (2 puff stitches in next st, 1 puff stitch in next st) repeat around. Join. (30 puffs total.)
- Continue increasing in this pattern, adding one extra puff between increases each round, until the crown measures about 6.5 inches in diameter for an adult hat.
Body
- Once the crown is complete, stop increasing.
- Alternate 1 round of puff stitches with 1 round of single crochet to maintain flexibility.
- Continue working even until the hat measures about 7.5–8 inches tall from the top center.
Ribbed Band
- Switch to half double crochet (hdc) through the back loop only.
- Work 5 rounds for a stretchy and neat ribbed band.
- Slip stitch to join and fasten off.
Finishing Touches
- Weave in all loose ends neatly.
- Add a faux fur pom pom or yarn pom pom on top.
- Lightly steam block the hat to set the shape.
Pro Tip: Adjust your hook size if you prefer a looser or tighter fit. For a child’s size, stop increasing earlier.
2. Two-Tone Puff Stitch Beanie

Skill Level: Advanced Beginner
Finished Size: Adult small to medium
Materials
- Worsted weight (#4) yarn in two contrasting colors
- 5.0 mm crochet hook
- Yarn needle
Notes
This version adds color contrast to highlight the puff stitch texture. The switch between two shades creates a modern, eye-catching pattern.
Instructions
Crown
- With Color A, start a magic ring.
- Round 1: Ch 2, work 10 puff stitches into the ring. Join.
- Round 2: 2 puff stitches in each stitch (20 total).
- Round 3: (2 puff stitches in one st, 1 puff stitch in next) repeat around. (30 total.)
- Round 4–5: Continue increasing evenly until the top measures 6″ across.
Body
- Switch to Color B at the beginning of the next puff round.
- Alternate between puff stitch rounds and single crochet rounds to form texture.
- After 3–4 rounds, switch back to Color A for a striped or block effect.
- Continue until the beanie measures about 8″ tall.
Band
- Use Color A for the final ribbed band.
- Work 4–5 rounds of half double crochet (back loop only).
- Finish with a slip stitch and fasten off.
Tips & Variations
- Try color fading: alternate colors every 2 rounds near the transition for a blended look.
- For a reversible version, weave ends neatly inside and keep stitches loose.
- Add a matching pom pom using both colors twisted together.
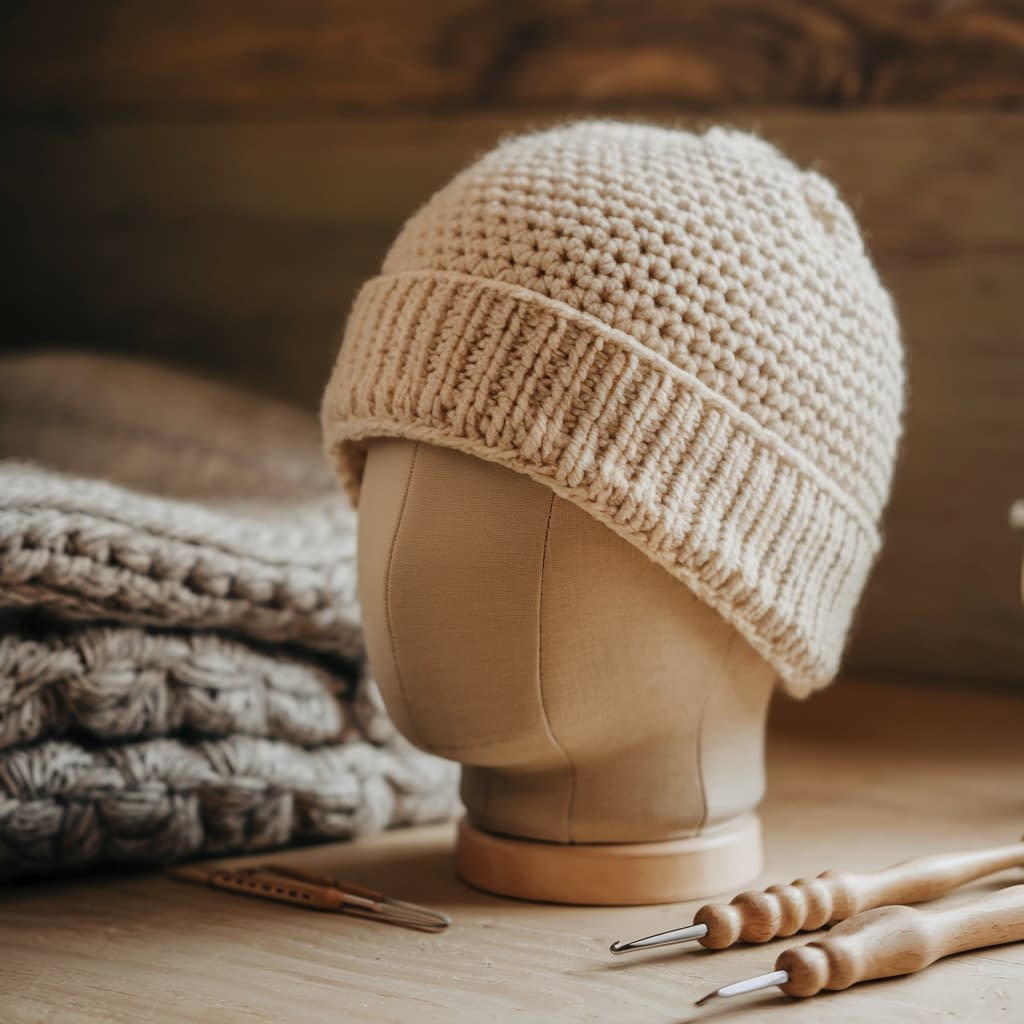
3. Chunky Puff Stitch Beanie
Skill Level: Intermediate
Finished Size: Adult medium
Materials
- Bulky (#5) or super bulky (#6) yarn
- 6.5 mm (K) hook
- Yarn needle
Notes
Chunky yarn creates a plush, cozy fabric with larger puff stitches that pop beautifully. This hat works up quickly and is great for gifting.
Instructions
Crown
- Make a magic ring.
- Round 1: Work 8 puff stitches into the ring. Join.
- Round 2: 2 puff stitches in each stitch. (16 total.)
- Round 3: (2 puff stitches in one st, 1 puff stitch in next) repeat around. (24 total.)
- Round 4: Increase every 3rd stitch until the crown measures 6.5″.
Body
- Continue without increasing for 6–7 rounds of puff stitches.
- For extra stretch, insert one round of single crochet after every second puff round.
- Measure total height — about 8.5–9 inches tall.
Ribbing
- Switch to half double crochet through back loops only for 3–4 rounds.
- The bulky yarn gives a natural stretch, so no need for tighter stitches.
Finishing
- Add a large pom pom for a fun winter look.
- To make it extra snug, weave an elastic thread inside the last round of the band.
Pro Tip: This style looks amazing with variegated yarn — each puff highlights the color transitions beautifully.
4. Slouchy Puff Stitch Beanie
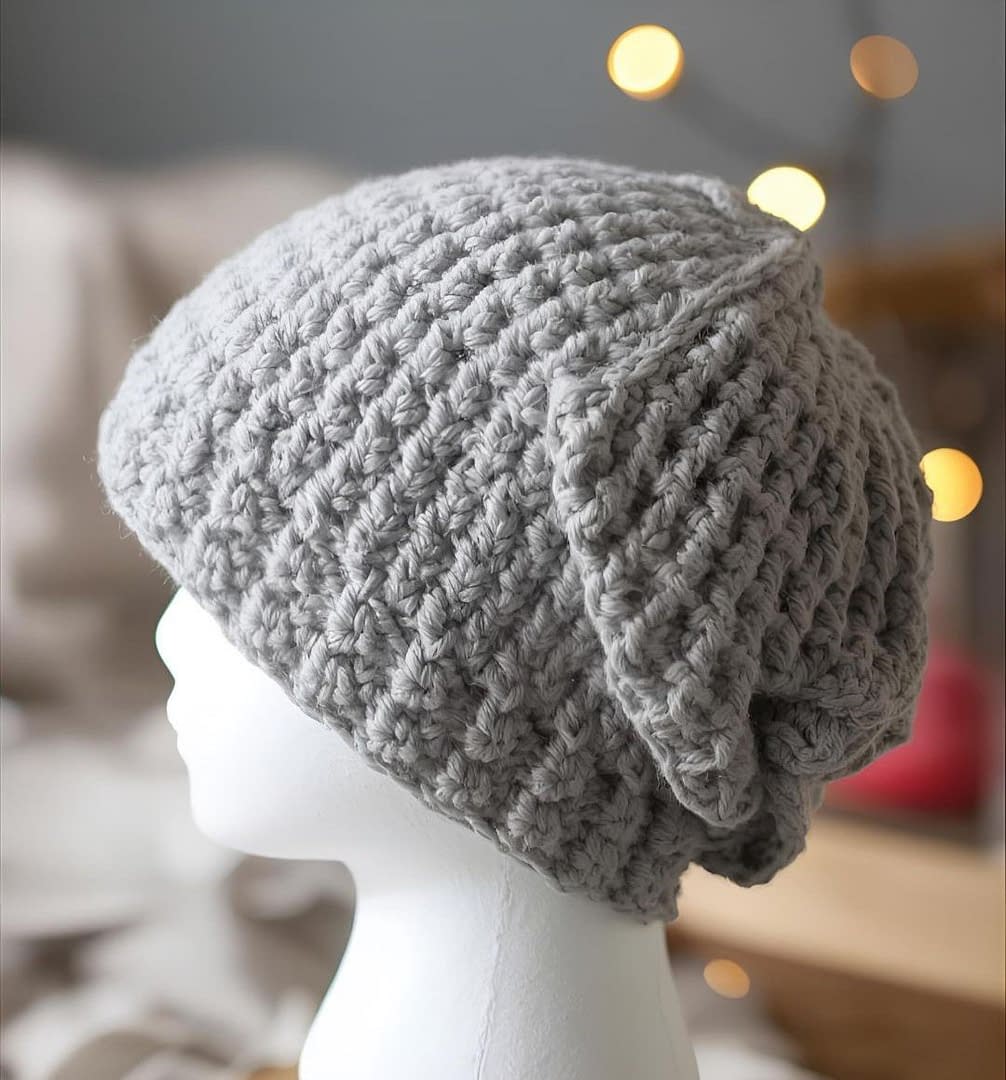
Skill Level: Intermediate
Finished Size: Adult medium–large (loose fit)
Materials
- Light worsted (#3) yarn
- 4.5 mm hook
- Yarn needle
Notes
A relaxed, slouchy hat that drapes gently at the back. Perfect for casual, cozy outfits.
Instructions
Crown
- Start with a magic ring and 10 puff stitches. Join.
- Increase each round as follows:
- Round 2: 2 puff stitches in each (20).
- Round 3: (2 puffs in one st, 1 in next) repeat (30).
- Round 4: (2 in one, 1 in next two) repeat (40).
- Continue increasing to about 70–80 stitches total for a relaxed fit.
Body
- Work puff stitch, single crochet alternation for about 8–10 rounds.
- Add 2–3 extra rounds compared to a regular beanie for the slouch.
- Hat should measure around 10–11 inches tall from the top center.
Band
- Use half double crochet through back loops only for 5 rounds.
- Keep stitches slightly tighter to balance the loose body.
Finishing Touches
- Add a yarn tassel or wooden button at the back for style.
- Optional: fold the band for a double-layered cuff look.
Pro Tip: Slouchy hats look best with soft, drapey yarns like acrylic-wool blends or bamboo fibers.
5. Puff Stitch Beanie with Brim
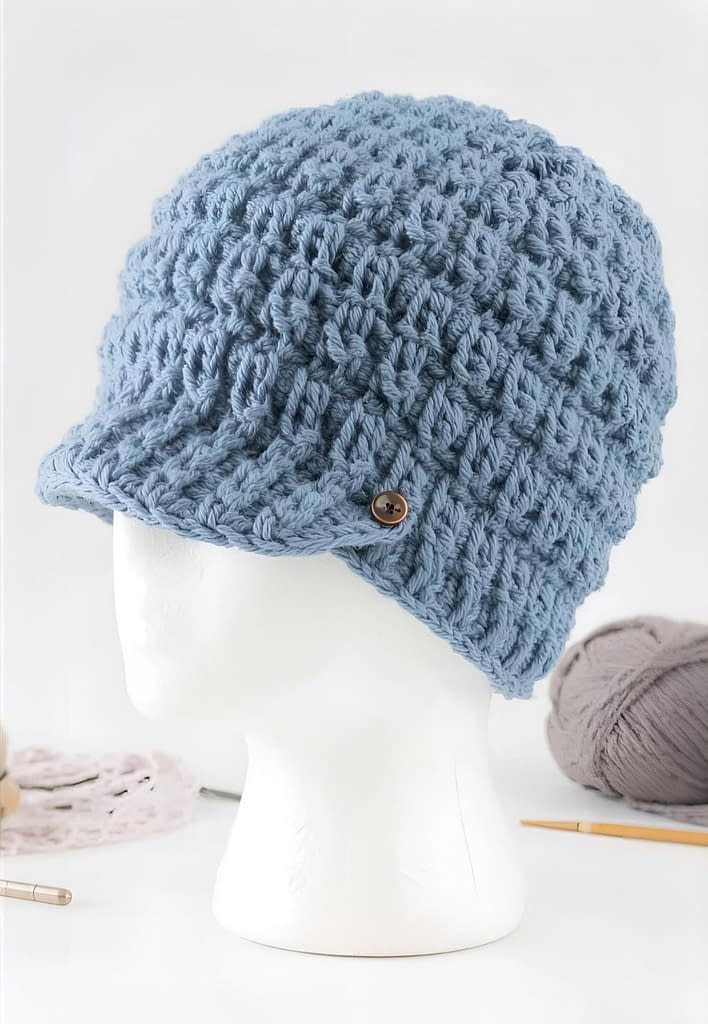
Skill Level: Intermediate–Advanced
Finished Size: Adult
Materials
- Worsted weight yarn
- 5.0 mm hook
- Yarn needle and scissors
Notes
This design blends puff stitches with a small brim that gives a casual, sporty look. Great for transitional weather.
Instructions
Crown & Body
- Work the crown as in the Classic Puff Stitch Beanie until it measures 6.5″ across.
- Continue puff stitch and single crochet rounds for 6–7 inches total length.
Brim
- Ch 1, sc across the front half of the hat (about 20–25 sts). Turn.
- Row 2: Ch 1, sc in each stitch.
- Row 3: Ch 1, sc2tog at beginning and end.
- Repeat until the brim narrows slightly and reaches desired shape (about 1.5–2 inches long).
- Slip stitch evenly along the edge for a neat finish.
Optional Lining
- Cut a small piece of craft plastic or stiff felt the shape of your brim.
- Slip it inside before finishing to give structure.
Tip: Add a decorative button at one side of the brim for an elevated look.
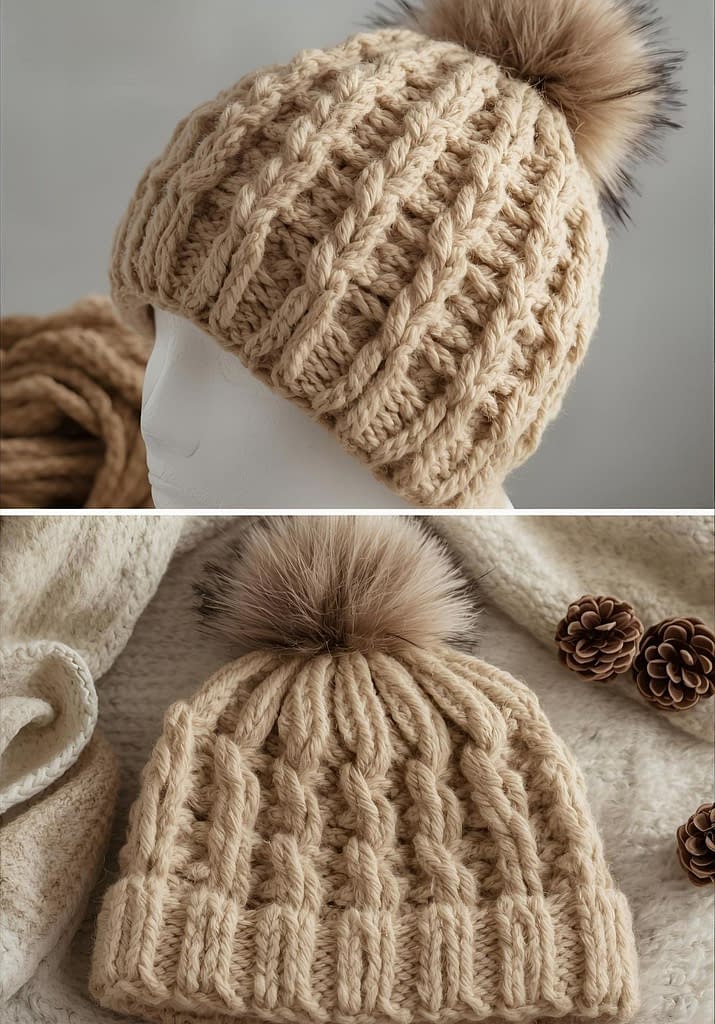
6. Textured Puff Stitch Beanie with Ribbed Lines
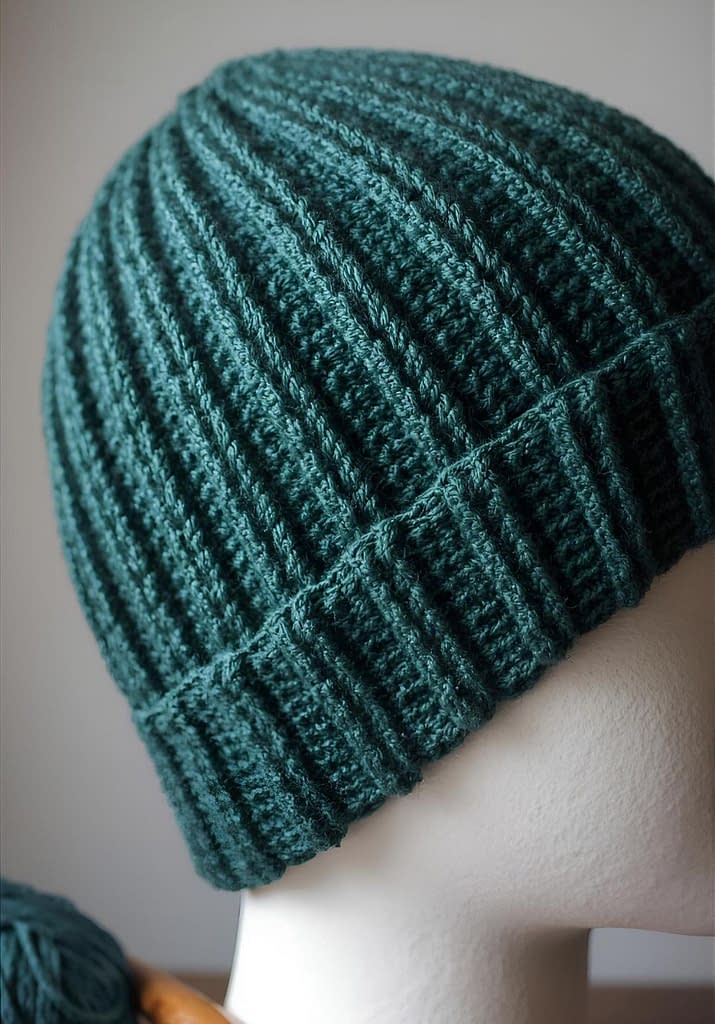
Skill Level: Intermediate
Materials
- Worsted weight yarn
- 5.0 mm hook
- Yarn needle
Notes
This pattern adds vertical ribbed texture by alternating puff stitches with front post double crochets (FPdc). It’s a great project for those who love texture and structure.
Instructions
Crown
- Start with 10 puff stitches in a magic ring. Join.
- Round 2: 2 puffs in each st (20).
- Round 3: (2 in one, 1 in next) repeat (30).
- Continue until crown measures 6″.
Body
- Round 1: Puff stitches around.
- Round 2: FPdc around every 2nd stitch to create a raised line.
- Repeat Rounds 1–2 alternately for about 8 inches total length.
Ribbed Band
- Work 5 rounds of hdc through back loops only.
- Optional: Work last round using slip stitches for a clean finish.
Finishing
- Lightly steam to bring out the ribbed effect.
- Use soft acrylic yarn for the best stitch definition.
Pro Tip: Using a single-tone yarn makes the texture stand out more clearly.
7. Puff Stitch Beanie with Pom-Pom and Matching Scarf Set
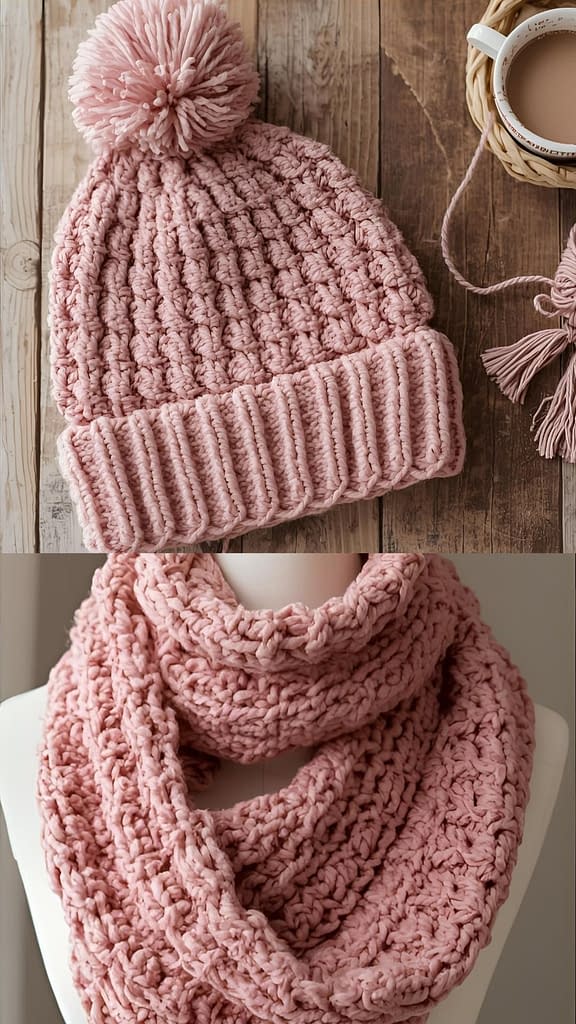
Skill Level: Intermediate
Finished Size: Adult
Materials
- 2 skeins of medium-weight yarn
- 5.0 mm crochet hook
- Yarn needle
Notes
This final project completes your winter look with a matching puff stitch scarf to go with the beanie.
Beanie Instructions
- Follow the Classic Puff Stitch Beanie pattern up to 8 inches tall.
- Add a ribbed band (5 rounds, hdc back loop only).
- Make a large pom pom (wrap yarn around 3 fingers 60 times, tie center, cut loops, trim). Sew securely on top.
Scarf Instructions
- Ch 25 for width.
- Row 1: Work puff stitches across.
- Row 2: Single crochet across.
- Repeat until scarf measures about 60 inches.
- Add fringe if desired.
Finishing Tips
- For a professional set, block both pieces evenly.
- Pair with matching mittens to complete the look.
Pro Tip: Use self-striping yarn for a coordinated look without changing skeins.
Final Thoughts
Crochet puff stitch beanies are the perfect blend of beauty and comfort — soft, textured, and endlessly customizable. Each of these 7 Crochet Puff Stitch Beanie Patterns lets you experiment with yarn weight, colors, and textures while building your crochet skills. Classic fit, a modern color-block style, or a cozy slouchy design, there’s a pattern here for every taste and season.
Handcrafted hats always carry a personal touch, and with these detailed guides, you can create pieces that are not only warm and functional but also full of personality. Pick your favorite pattern, grab your yarn, and enjoy bringing these cozy puff stitch beanies to life.


