
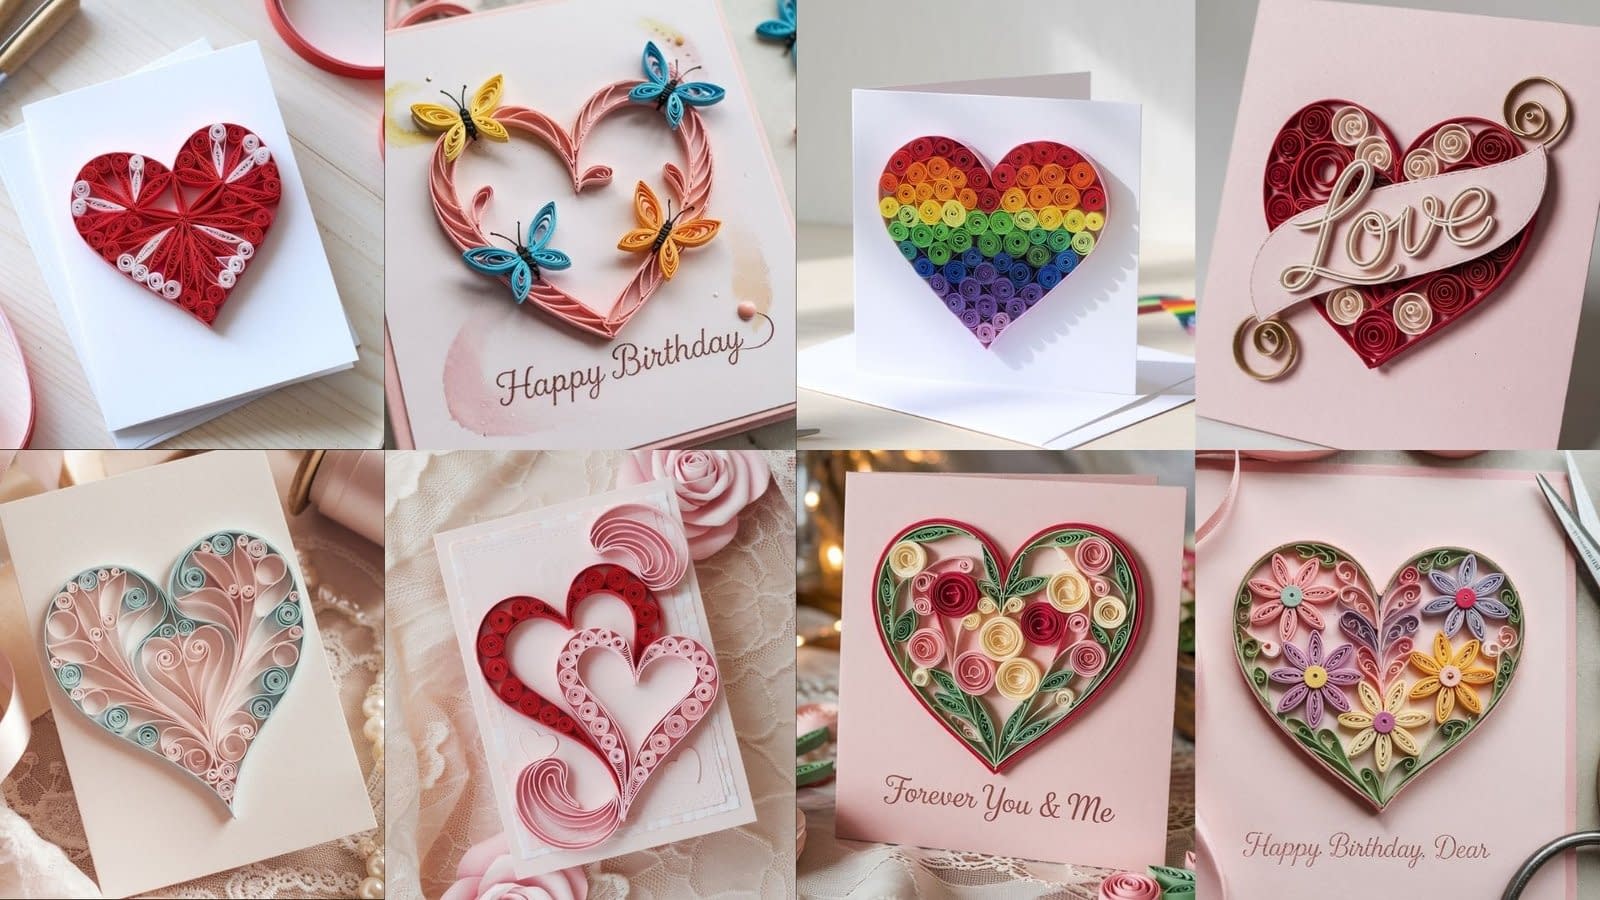
Handmade greeting cards are one of the most personal and heartfelt gifts you can give. They show time, effort, and care, making the message inside feel even more special. Among different papercraft techniques, quilling (or paper filigree) stands out for its elegance. With just strips of paper rolled and shaped in different ways, you can create intricate designs that transform a plain card into a piece of art.
This post will guide you through 8 detailed quilling heart card tutorials, suitable for all levels—from beginners learning how to make basic coils, to advanced crafters exploring 3D pop-up designs. Each tutorial includes materials, detailed instructions, tips for success, and creative variations, so you can adapt them to your own style.
Tutorial 1: Classic Quilled Red Heart
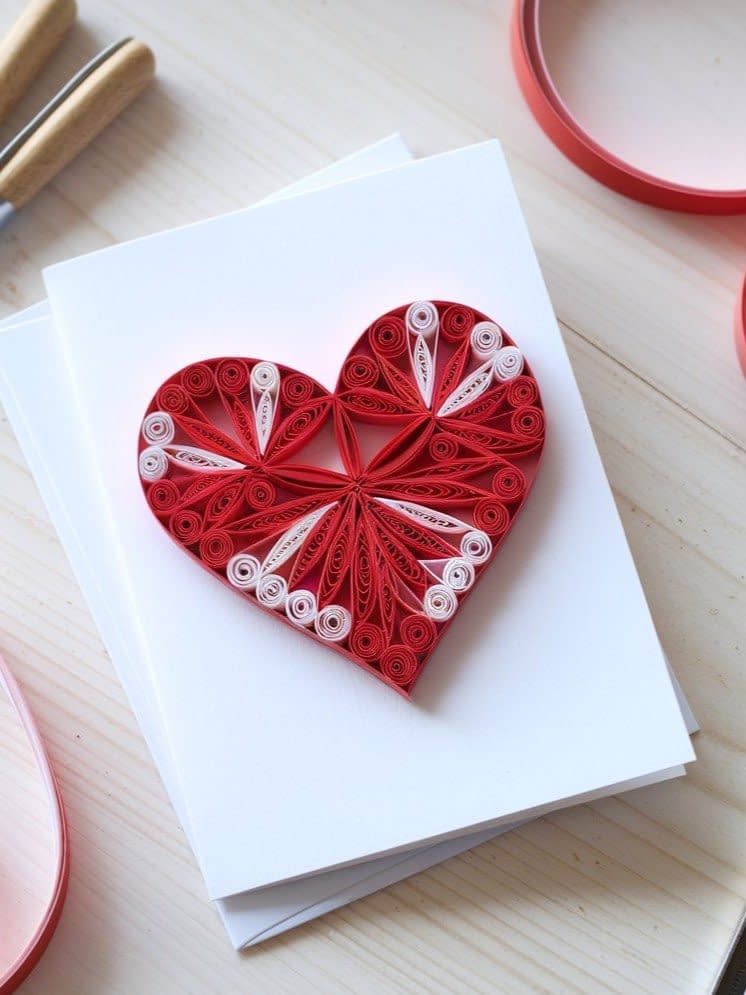
Materials Needed:
- 25–30 red quilling strips (5mm)
- White cardstock card base (5×7 inches recommended)
- Slotted quilling tool
- Tweezers
- Quilling board (optional, for even coils)
- Clear-drying glue
Step 1: Prepare the Base
Fold your card base and lightly sketch a heart outline at the center. This will guide your quilling design.
Step 2: Roll the Coils
- Roll 10 tight coils (glue the ends).
- Roll 10–15 loose coils using the quilling board.
- Pinch half into teardrop shapes and half into marquise (eye) shapes.
Step 3: Form the Heart Outline
- Glue two teardrops tip-to-tip at the top center “V” of the heart.
- Place marquise shapes along the curves of the heart.
- Add a tight coil at the bottom tip for definition.
Step 4: Fill the Inside
- Alternate between loose coils, teardrops, and marquise to fill the heart.
- Use tweezers to fit pieces snugly together.
- Add smaller coils to fill gaps.
Step 5: Finishing Touches
- Once satisfied, secure with a tiny bit of glue between each shape.
- Erase the pencil outline once dry.
- Optional: add a small flower or arrow as embellishment.
Tips & Variations:
- Use gradient strips (red to pink) for a romantic ombre look.
- Add metallic paper or rhinestones for sparkle.
- Keep coils uniform in size for a clean, professional finish.
Tutorial 2: Quilled Heart Outline
Materials Needed:
- Red and pink strips (5mm)
- White cardstock base
- Quilling tool, tweezers, glue
Step 1: Sketch the Outline
Draw a large heart at the center of the card. This will act as your coil placement guide.
Step 2: Create the Border Coils
- Roll 18–20 tight coils (mix red and pink).
- Pinch some into teardrops to better follow the curve of the outline.
Step 3: Build the Heart Border
- Place the tight coils along the outline, alternating colors.
- Use teardrops at sharp curves and the heart’s point for smoothness.
- Add glue sparingly to keep the design neat.
Step 4: Add Decorative Touches
- Fill small gaps with mini coils.
- Optional: add a second smaller heart outline inside the first for depth.
Step 5: Final Finish
- Erase the pencil marks carefully.
- Let glue dry fully before handling.
Tips & Variations:
- Use alternating colors (e.g., pink and gold) for contrast.
- Add tiny flowers or scrolls along the border for a romantic frame.
- Outline the card edges with quilling strips to frame the heart.
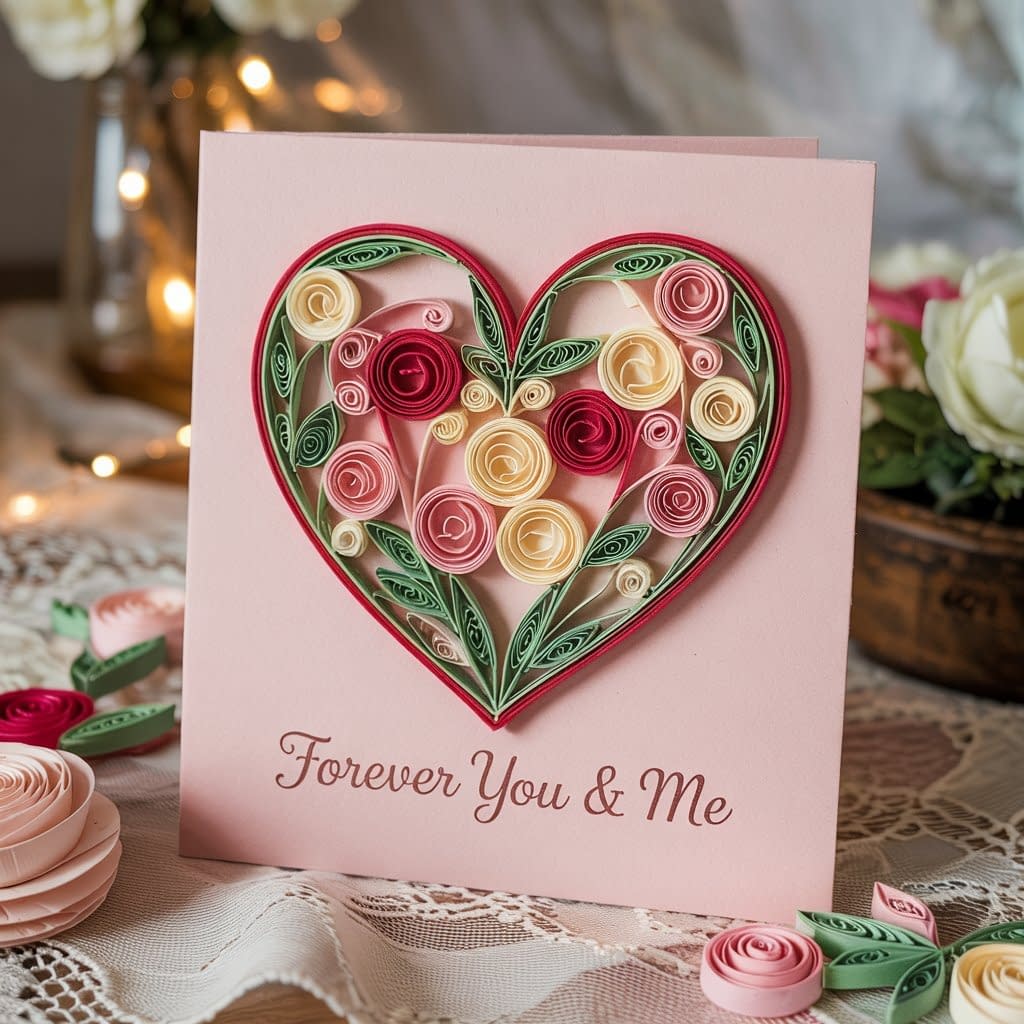
Tutorial 3: Floral Quilled Heart
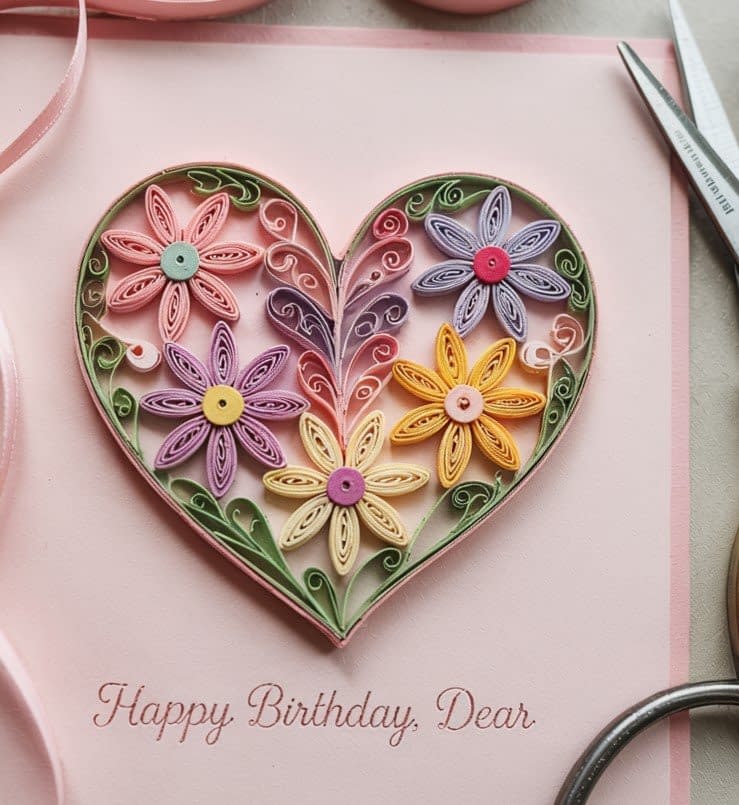
Materials Needed:
- Red, pink, yellow, and green strips (3mm & 5mm)
- White or pastel card base
- Quilling tool, tweezers, glue
Step 1: Make the Flowers
- Roll 5 tight yellow coils for flower centers.
- Roll pink/red strips into loose coils and pinch into teardrops.
- Group 5 petals around each yellow center to form flowers.
- Make 5–6 flowers in different sizes.
Step 2: Make the Leaves
- Roll green strips into marquise shapes for leaves.
- Vary sizes to create a more natural look.
Step 3: Build the Heart
- Sketch a heart outline.
- Arrange flowers inside the heart, focusing on balance.
- Add leaves around flowers to fill space.
- Secure with small dabs of glue.
Step 4: Fill Gaps
- Add mini coils or buds between flowers.
- Adjust petals with tweezers for realism.
Step 5: Final Finish
- Erase outline once dry.
- Optional: add pearls or rhinestones to flower centers.
Tips & Variations:
- Use gradient petals (light to dark shades) for depth.
- Add vines made from scrolls for a whimsical effect.
- Try a full floral border heart, leaving the center empty for text.
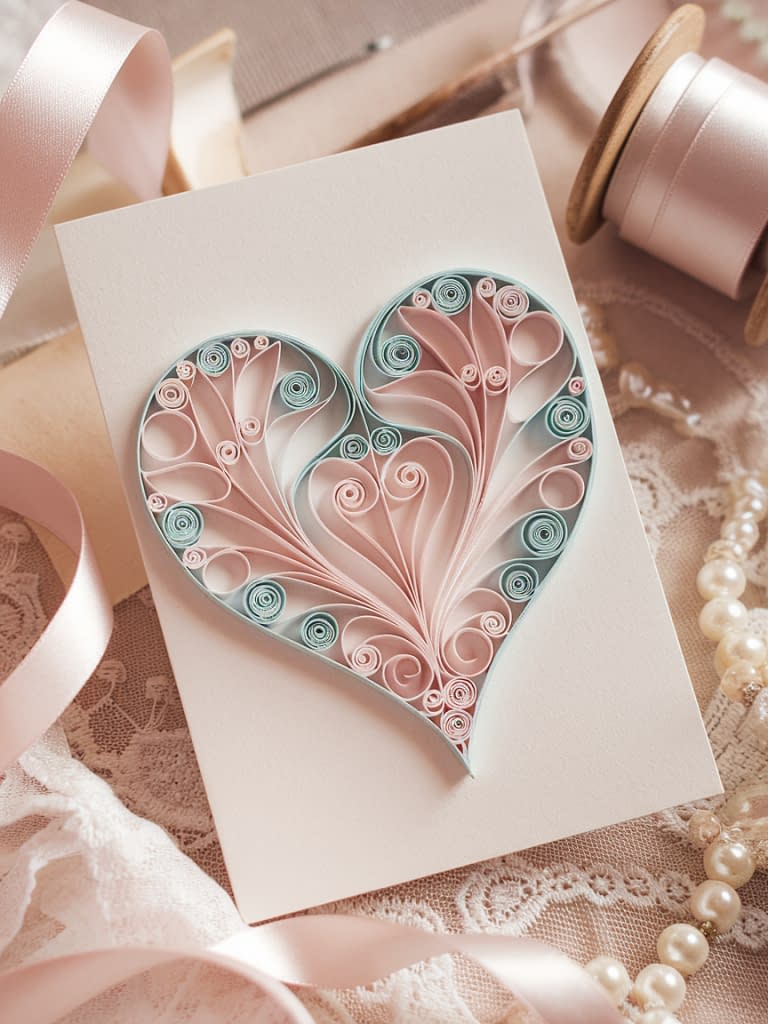
Tutorial 4: Quilled Scroll Heart
Materials Needed:
- Pink and white strips (5mm)
- White card base
- Quilling tool, tweezers, glue
Step 1: Roll the Scrolls
- Roll 8–10 strips loosely without gluing.
- Shape into C-scrolls (curl one end) and S-scrolls (curl both ends opposite).
Step 2: Form the Heart Shape
- Sketch a heart outline.
- Place scrolls inside the heart so curls flow inward and outward.
Step 3: Secure and Fill
- Use small glue dots to hold scrolls in place.
- Fill spaces with smaller open coils or mini scrolls.
Step 4: Add Detail
- Place a few small flowers or leaves between scrolls if desired.
- Check that scrolls are symmetrical on both sides.
Step 5: Final Touches
- Erase pencil lines.
- Let dry completely before storing.
Tips & Variations:
- Use pastel colors for a lace-like effect.
- Add metallic scrolls for a luxurious design.
- Keep glue invisible for a delicate look.
Tutorial 5: Double Quilled Hearts
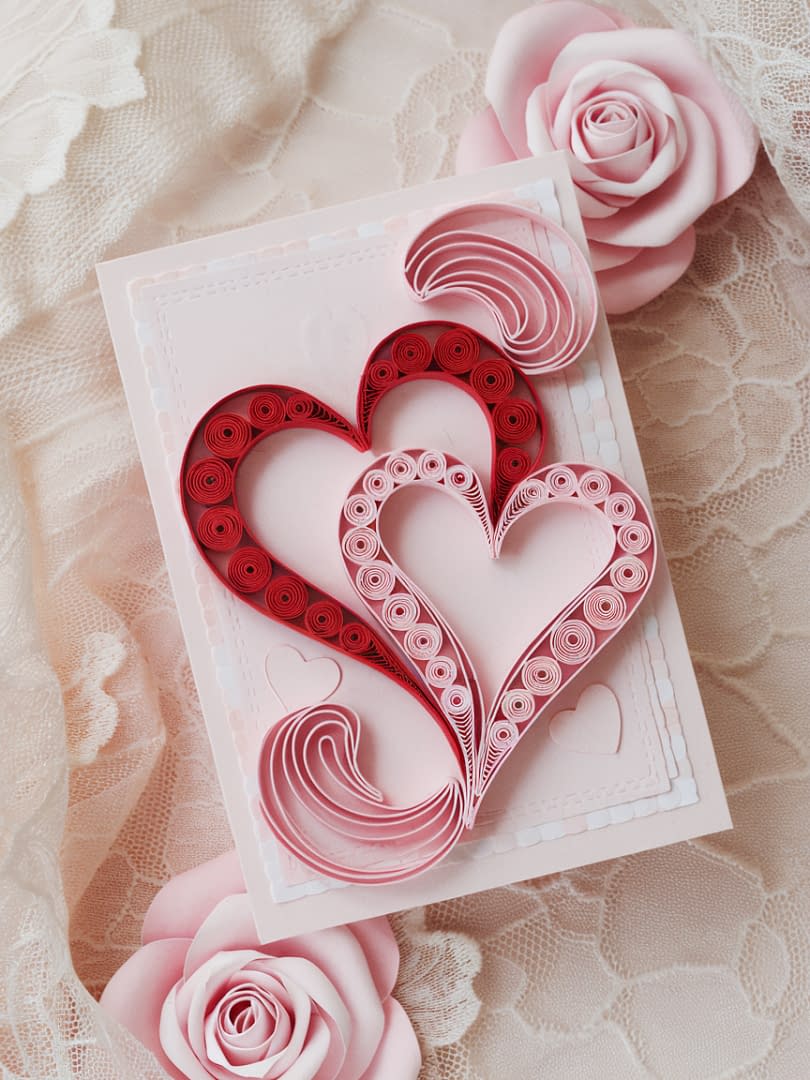
Materials Needed:
- Red and gold strips (5mm)
- Card base
- Quilling tool, tweezers, glue
Step 1: Sketch Two Hearts
Draw a large heart with a smaller one inside it.
Step 2: Fill the Inner Heart
- Roll red tight coils and place them along the smaller heart outline.
- Ensure coils fit closely together.
Step 3: Create the Outer Heart
- Roll gold strips into marquise shapes.
- Place along the outer heart outline, following the curve.
Step 4: Add Decorative Elements
- Fill gaps with mini coils.
- Add tiny flowers between the two hearts if desired.
Step 5: Final Finish
- Erase pencil marks.
- Ensure both hearts look symmetrical.
Tips & Variations:
- Use gradient colors for the inner heart.
- Add glitter strips for a festive version.
- Try silver + blue for a winter theme.
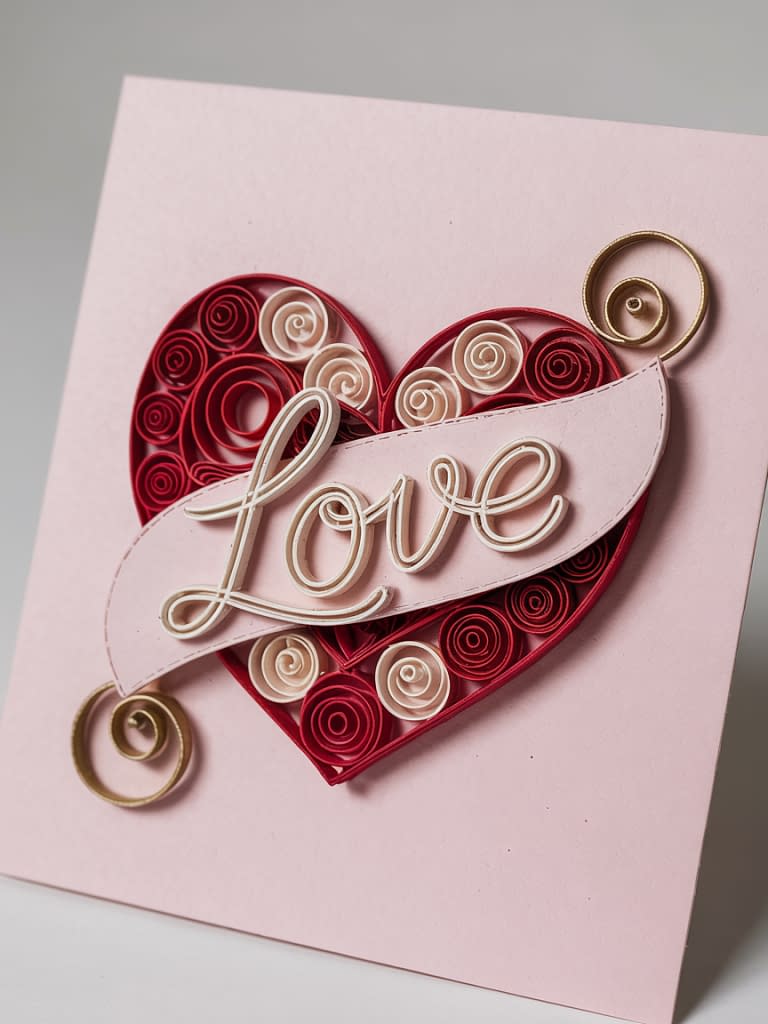
Tutorial 6: Quilled Heart with Typography
Materials Needed:
- Red strips (5mm)
- White or cream card base
- Calligraphy pen (gold or black)
- Quilling tool, tweezers, glue
Step 1: Add Text
- Write or print a word (“Love,” “Forever,” a name) at the center of the card.
Step 2: Build the Heart
- Sketch a heart shape around or above the text.
- Roll and pinch coils into teardrops/marquise.
- Place along the heart outline and glue carefully.
Step 3: Fill the Design
- Add coils and scrolls inside the heart.
- Keep the text clear and readable.
Step 4: Add Flourishes
- Extend quilled scrolls around the letters for elegance.
- Add mini flowers near text if desired.
Step 5: Final Touches
- Erase outlines.
- Add metallic highlights to letters for emphasis.
Tips & Variations:
- Use initials instead of full words for personalization.
- Try a heart-shaped border with the word inside.
- Add tiny rhinestones on letters for sparkle.
Tutorial 7: Rainbow Quilled Heart
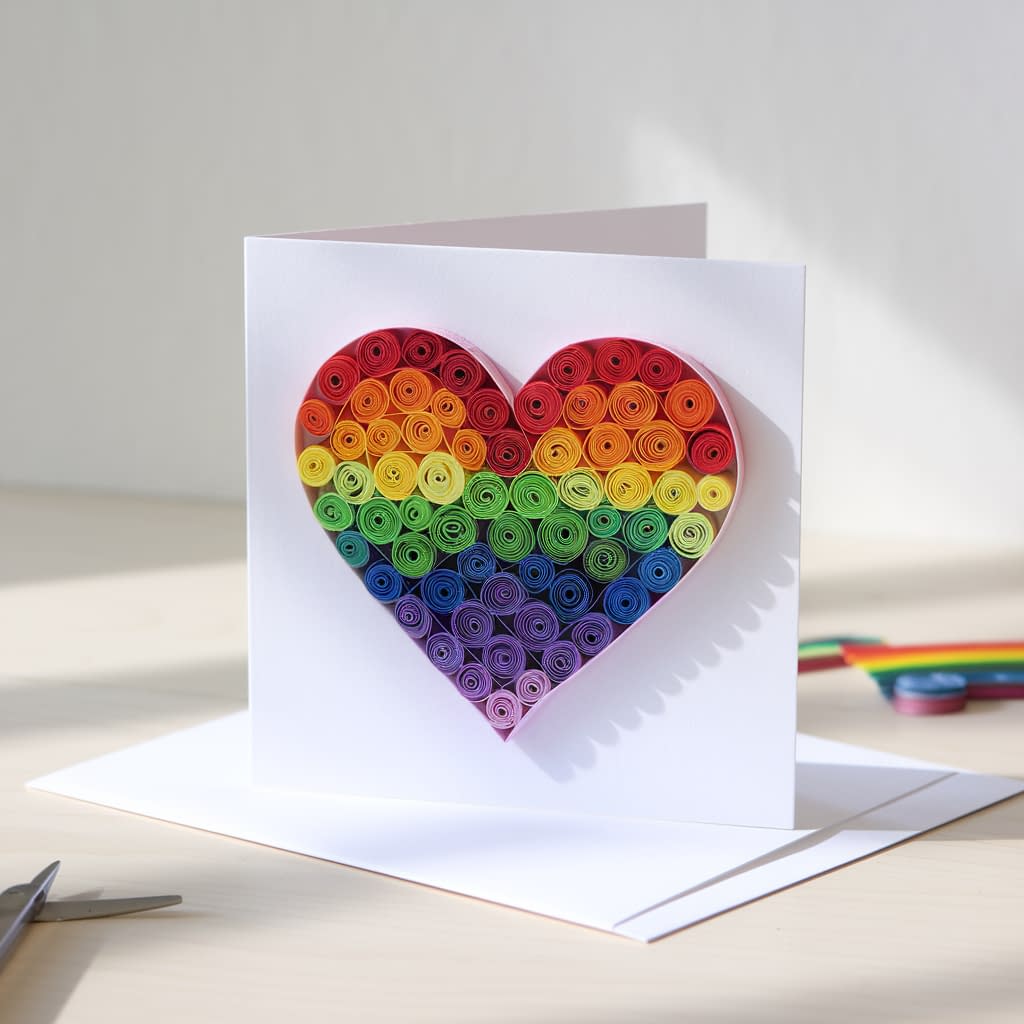
Materials Needed:
- Strips in red, orange, yellow, green, blue, purple (5mm)
- White cardstock base
- Quilling tool, glue, tweezers
Step 1: Prepare the Heart Base
Sketch a large heart outline and divide it into 6–7 equal sections.
Step 2: Roll Colorful Coils
- Roll multiple coils in each rainbow color.
- Keep coil size uniform for neatness.
Step 3: Build the Rainbow
- Start with red at the top, filling the section with coils.
- Continue down with orange, yellow, green, blue, purple.
- Ensure smooth transitions between colors.
Step 4: Add Details
- Use teardrops for variety.
- Fill small spaces with mini coils.
Step 5: Final Touches
- Erase guide lines.
- Add a white outline to make colors pop.
Tips & Variations:
- Add metallic coils between colors for shimmer.
- Use pastel rainbow shades for a softer look.
- Try a gradient effect instead of strict color bands.
Tutorial 8: 3D Pop-Up Quilled Heart
Materials Needed:
- Red and pink strips (5mm)
- Card base
- Scissors, glue, tweezers
Step 1: Prepare the Pop-Up Base
- Fold the card in half.
- Cut two parallel slits in the fold to create a flap.
- Push flap inward to make a pop-up platform.
Step 2: Make the Quilled Heart
- Roll coils, teardrops, and marquise.
- Assemble into a heart shape separately on wax paper.
- Let dry completely.
Step 3: Attach to Pop-Up Flap
- Glue the finished quilled heart onto the flap.
- Ensure it folds flat when closed.
Step 4: Decorate the Surroundings
- Add mini coils, flowers, or scrolls around the heart.
- Decorate the front cover for extra surprise.
Step 5: Final Checks
- Test opening/closing several times.
- Let dry fully before storing.
Tips & Variations:
- Use gradient shades for the 3D heart.
- Add glitter highlights to make it festive.
- Write a hidden message under the pop-up heart.
Beginner Tips for Success
- Practice basic shapes first: Circles, teardrops, marquise, and scrolls are the foundation.
- Work in sections: Don’t rush; let glue dry in one section before moving on.
- Use templates: Sketching or stenciling a heart helps maintain symmetry.
- Handle gently: Quilling paper can bend or tear easily.
- Experiment: No two cards need to look the same—colors and arrangements are flexible.
Occasions for Quilling Heart Cards
These tutorials are versatile and can be adapted for many celebrations:
- Valentine’s Day
- Weddings and engagements
- Anniversaries
- Mother’s Day
- Birthdays
- Friendship cards
- “Just because” heartfelt notes
Final Thoughts
Quilling is more than just a craft—it’s an art form that combines patience with creativity. By following these 8 quilling heart card tutorials, you can create everything from simple beginner projects to advanced pop-up designs. Each card is unique and infused with care, making it far more meaningful than store-bought alternatives.
So, start crafting your own handmade cards today. With practice, you’ll not only master quilling but also spread joy with every creation.


