
Your kitchen isn’t just a place to cook—it’s the heart of the home, where family and friends gather, stories are shared, and memories are made. Decorating your kitchen with wall art is a wonderful way to add warmth and personality, and with the help of a Cricut machine, you can create customized pieces that perfectly match your style.
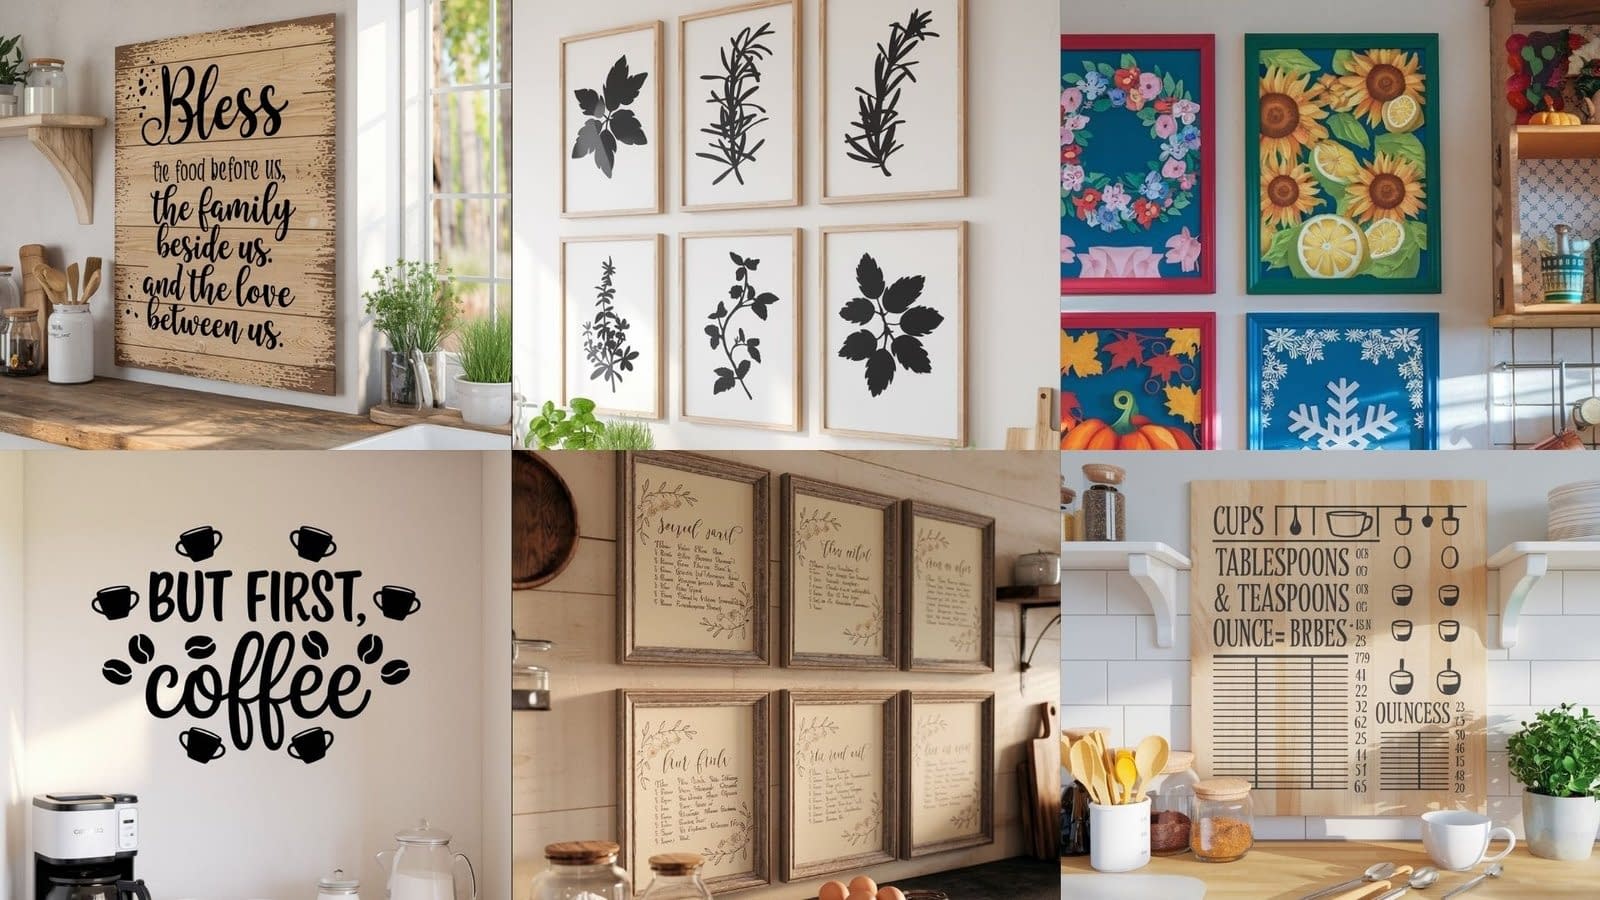
In this guide, we’ll explore 6 Cricut wall art ideas for the kitchen that range from rustic farmhouse charm to modern and functional décor. Each idea is designed to be practical, stylish, and beginner-friendly while offering creative flexibility for more advanced makers. By the end, you’ll have plenty of inspiration to transform blank kitchen walls into meaningful works of art.
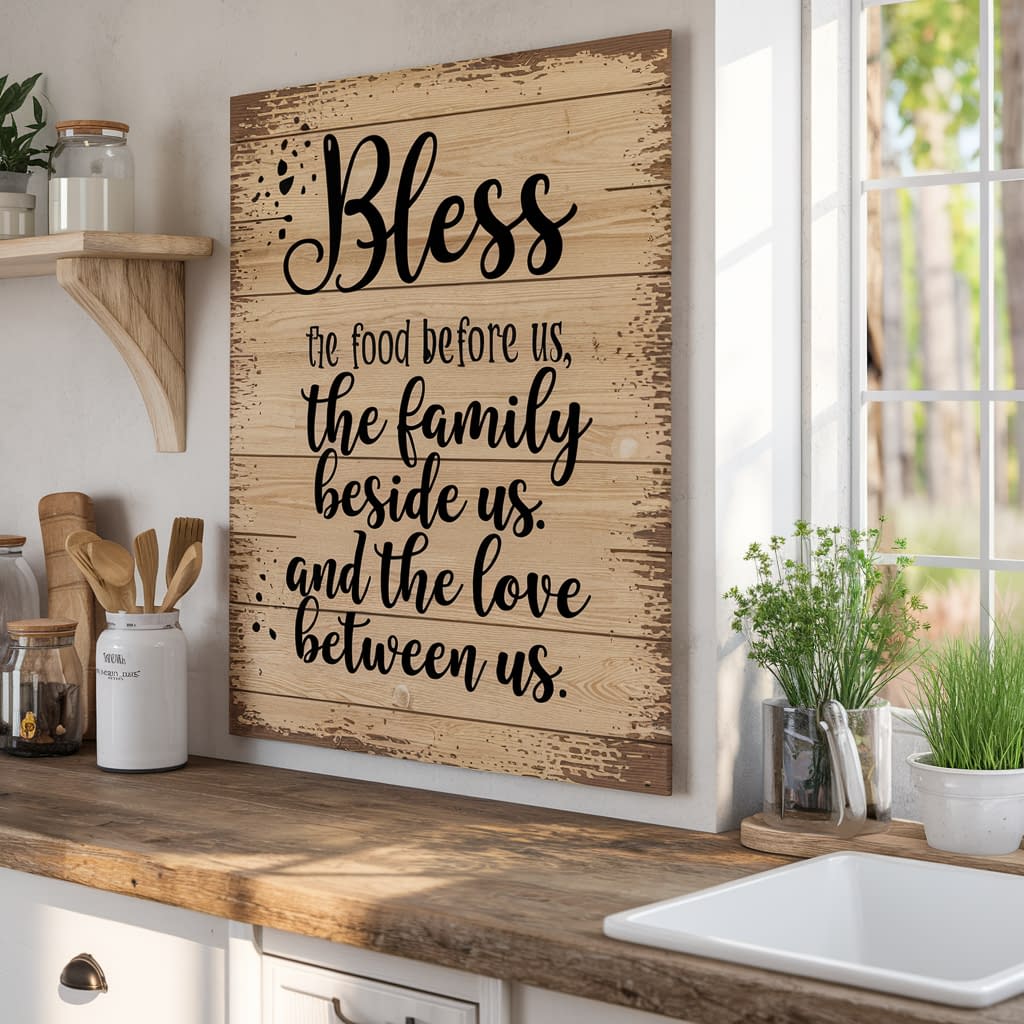
1. Farmhouse-Inspired Kitchen Quotes
Supplies You’ll Need:
- Cricut machine (Maker, Explore, or Joy)
- Permanent adhesive vinyl (black, white, or farmhouse colors)
- StandardGrip cutting mat (green)
- Weeding tools
- Transfer tape
- Wooden sign, canvas, or reclaimed wood board
- Measuring tape and painter’s tape (for alignment)
Step-by-Step Tutorial:
- Choose a Quote: Open Cricut Design Space and type your chosen phrase. Use a farmhouse-inspired script font (examples: Magnolia Sky, Babette, or Hello Honey). Pair with a block font for contrast.
- Size Your Design: Measure your wooden board or canvas and size the quote to fit within the borders, leaving at least 1–2 inches of margin.
- Cut the Vinyl: Place vinyl on your green StandardGrip mat, color side up. Load into Cricut and select Vinyl as the material setting. Adjust blade depth if needed.
- Weed Carefully: Remove excess vinyl around the letters. Use a weeding hook to lift small inner pieces (like inside “o” or “e”).
- Apply Transfer Tape: Cut a piece slightly larger than your design, press firmly, and smooth out bubbles.
- Position & Apply: Use painter’s tape to mark the center of your wooden sign. Carefully place your vinyl design, starting from the middle outward. Smooth with a scraper.
- Remove Transfer Tape: Slowly peel back at a 45° angle. If parts lift, press again with the scraper.
Styling Variations:
- Distress the wooden board with sandpaper for a rustic, vintage feel.
- Paint the background a chalkboard black, then apply white vinyl for a bold farmhouse look.
- Create a set of smaller quote signs and hang them in a row above your kitchen cabinets.
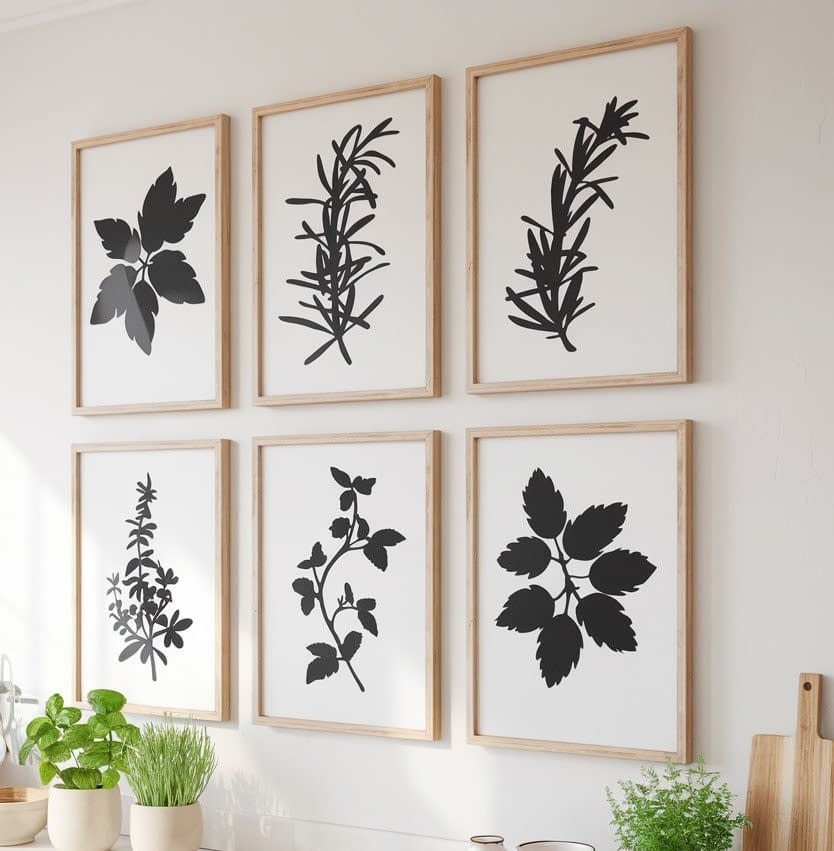
2. Herb Silhouette Wall Art
Supplies You’ll Need:
- Cricut machine
- Permanent adhesive vinyl (green, black, or white)
- Cardstock or wood veneer (optional for framed pieces)
- Transfer tape
- Shadowbox frames or blank canvases
- StandardGrip cutting mat
- Painter’s tape for wall alignment
Step-by-Step Tutorial:
- Pick Herb Silhouettes: Search Cricut Design Space for “herb silhouette” (basil, thyme, mint, rosemary, parsley). Or upload your own SVG files.
- Create a Layout: Decide if you want a single large herb decal or a gallery-style arrangement of smaller pieces. For gallery art, size each herb to about 6–8 inches tall.
- Cut the Vinyl: Place vinyl on your cutting mat and load into the Cricut. Select Vinyl setting and cut.
- Weeding Process: Carefully weed around the herb outlines, especially the delicate stems and leaves.
- Transfer to Wall/Canvas: If applying directly to the wall, use transfer tape to apply each herb design. Align using painter’s tape for even spacing. If framing, cut cardstock silhouettes and mount them onto white backgrounds.
- Optional Labels: Use a clean, serif font to add labels like “Basil” or “Thyme” under each silhouette. Cut separately and apply beneath the artwork.
Styling Variations:
- Stick with black silhouettes for a minimalist, Scandinavian-style kitchen.
- Use green vinyl for a lively, botanical vibe.
- Frame in shadowboxes with faux pressed herbs behind the vinyl design for 3D depth.
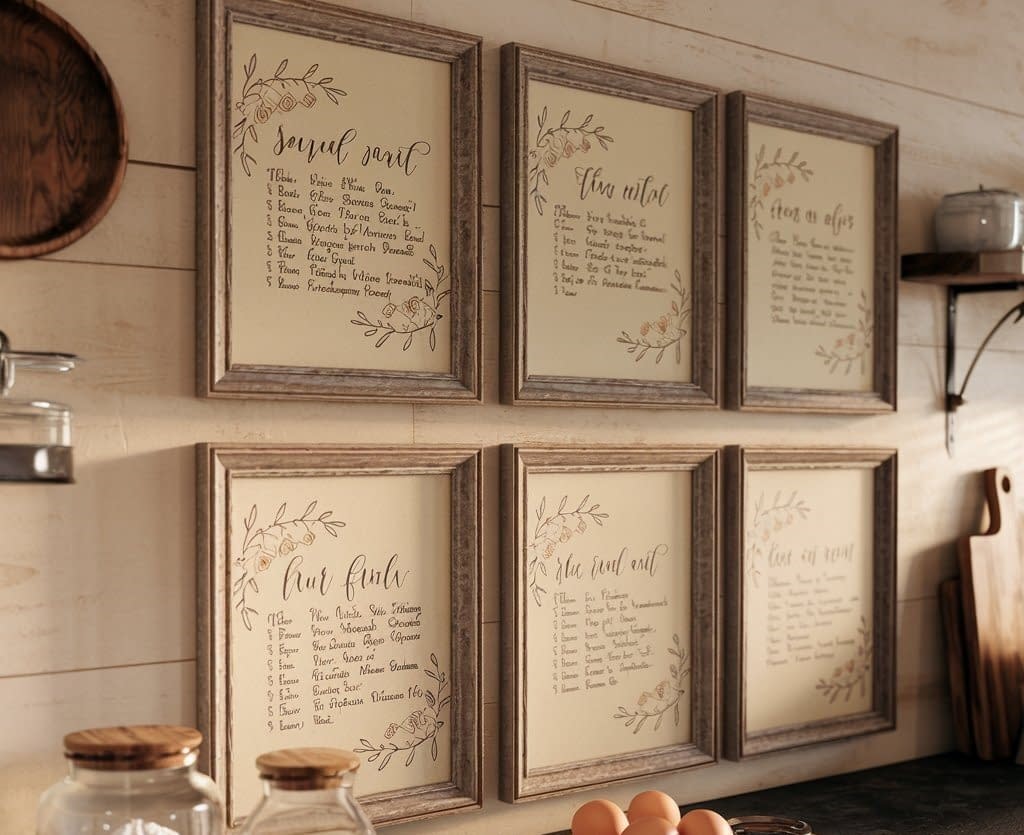
3. Recipe Art Prints
Supplies You’ll Need:
- Cricut machine
- Cricut pens (black or sepia) for writing
- Cardstock (white, cream, or kraft paper)
- StandardGrip cutting mat
- Frames (wood or metal, depending on your décor)
Step-by-Step Tutorial:
- Choose a Recipe: Pick a family favorite—cookies, bread, or grandma’s stew recipe. Handwritten recipes work best for a sentimental look.
- Digitize in Design Space: Either scan and trace your recipe into an SVG, or retype it using a font that mimics handwriting.
- Set Cricut to Draw Mode: Place cardstock on the cutting mat. Load Cricut pens into the accessory clamp.
- Draw and Cut: Have Cricut “write” the recipe onto the cardstock. Add decorative flourishes like borders or flour-themed icons.
- Frame the Recipe: Once complete, frame your recipe and hang in a prominent spot in the kitchen.
Styling Variations:
- Print a set of three recipes and hang them in a vertical row.
- Use kraft paper with sepia ink for a vintage feel.
- Combine vinyl decals for titles (like “Grandma’s Apple Pie”) with drawn handwriting for the recipe text.
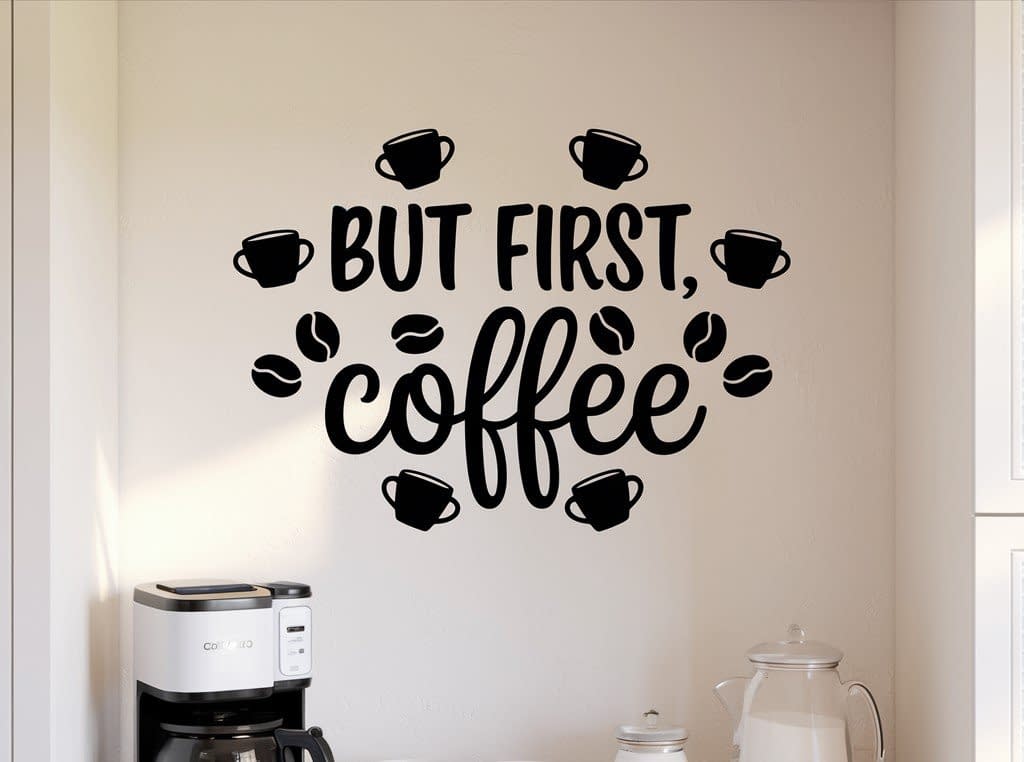
4. Coffee Station Wall Décor
Supplies You’ll Need:
- Cricut machine
- Permanent vinyl (black, brown, or gold)
- Transfer tape
- Blank sign board or directly on wall
- Coffee-related SVG files (mugs, beans, quotes)
Step-by-Step Tutorial:
- Pick a Coffee Quote: Examples include “But First, Coffee” or “Life Happens, Coffee Helps.”
- Design in Cricut Space: Pair script fonts with bold sans-serif for emphasis. Add mug or bean icons as accents.
- Cut Vinyl: Place vinyl on mat, cut, and weed carefully.
- Apply Transfer Tape: Ensure your design is well-aligned before applying.
- Decorate Your Station: Place above your coffee machine or bar area. You can also label jars using matching vinyl decals (Sugar, Creamer, Beans).
Styling Variations:
- Use metallic vinyl (like gold or rose gold) for a chic look.
- Add steam swirls cut from white vinyl above mug designs.
- Create a layered design with two vinyl colors (black mugs, brown beans).
5. Kitchen Measurement Conversion Chart Wall Art
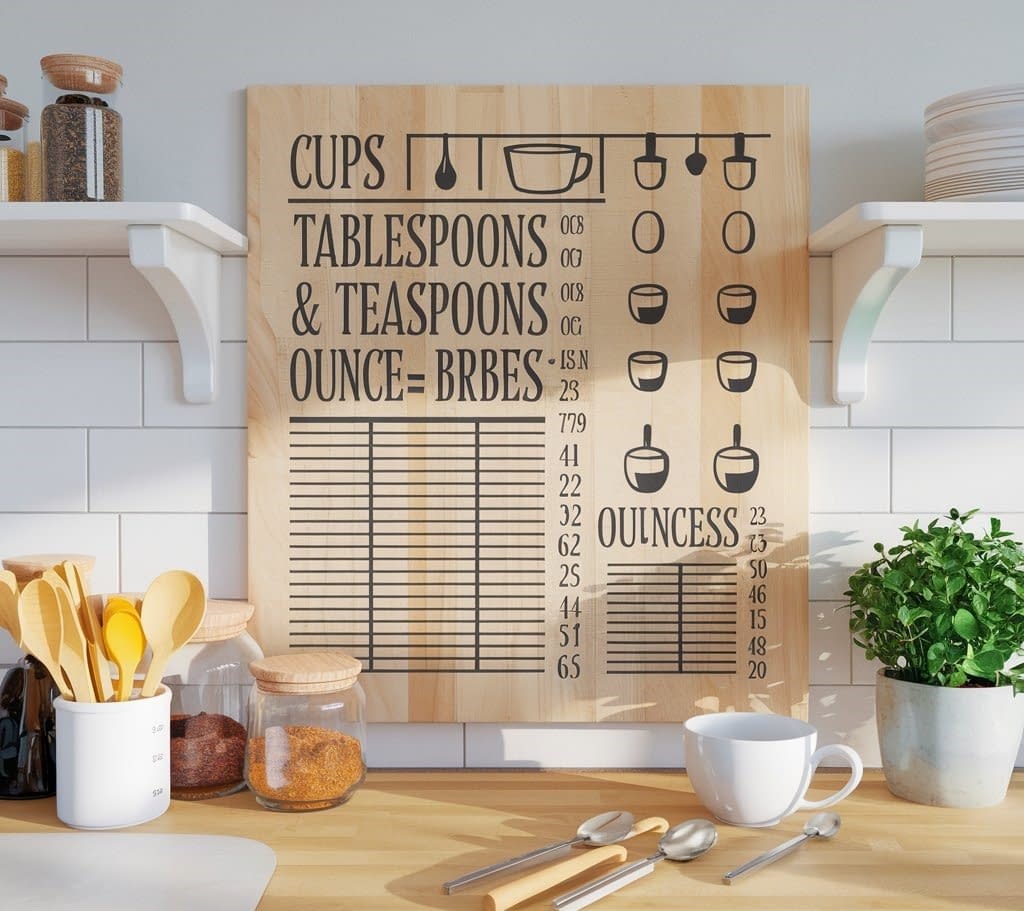
This idea is both functional and stylish, perfect for busy home cooks who often need quick measurement references.
Supplies You’ll Need:
- Cricut machine
- Adhesive vinyl (black or neutral color)
- StandardGrip cutting mat
- Transfer tape
- Wooden board, canvas, or directly on the wall
- Ruler or painter’s tape for alignment
Step-by-Step Tutorial:
- Design Your Chart: Open Cricut Design Space and create a grid with common kitchen conversions (cups → tablespoons → teaspoons → ounces). Use a clean, easy-to-read font.
- Size the Design: Measure the wall or board where you’ll place the chart. Make sure each row and column fits evenly.
- Cut the Vinyl: Load vinyl onto the cutting mat, set the material to vinyl, and cut.
- Weed Carefully: Remove all excess vinyl, leaving only letters, numbers, and grid lines.
- Apply Transfer Tape: Cover the design with transfer tape, smooth it out, and carefully position it on the wall or board.
- Mount and Adjust: Use painter’s tape to mark edges and ensure the chart is level. Smooth out bubbles with a scraper.
Styling Variations:
- Use a white vinyl grid on a chalkboard-painted wall for a modern farmhouse look.
- Frame the chart and hang it as a kitchen poster for a functional yet decorative touch.
- Combine with small decorative icons like measuring cups or spoons for extra charm.
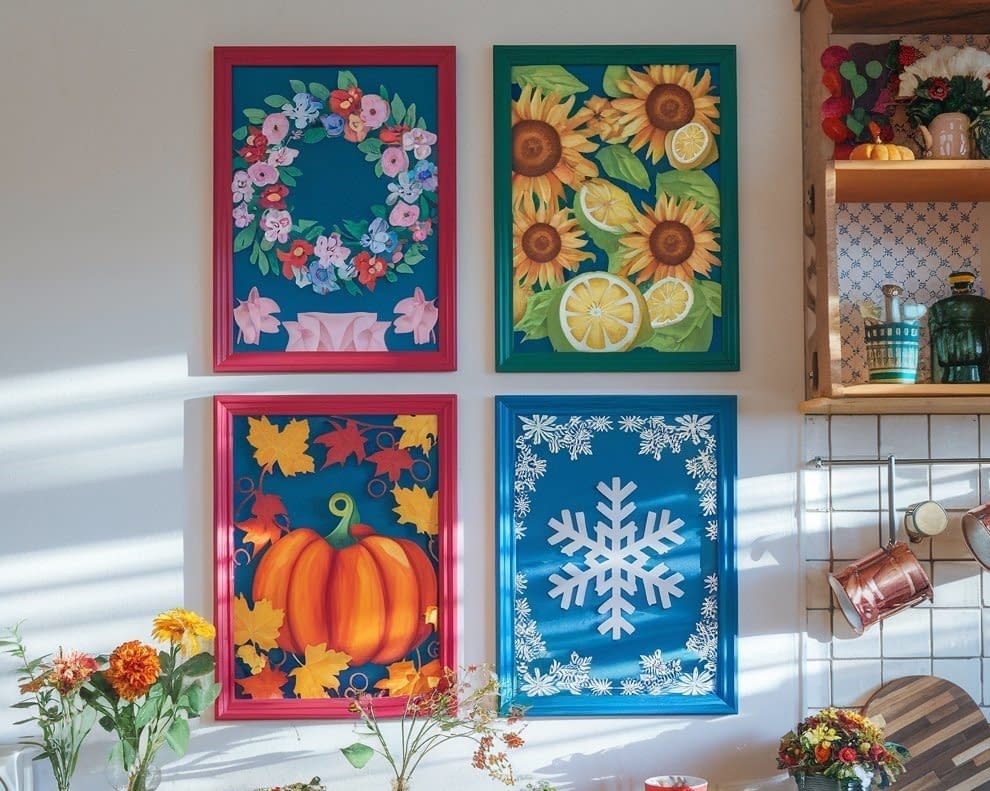
6. Seasonal Kitchen Wall Art
Supplies You’ll Need:
- Cricut machine
- Removable vinyl (for easy swaps)
- Transfer tape
- Frames or canvases
- Seasonal SVG files
Step-by-Step Tutorial:
- Plan Seasonal Sets: For example—lemons and sunflowers for summer, pumpkins and leaves for fall.
- Cut Seasonal Designs: Use removable vinyl so you can swap easily.
- Apply to Frames or Wall: Keep one dedicated space in the kitchen for seasonal swaps.
- Rotate Throughout the Year: Store previous designs flat between wax paper to reuse later.
Styling Variations:
- Use themed colors: yellow and green (spring), orange and brown (fall), red and silver (winter).
- Add layered vinyl for 3D seasonal effects (snowflakes with glitter overlay).
- Pair seasonal wall art with matching Cricut-made kitchen accessories like tea towels or jar labels.
Pro Tips for Cricut Kitchen Wall Art
- Always measure your space before cutting—scale is everything.
- Use removable vinyl for temporary designs, permanent for long-term art.
- Test on a small piece of wall first to make sure the vinyl sticks without damage.
- Keep weeding tools sharp for intricate herb or utensil silhouettes.
- Seal painted stencil art with a protective clear coat.
Final Thoughts
With these 6 Cricut wall art for kitchen tutorials, you’re not just decorating walls—you’re creating personalized pieces that add warmth and creativity to the heart of your home. Each project is flexible, whether you prefer rustic farmhouse charm, minimalist modern design, or playful seasonal updates.
Cricut makes professional-quality results possible for crafters of all skill levels. With patience and creativity, your kitchen walls can become a canvas for self-expression, family tradition, and seasonal cheer.


