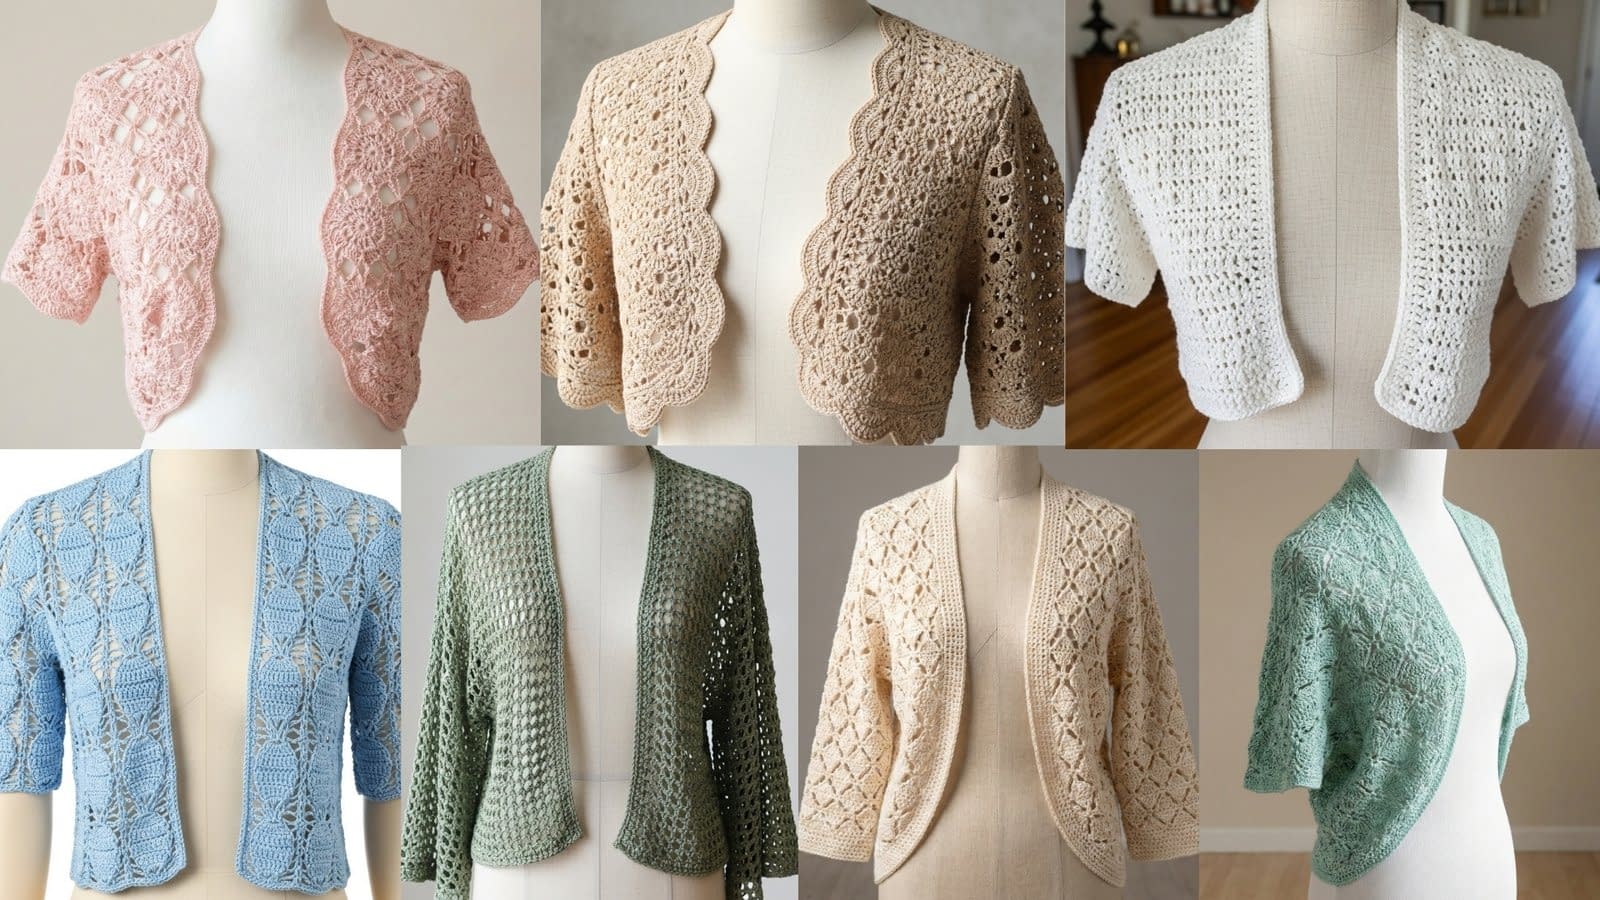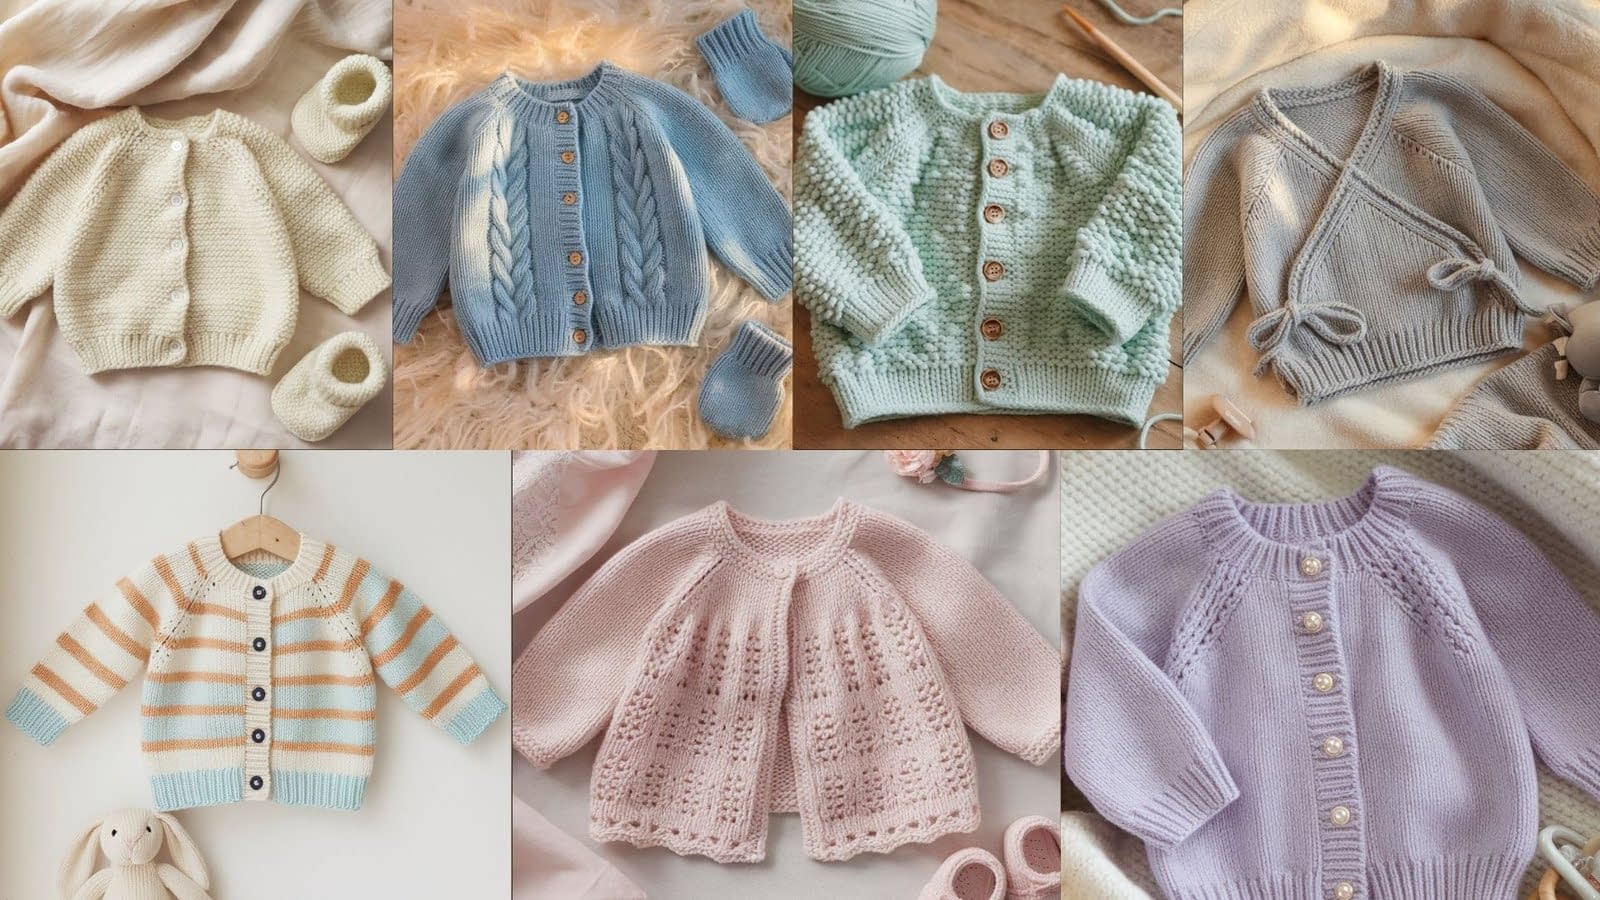
There’s something heartwarming about knitting for babies—tiny stitches that grow into little garments filled with love. Among the most cherished projects are baby cardigans, because they’re both practical and beautiful. Unlike pullovers, cardigans are easy to slip on and off, making them perfect for wriggly infants. And for knitters, cardigans are an ideal way to practice shaping, buttonholes, ribbing, and finishing—all on a small, manageable scale.
In this guide, I’ll walk you through 7 simple baby cardigan knitting patterns, each with its own unique style and easy-to-follow steps. These patterns are designed to be approachable, even if you’re new to knitting cardigans. Whether you’re making a classic garter stitch cardigan for everyday wear or a lacy spring cardigan for special occasions, you’ll find a project here that suits your skill level and creativity.
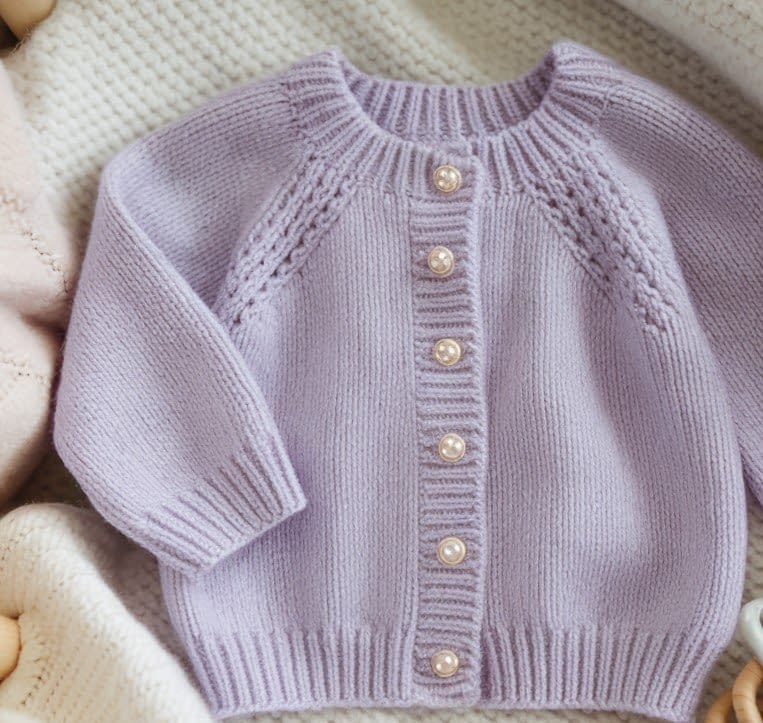
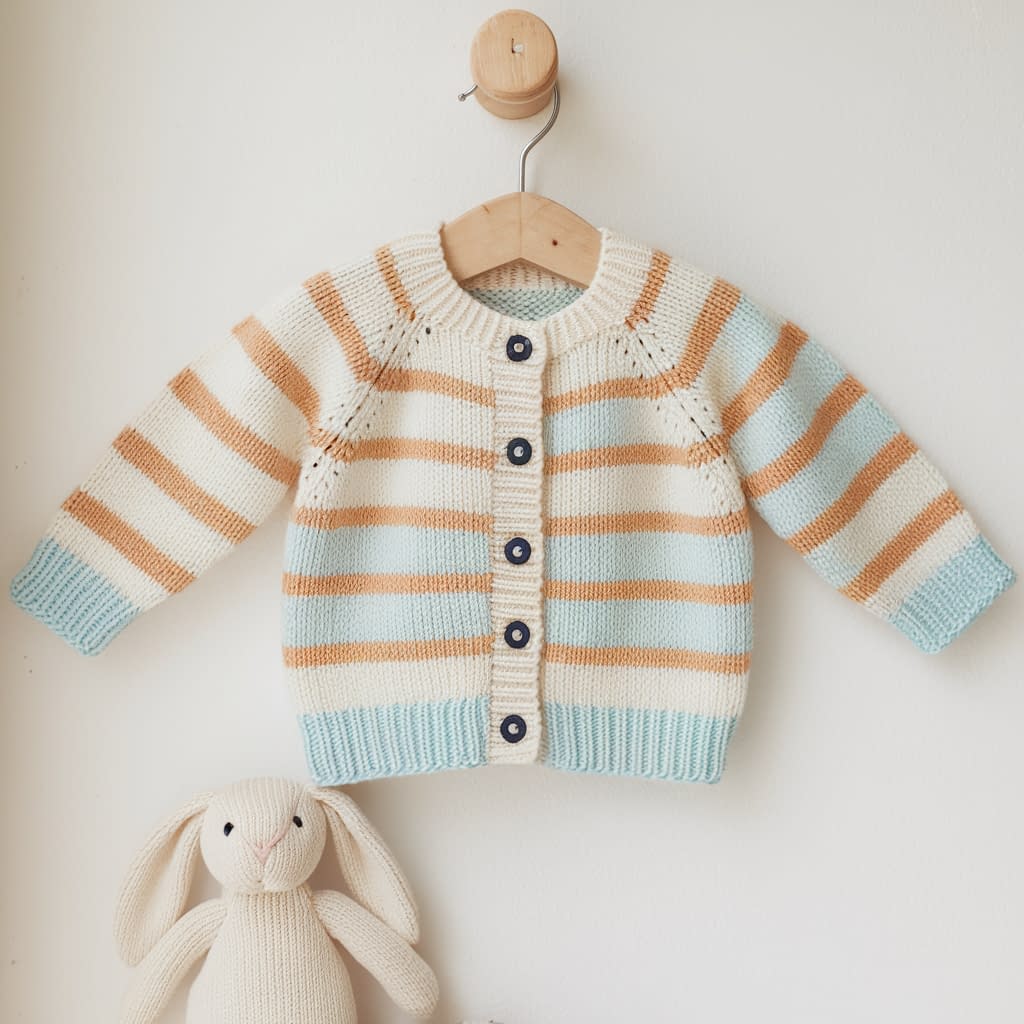
1. Classic Garter Stitch Baby Cardigan
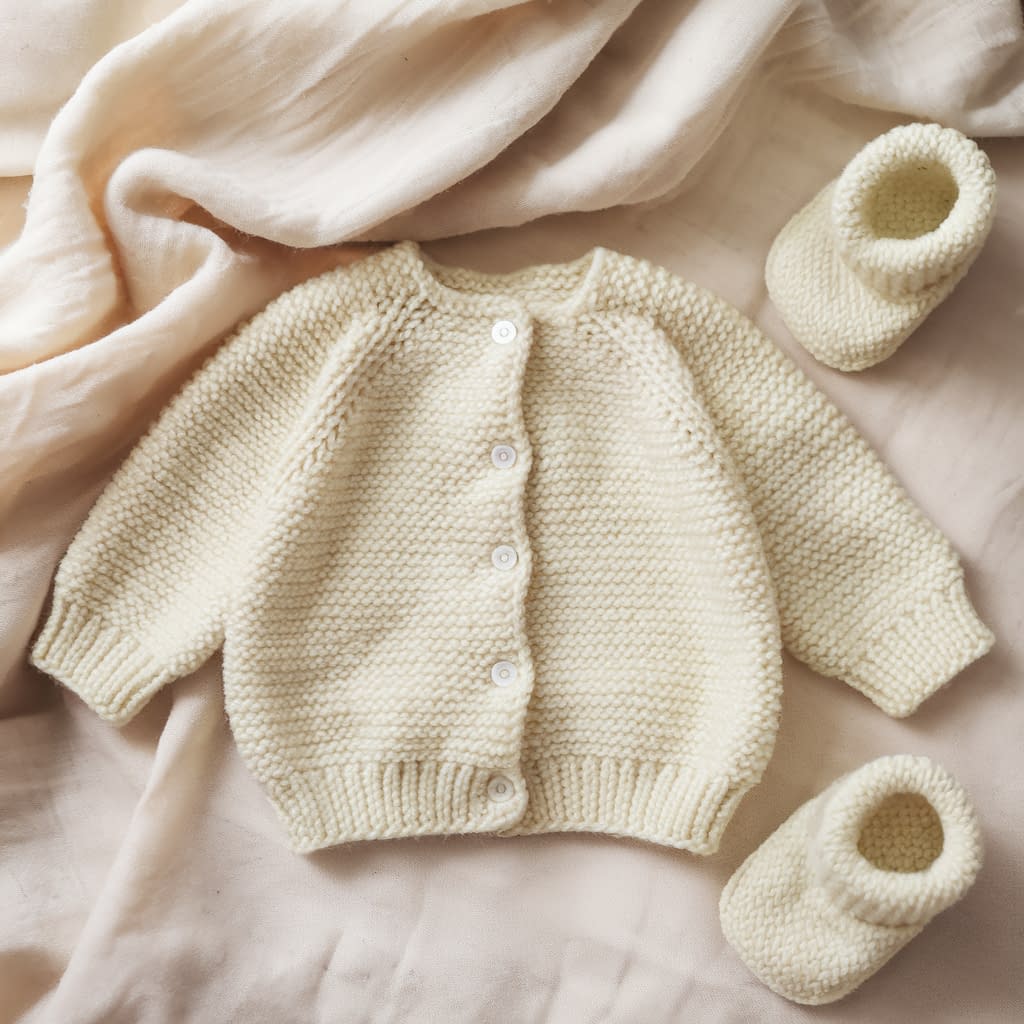
Note: The header image is the style inspiration for this project. This pattern is a simplified, beginner-friendly garter stitch version. See the finished result below!
Pattern
Skill level: Beginner (only knit stitches + simple seaming)
Finished size: 0–3 months (approx. 16″ chest circumference); easily adjustable by adding more stitches/rows.
Materials:
- Worsted weight (#4) yarn, about 200 g (cotton or soft acrylic works well for babies)
- Knitting needles US 6 (4 mm)
- 4 small buttons (½″)
- Tapestry/yarn needle, scissors, stitch markers
Notes:
This cardigan is worked flat in 5 separate pieces (back, 2 fronts, 2 sleeves), all in garter stitch (knit every row). Then the pieces are seamed together, and a button band is picked up along the front edges. Since there’s no purling, it’s very beginner-friendly.
Instructions
Back Panel
- Cast on 48 sts.
- Knit every row until piece measures 7″ (about 56 rows, but measure as you go).
- Bind off all sts.
Left Front Panel
- Cast on 24 sts.
- Knit every row until piece measures 7″.
- Bind off all sts.
Right Front Panel
- Same as left front panel.
Sleeves (make 2)
- Cast on 30 sts.
- Knit every row until piece measures 5″.
- Bind off all sts.
Assembly
- Shoulders
- Lay back panel flat, right side facing up.
- Place front panels on top, aligning shoulder edges.
- Sew shoulder seams with mattress stitch or whipstitch.
- Sleeves
- Pin sleeve to armhole opening, centering evenly.
- Sew sleeve cap to body.
- Repeat for other sleeve.
- Side Seams
- Fold cardigan at shoulder seams.
- Sew side seams from underarm down to hem.
- Sew sleeve seams from underarm to cuff.
Button Band & Neckline
- Using right side facing, pick up stitches along one front edge (about 2 sts for every 3 rows).
- Knit 6 rows in garter stitch. Bind off.
- Repeat for the other front edge, but make buttonholes:
- Row 2: K2, YO, K2tog (at spacing of about 12 rows) to create 4 buttonholes evenly distributed. Knit remaining sts.
- Work remaining rows in garter stitch.
- Pick up sts around neckline. Knit 4 rows garter stitch. Bind off.
Variations & Finishing
- Add stripes by changing yarn color every 8 rows.
- Use a contrast color for the sleeves or button band.
- Embroider small motifs (hearts, stars) onto front panels.
- For a longer cardigan, add 2–3 extra inches before binding off.
2. Ribbed Baby Cardigan with Raglan Sleeves
Skill level: Beginner–Intermediate (basic rib + simple raglan shaping)
Finished size: 3–6 months (approx. 18″ chest circumference)
Materials:
- DK weight yarn, about 150 g
- Knitting needles US 5 (3.75 mm) circular or straight
- 5 buttons (½″)
- Yarn needle, stitch markers
Notes:
This cardigan is worked top-down in one piece, so there are no side seams. Raglan increases shape the yoke. Sleeves are separated onto holders, then worked in the round (or flat and seamed if preferred).
Instructions
Neckline & Yoke Setup
- Cast on 56 sts.
- Work in k2, p2 rib for 1″.
- Switch to stockinette stitch (knit RS rows, purl WS rows).
- Place markers to divide sections:
- Left front: 10 sts
- Left sleeve: 12 sts
- Back: 12 sts
- Right sleeve: 12 sts
- Right front: 10 sts
Raglan Increases
- Increase on every RS row: Knit to 1 st before marker, kfb, slip marker, kfb, knit to next marker.
- Repeat until you have about 140 sts total (yoke depth about 5.5″).
Separate Sleeves
- Place sleeve sts on scrap yarn.
- Knit across fronts + back only.
- Continue in stockinette for 8″ (from underarm).
- Work 2″ in k2, p2 rib. Bind off loosely.
Sleeves (worked flat or in the round)
- Return held sleeve sts to needles.
- Knit in stockinette until 6″.
- Work 2″ ribbing. Bind off.
- Repeat for second sleeve.
Button Band
- With right side facing, pick up sts along right front edge.
- Work 6 rows in k2, p2 rib. Bind off.
- On left front edge, repeat but add buttonholes:
- Row 2: K2, YO, k2tog spaced evenly for 5 buttons.
- Pick up sts along neckline, work 4 rows ribbing. Bind off.
Variations & Finishing
- Knit sleeves and hem in stripes for a varsity look.
- Add a contrast color ribbing.
- Use decorative buttons to make it more playful.
- Extend body length for a tunic-style cardigan.
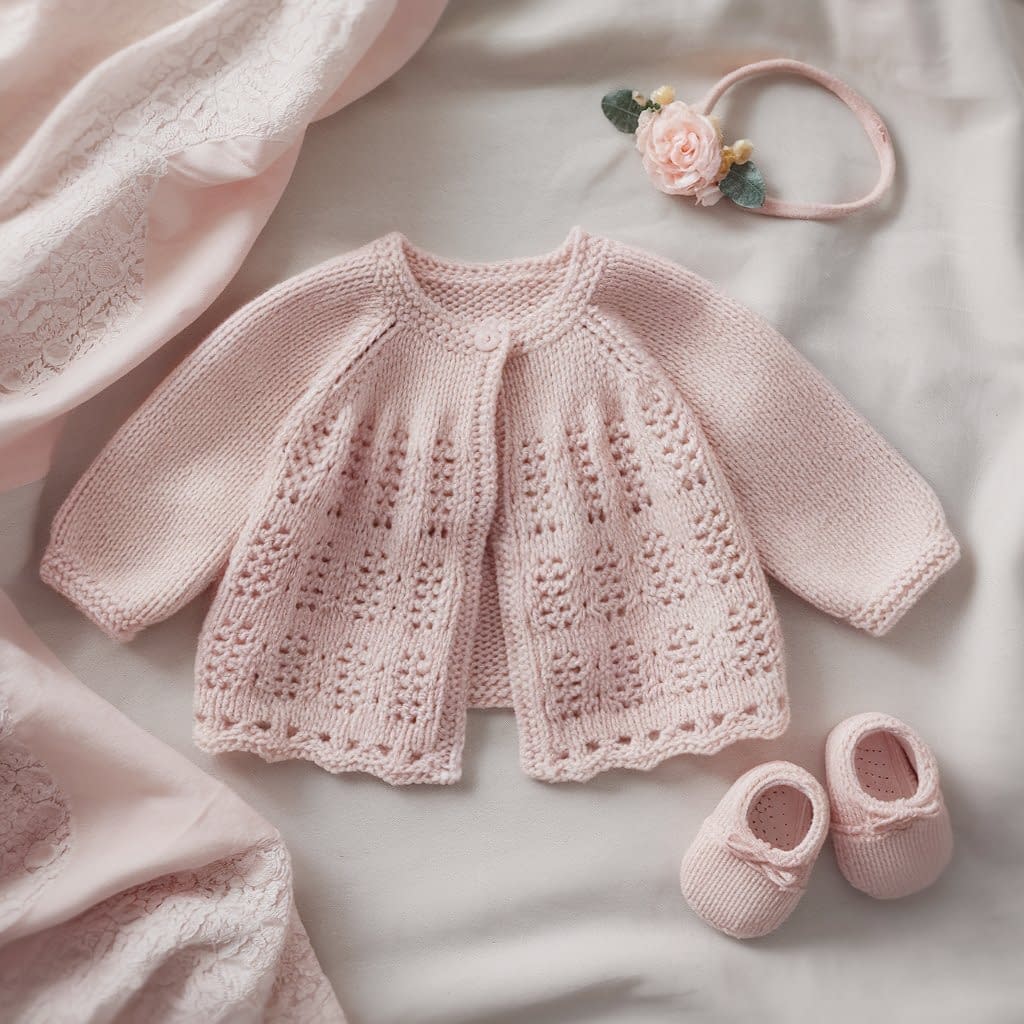
3. Lace-Trim Baby Cardigan
Skill level: Intermediate (basic lace stitches: yarn over, k2tog)
Finished size: 6–9 months (approx. 19″ chest circumference)
Materials:
- Fingering weight yarn, about 200 g
- US 3 (3.25 mm) needles
- 5 small pearl buttons
- Stitch markers, yarn needle
Notes:
This cardigan is worked flat in pieces (back, fronts, sleeves). The hem and cuffs have a lace trim for a delicate look. The lace repeat is simple: yo, k2tog worked across rows to create openwork.
Instructions
Back Panel
- Cast on 60 sts.
- Rows 1–8: Work lace pattern: (yo, k2tog) across row. (WS rows: purl across.)
- Switch to stockinette stitch.
- Knit until piece measures 10″. Bind off.
Left Front Panel
- Cast on 30 sts.
- Rows 1–8: Work lace pattern as above.
- Switch to stockinette. Knit until piece measures 10″. Bind off.
Right Front Panel
- Same as left panel.
Sleeves (make 2)
- Cast on 32 sts.
- Rows 1–6: Lace pattern.
- Switch to stockinette.
- Knit until sleeve measures 7″. Bind off.
Assembly
- Sew shoulders of front panels to back.
- Attach sleeves to armholes.
- Sew sleeve seams and sides.
Button Band & Neckline
- Pick up sts along right front edge. Knit 6 rows garter stitch. Bind off.
- Pick up sts along left front edge. Knit 6 rows garter stitch, making 5 buttonholes evenly on Row 2 (K2, yo, k2tog).
- Pick up sts along neckline. Knit 4 rows garter stitch. Bind off.
Variations & Finishing
- Use pastel colors for a spring cardigan.
- Add lace edging to the neckline for extra elegance.
- Make it short-sleeved for a lightweight summer version.
4. Chunky Knit Baby Cardigan
Skill level: Beginner (fast project using bulky yarn)
Finished size: 9–12 months (approx. 20″ chest circumference)
Materials:
- Bulky weight yarn, about 150 g
- US 10 (6 mm) needles
- 3 large wooden buttons
- Yarn needle
Notes:
This cardigan is simple, warm, and quick to knit. It uses only stockinette and garter stitch borders. Because of the bulky yarn, it knits up fast.
Instructions
Back Panel
- Cast on 36 sts.
- Work 6 rows garter stitch.
- Switch to stockinette (knit RS, purl WS).
- Knit until piece measures 9″. Bind off.
Left Front Panel
- Cast on 18 sts.
- Work 6 rows garter stitch.
- Switch to stockinette.
- Knit until 9″. Bind off.
Right Front Panel
- Same as left panel.
Sleeves (make 2)
- Cast on 24 sts.
- Work 6 rows garter stitch.
- Switch to stockinette.
- Knit until sleeve measures 7″. Bind off.
Assembly
- Sew shoulder seams.
- Attach sleeves to body.
- Sew sleeve seams and side seams.
Button Band & Neckline
- Pick up sts along one front edge. Knit 6 rows garter stitch. Bind off.
- Repeat for other front, adding 3 buttonholes.
- Pick up sts along neckline. Knit 4 rows garter stitch. Bind off.
Variations & Finishing
- Add a wide ribbed hem for a modern look.
- Use speckled or variegated yarn for playful colors.
- Knit short sleeves for warmer seasons.
5. Hooded Baby Cardigan
Skill level: Intermediate (basic shaping + hood)
Finished size: 12 months (approx. 21″ chest circumference)
Materials:
- Worsted weight yarn, about 250 g
- US 7 (4.5 mm) needles
- 5 buttons
- Yarn needle
Notes:
This cardigan is worked from the bottom up in stockinette with ribbed edges. A hood is added after the body is finished.
Instructions
Back Panel
- Cast on 62 sts.
- Work 8 rows k2, p2 ribbing.
- Switch to stockinette. Knit until piece measures 11″. Bind off.
Front Panels (make 2)
- Cast on 32 sts.
- Work 8 rows ribbing.
- Switch to stockinette.
- Knit until piece measures 11″. Bind off.
Sleeves (make 2)
- Cast on 36 sts.
- Work 8 rows ribbing.
- Continue in stockinette.
- Knit until sleeve measures 8″. Bind off.
Assembly
- Sew shoulder seams.
- Attach sleeves.
- Sew side and sleeve seams.
Hood
- Pick up sts around neckline (approx. 70 sts).
- Knit in stockinette for 7″.
- Bind off. Fold hood in half lengthwise, seam top closed.
Button Band
- Pick up sts along front edges. Work 6 rows ribbing. Bind off.
- Add buttonholes on one side, spaced evenly.
Variations & Finishing
- Add pom-poms or tassels to hood corners.
- Use contrast color for hood lining.
- Knit body in stripes for a playful look.
6. Striped Baby Cardigan
Skill level: Beginner (simple color changes)
Finished size: 3–6 months (approx. 18″ chest circumference)
Materials:
- Two colors of DK yarn, 100 g each
- US 5 (3.75 mm) needles
- 4 buttons
- Yarn needle
Notes:
Stripes are created by alternating two colors every 2 rows. Always carry yarn neatly along the edge when switching colors.
Instructions
Back Panel
- Cast on 52 sts.
- Work 2 rows color A, 2 rows color B in stockinette.
- Continue until piece measures 9″. Bind off.
Front Panels (make 2)
- Cast on 26 sts each.
- Work same stripe pattern as back.
- Knit until piece measures 9″. Bind off.
Sleeves (make 2)
- Cast on 28 sts.
- Work stripe pattern until sleeve measures 7″. Bind off.
Assembly
- Sew shoulders.
- Attach sleeves.
- Sew side seams and underarm seams.
Button Band & Neckline
- Pick up sts along one front edge. Knit 6 rows garter stitch. Bind off.
- Repeat for other edge, adding 4 buttonholes.
- Pick up sts along neckline. Knit 4 rows garter stitch. Bind off.
Variations & Finishing
- Work wider stripes for a bolder look.
- Use 3–4 colors for a rainbow effect.
- Knit button band in solid color to contrast with stripes.
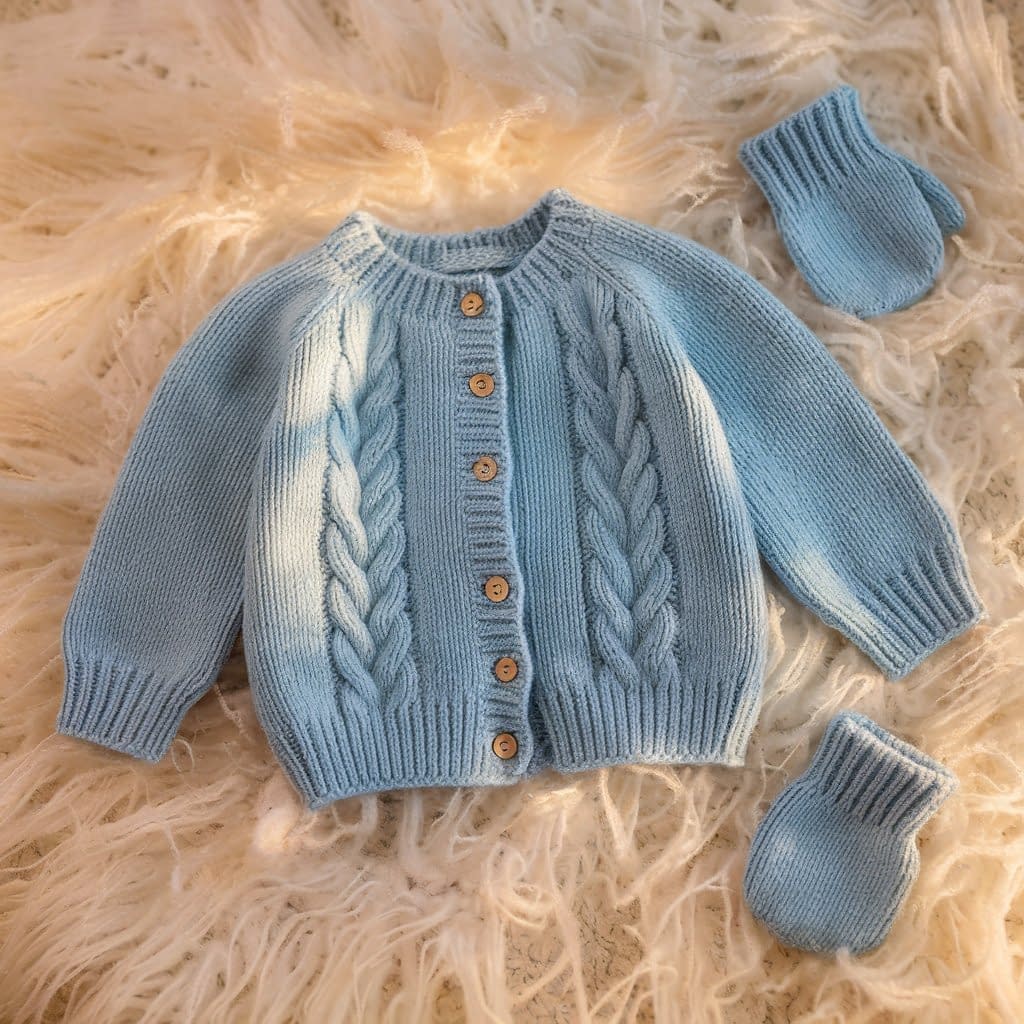
7. Cabled Baby Cardigan
Skill level: Intermediate (basic cables with cable needle)
Finished size: 12–18 months (approx. 22″ chest circumference)
Materials:
- Aran weight yarn, about 250 g
- US 8 (5 mm) needles
- Cable needle
- 6 buttons
- Yarn needle
Notes:
This cardigan features a simple 8-stitch cable running down the center of the back and each front panel. Sleeves have a single small cable.
Instructions
Back Panel
- Cast on 60 sts.
- Work 2″ in k2, p2 rib.
- Begin cable pattern:
- Center 8 sts worked as: Row 1 (RS): C4F, k4 (repeat every 6th row).
- Remaining sts in stockinette.
- Continue until piece measures 12″. Bind off.
Front Panels (make 2)
- Cast on 30 sts each.
- Work 2″ ribbing.
- Place 8-st cable along edge (for button band side).
- Work rest in stockinette.
- Knit until 12″. Bind off.
Sleeves (make 2)
- Cast on 34 sts.
- Work 2″ ribbing.
- Work stockinette with a 4-st cable in center.
- Knit until sleeve measures 8″. Bind off.
Assembly
- Sew shoulders.
- Attach sleeves.
- Sew side and sleeve seams.
Button Band & Neckline
- Pick up sts along right front edge. Knit 6 rows ribbing. Bind off.
- Pick up sts along left front edge. Knit 6 rows ribbing, making 6 buttonholes.
- Pick up sts around neckline. Knit 4 rows ribbing. Bind off.
Variations & Finishing
- Add twisted stitches for extra texture.
- Work cables in contrasting color (intarsia style).
- Use decorative wooden buttons for a rustic feel.
Conclusion
These 7 simple baby cardigan knit patterns cover a range of techniques—from plain garter stitch for absolute beginners, to lace and cables for those ready to try more decorative designs. Each pattern is small enough to finish quickly, but still teaches important skills like shaping, buttonholes, ribbing, and even hood construction.
Every cardigan can be customized with colors, buttons, stripes, or stitch variations to make it uniquely yours. Whether you’re knitting a cozy winter cardigan in chunky yarn or a lightweight lace cardigan for spring, each one will be a handmade treasure for the little one who wears it.