
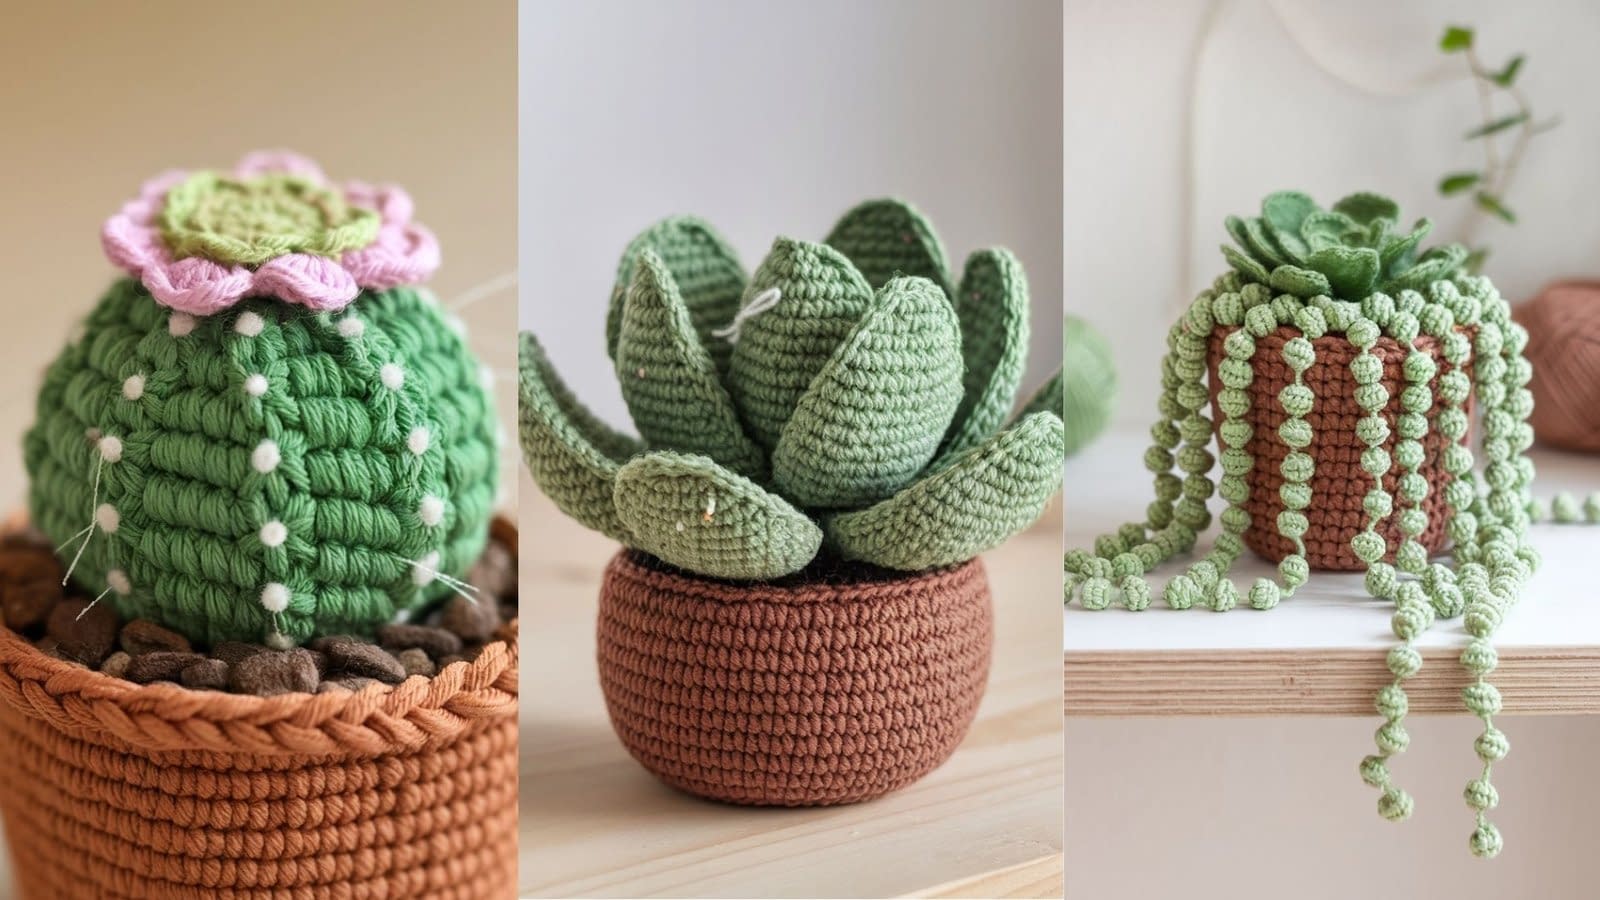
Mini amigurumi succulents are the perfect crochet projects when you want something quick, charming, and long-lasting. These little plants never need watering, look adorable on desks and shelves, and make thoughtful handmade gifts. Below are four clear, step-by-step succulent patterns you can crochet, each with exact rounds/rows, finishing, and helpful variations.
1. Crochet Aloe Succulent Pattern
Skill level: Beginner–intermediate (simple leaves + sewing)
Finished size: About 2.5–3″ tall × 3–4″ wide (fits mini pots)
Materials
- DK or worsted weight yarn: green (leaves), brown (soil)
- Crochet hook: 3.0–3.5 mm
- Yarn needle, scissors
- Stuffing (optional, for base)
- Small pot (optional)
Instructions
Soil Base (brown, worked in rounds)
- MR, 6 sc (6)
- Inc around (12)
- (sc, inc) repeat around (18)
- (2 sc, inc) repeat around (24)
- Work 1–2 more rounds even (24) to make a flat circle. Fasten off.
Leaves (green, make 6–8 of varying lengths)
- Ch 9 (for small leaf) or ch 13 (for long leaf).
- Row 1: sc in 2nd ch from hook, sc in each st across.
- Row 2: ch 1, turn, sc across.
- Repeat rows until leaf is firm but flat. Fasten off leaving a tail.
Assembly
- Arrange leaves in a circle, starting with the longer ones at the back and shorter in front.
- Sew onto the soil base securely.
- Stuff the soil slightly if needed, then place into a pot.
Variations & Tips
- Use two shades of green for a more realistic plant.
- Lightly curl some leaves by blocking them or tugging the edges.
- Embroider tiny white “spots” on the leaves for a speckled aloe effect.
2. Crochet Round Cactus Succulent Pattern
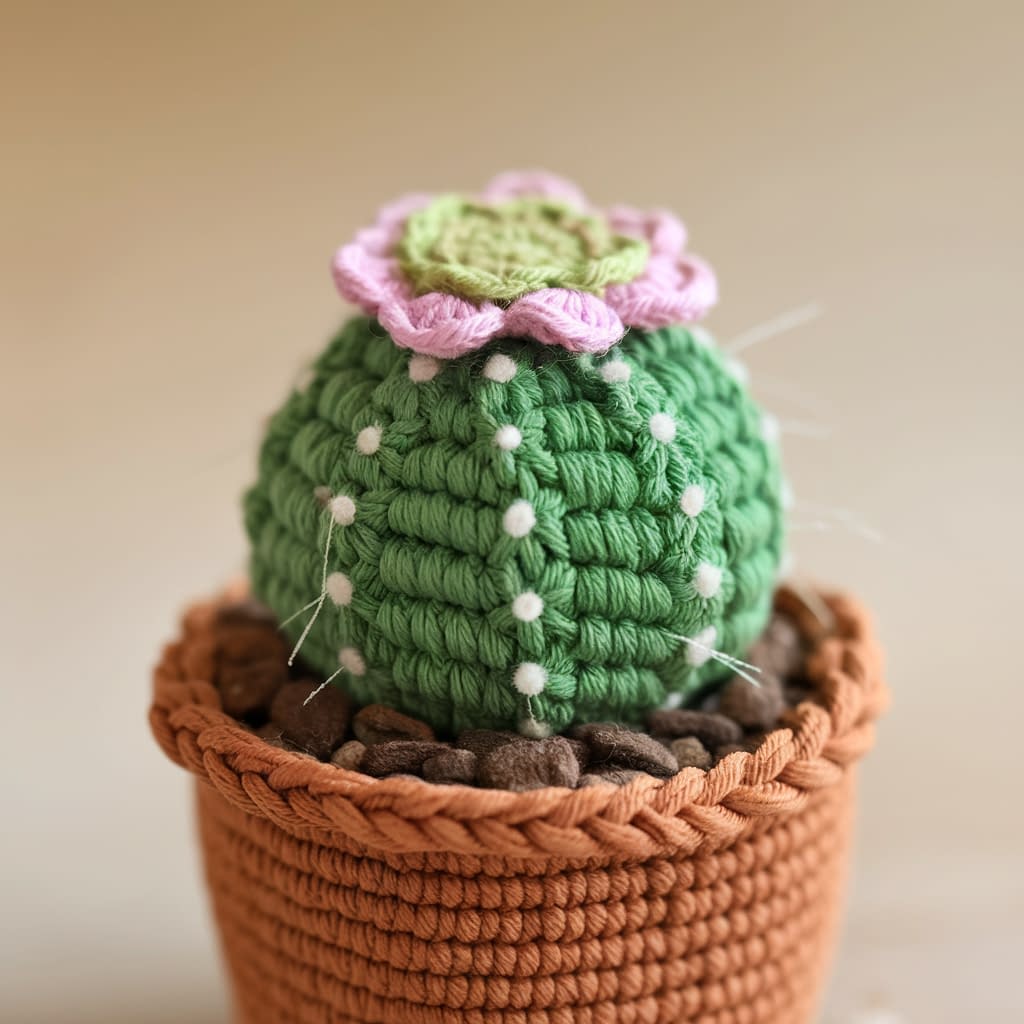
Skill level: Beginner (worked in the round, simple shaping)
Finished size: About 2.5–3″ tall (excluding flower)
Materials
- Green yarn (cactus)
- Brown yarn (soil)
- Pink or yellow yarn (flower)
- Hook: 3.0–3.5 mm
- Yarn needle, scissors, stuffing
Instructions
Cactus Body (green, worked in rounds)
- MR, 6 sc (6)
- Inc around (12)
- (sc, inc) repeat (18)
4–7. Sc around (18) for 4 rounds. - (sc, dec) repeat (12). Add stuffing.
- Dec around (6). Fasten off and close.
Soil Base
Follow Aloe base instructions.
Flower (pink/yellow)
- MR, [ch 2, 2 dc, sl st] × 5 into ring. Tighten. Fasten off.
- Sew to cactus top.
Assembly
- Sew cactus onto soil base.
- Optionally embroider vertical lines with green thread to mimic cactus ribs.
Variations & Tips
- Make multiple cacti in different greens for a cluster pot.
- Add small embroidered “spines” using white thread.
- Swap flower for a tiny pom-pom for texture.
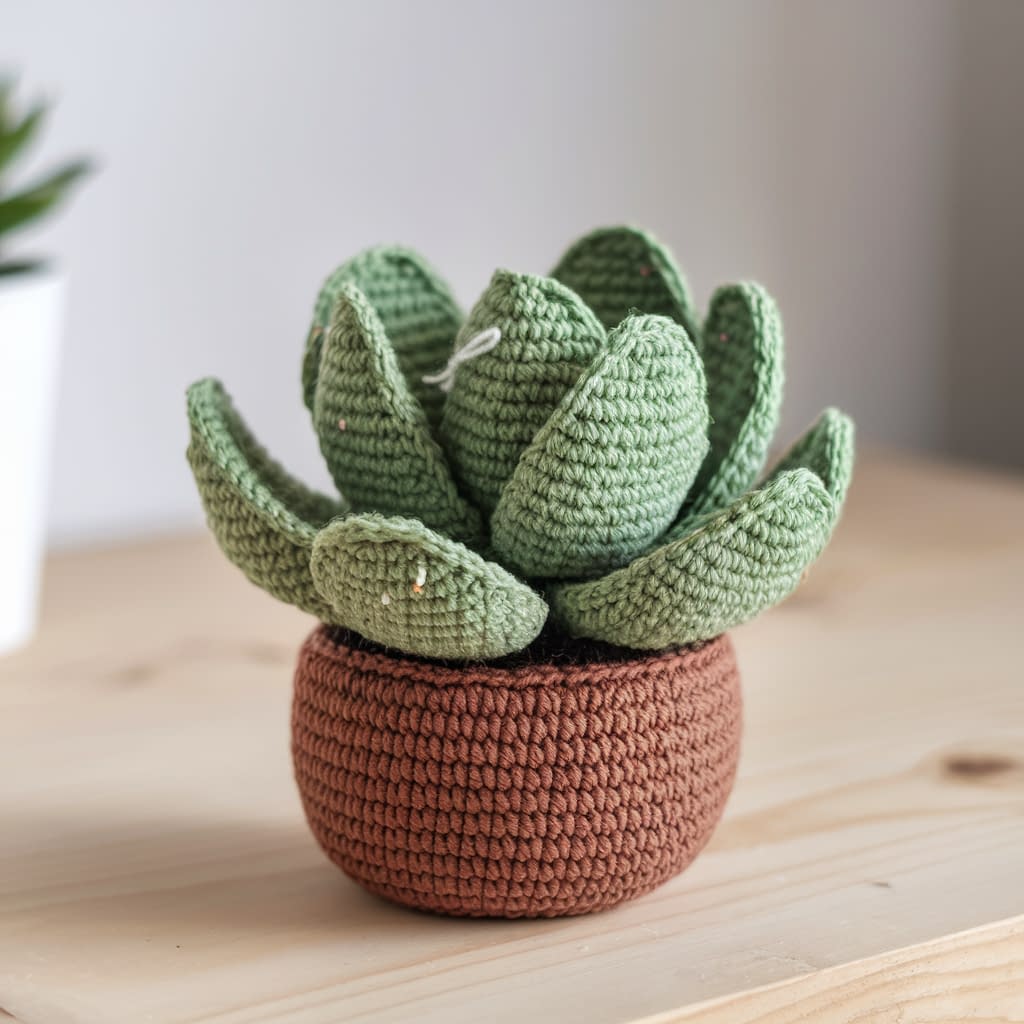
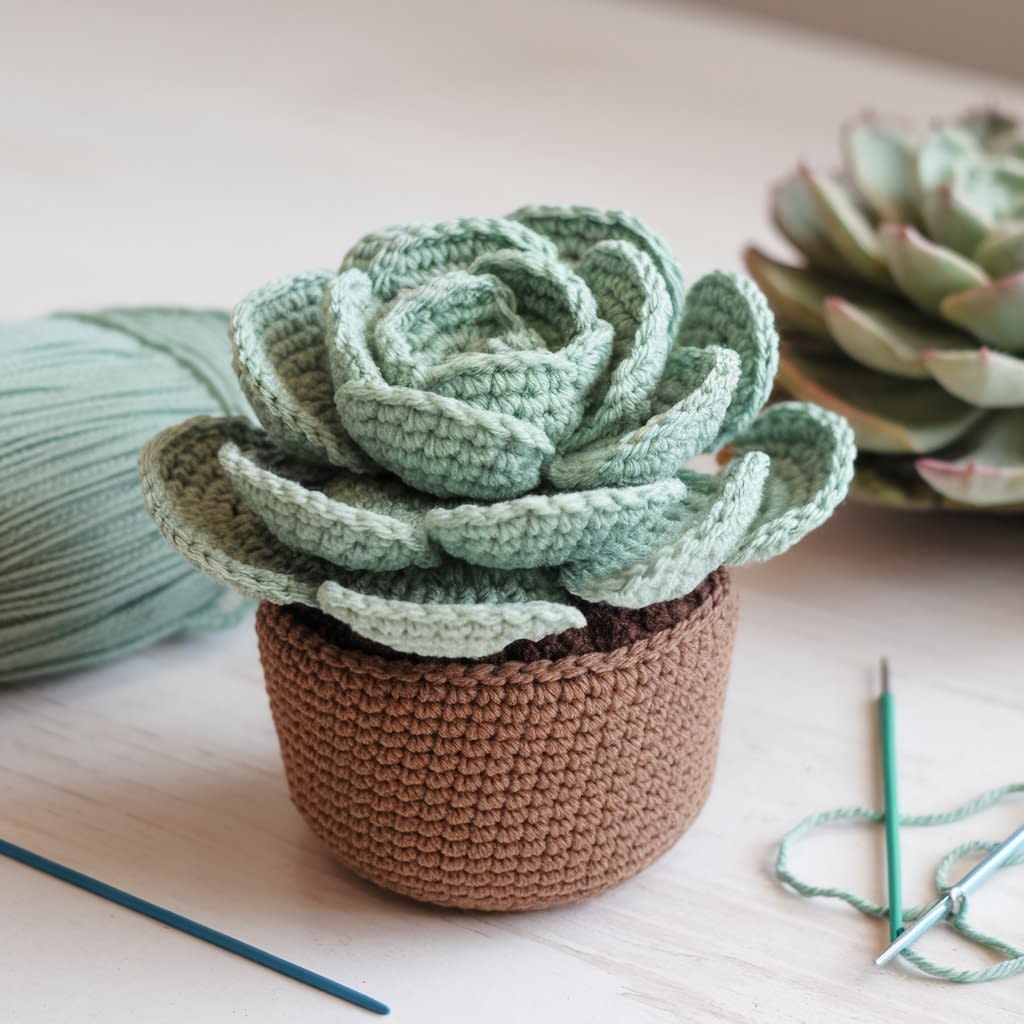
3. Crochet Echeveria Succulent Pattern
Skill level: Intermediate (layered petals + assembly)
Finished size: 3–4″ wide, low-profile rosette
Materials
- Light green yarn (inner petals)
- Darker green yarn (outer petals)
- Brown yarn (soil base)
- Hook: 3.0–3.5 mm
- Needle, scissors
Instructions
Small Petals (make 6–8)
- Ch 6. Row 1: sc in 2nd ch, hdc in next, dc in next 2, hdc in next, sc in last. Fasten off with tail.
Medium Petals (make 6–8)
- Ch 8. Row 1: sc, hdc, dc, dc, dc, hdc, sc. Fasten off.
Large Petals (make 5–6)
- Ch 10. Row 1: sc, hdc, dc ×3, hdc, sc. Fasten off.
Assembly
- Begin with small petals sewn in a tight circle.
- Add medium petals around, overlapping slightly.
- Finish with large petals as the outer layer.
- Attach to soil base.
Variations & Tips
- Use an ombré yarn for natural color shifts.
- Stiffen petals slightly with fabric glue for crisp shape.
- Add a light dusting of white yarn embroidery for a “frosted” echeveria look.
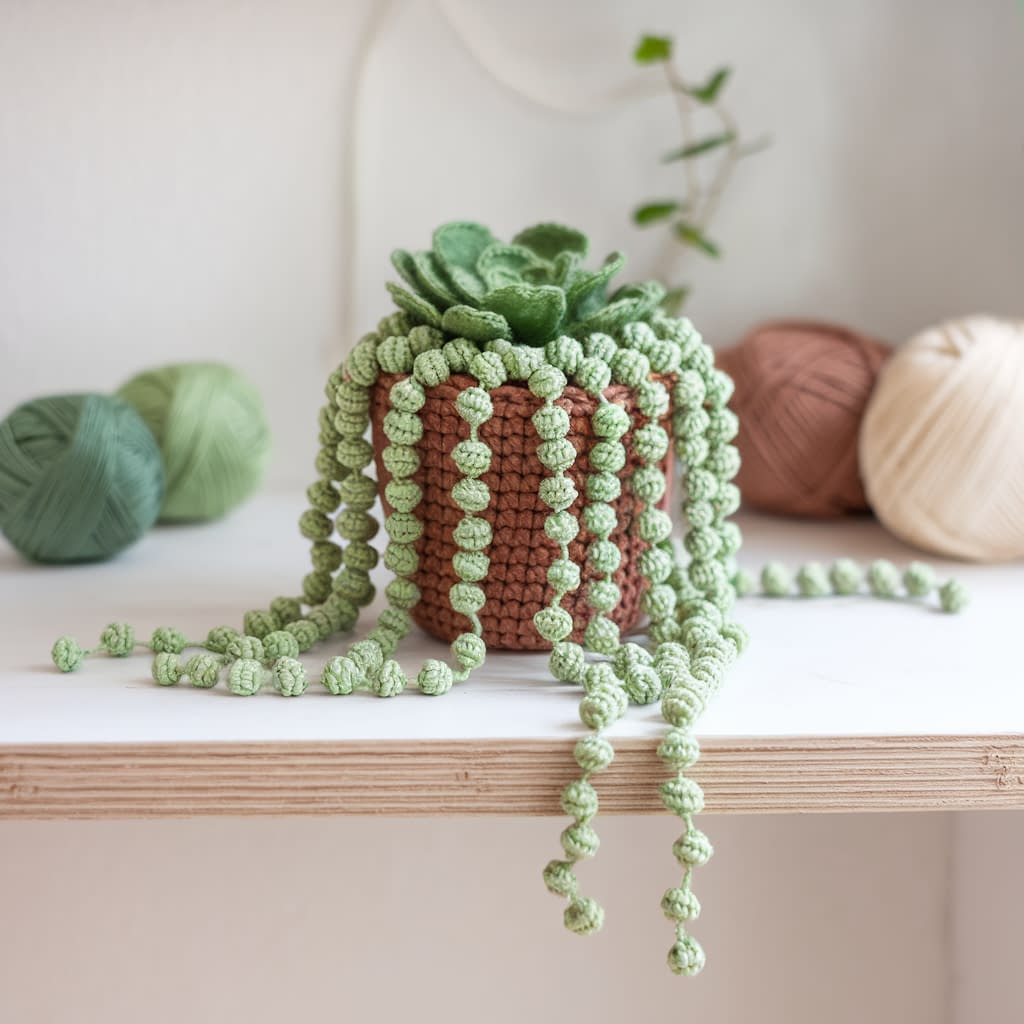
4. Crochet String of Pearls Succulent Pattern
Skill level: Intermediate (repeated tiny balls)
Finished size: About 4–5″ long strands
Materials
- Green yarn
- Brown yarn (soil base)
- Hook: 2.5–3.0 mm for tighter pearls
- Needle, scissors
Instructions
Pearl Strands (make 3–5 of varying lengths)
- Ch 8. In 2nd ch, work 5 sc into same st, sl st into first sc to form a pearl.
- Ch 6, repeat pearl.
- Continue chaining and adding pearls until strand is desired length. Fasten off with tail.
Soil Base
Same as Aloe.
Assembly
- Sew strands to soil base close together, letting them cascade over edges.
- Layer strands at different heights for fullness.
Variations & Tips
- Make pearls in 2–3 shades of green for realism.
- Create longer strands and place in a hanging pot.
- Add tiny crocheted flowers at intervals for a blooming effect.
Conclusion
These four mini amigurumi succulent patterns — Aloe, Round Cactus, Echeveria, and String of Pearls — give you a playful mix of shapes and textures to build your own crochet garden. Each project takes only a small amount of yarn, making them perfect stash-busters, quick gifts, or cheerful desk companions.
You can display them in little terracotta pots, group them into arrangements, or even turn them into keychains and ornaments. By adjusting yarn weight, hook size, and color choices, you’ll have endless ways to personalize your succulents.


