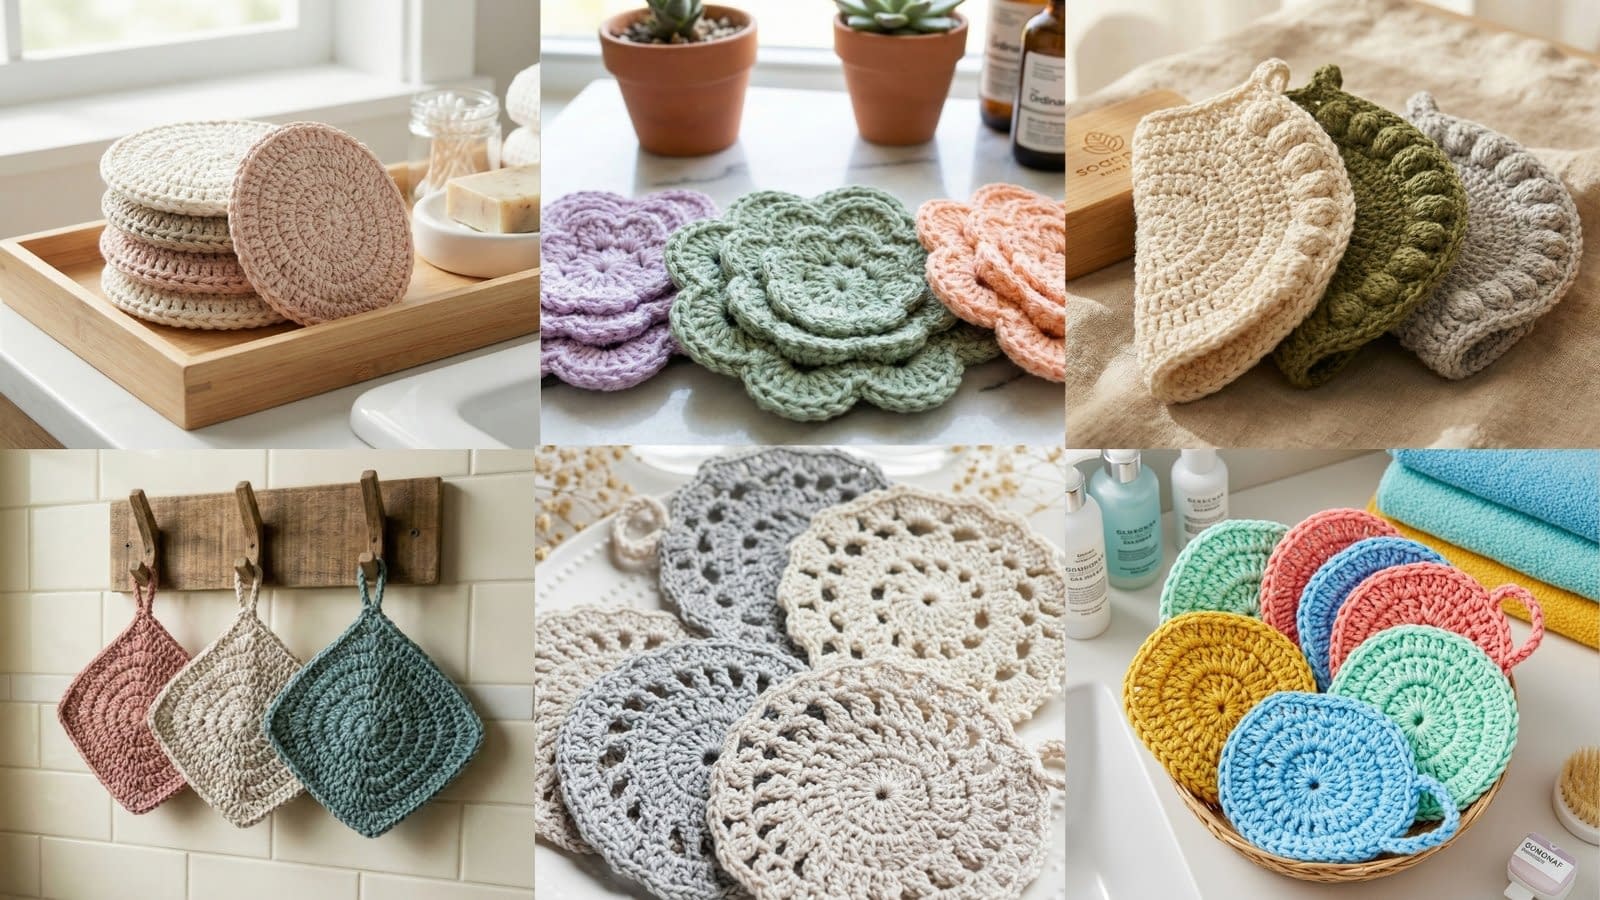
Crocheting accessories for pets has become increasingly popular among crafters who enjoy combining creativity with practical handmade items. Small projects such as pet bibs are especially appealing because they work up quickly, require only small amounts of yarn, and allow crocheters to experiment with decorative stitches, textures, and embellishments.
In this guide to 5 Crochet Pet Bibs Patterns, you will learn how to create charming crocheted bib collars designed specifically for cats and small pets. These designs are inspired by soft vintage style pet collars that frame a pet’s face in a gentle, decorative way. They function both as an accessory and as a protective bib, making them ideal for photos, holidays, and everyday cuteness.
Each tutorial in this collection is written in long form so beginners can follow along easily without needing crochet abbreviations. Every step explains exactly what to do, how the stitches should look, and how the bib comes together. The instructions also focus closely on the designs shown in the images so that your finished result matches the style and structure of the examples.
These projects are suitable for beginners to intermediate crocheters and can be adjusted to fit cats, small dogs, and other pets by simply adding or removing rows.
Pattern 1: Pastel Scalloped Crochet Pet Bib
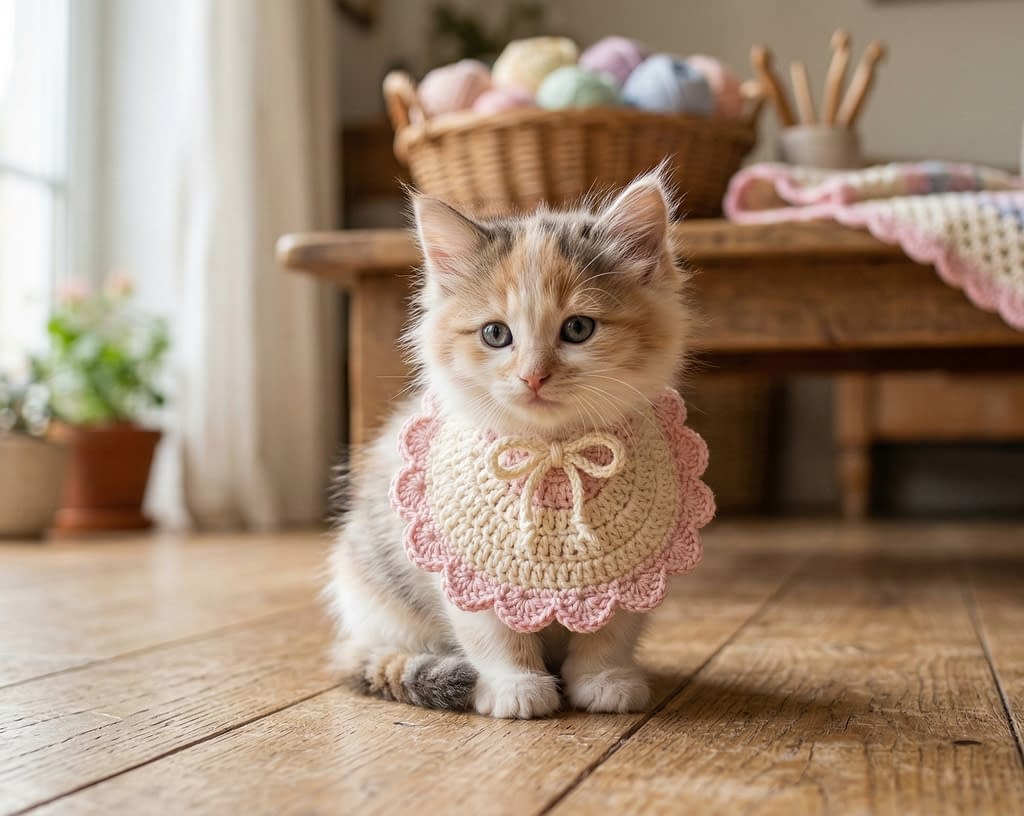
This sweet pastel bib is designed with a soft circular shape and a delicate scalloped edge. The center portion is simple and textured, while the outer edge features a decorative shell border that gives the bib its elegant look. A small bow at the neckline completes the design.
The finished bib sits comfortably around a pet’s neck like a collar and spreads outward into a gentle semicircle.
Skill Level
Beginner to intermediate
Finished Size
Approximately 5.5 to 6 inches wide when laid flat. Adjustable by changing the number of rows.
Materials
- Worsted weight cotton yarn in cream or soft beige for the base
- Light pink yarn for the scalloped edge
- Small amount of matching yarn for the bow
- Crochet hook size 4.0 millimeters
- Yarn needle
- Stitch marker
- Scissors
- Optional: small ribbon for decoration
Notes About Construction
This bib is worked from the neckline outward in rows that gradually widen. The semicircle shape is formed by adding increases across each row. After the base fabric is complete, a decorative scalloped edge is added using shell stitches.
Step 1: Creating the Neck Foundation
Begin by making a foundation chain that will wrap gently around the pet’s neck.
Create a starting slip knot on your hook.
Chain twenty two stitches. This will fit most cats comfortably. If you are making this for a smaller kitten, you may chain eighteen stitches instead. For a larger cat, chain twenty four stitches.
Once the chain is complete, turn your work.
Step 2: First Row of the Bib
Insert the crochet hook into the third chain from the hook.
Work one half double crochet stitch into that chain.
Continue placing one half double crochet stitch into each chain across the row until you reach the end.
You should now have a row of twenty half double crochet stitches.
Chain two stitches and turn your work.
Step 3: Begin Shaping the Bib
To create the semicircle shape, you will add increases across the row.
Place two half double crochet stitches into the first stitch.
Place one half double crochet stitch into the next two stitches.
In the next stitch, place two half double crochet stitches.
Continue this pattern across the row: two stitches in one stitch, then one stitch in the next two stitches.
This gradually widens the fabric.
When you reach the end, chain two and turn your work.
Step 4: Expanding the Bib
For the next several rows, you will continue expanding the semicircle.
Row pattern:
Place two half double crochet stitches in the first stitch.
Work one half double crochet stitch in each stitch across until the last stitch.
In the final stitch, place two half double crochet stitches.
Chain two stitches and turn.
Repeat this expansion for four additional rows.
As you continue crocheting, the piece will begin to curve naturally into a rounded shape.
Step 5: Preparing for the Decorative Edge
Once the bib measures approximately three inches from the neckline to the bottom edge, it is time to add the decorative border.
Fasten off the base yarn and join the light pink yarn to the corner of the bib.
Step 6: Creating the Scalloped Edge
Chain one stitch.
In the first stitch, work the following shell:
One double crochet stitch
Chain one stitch
One double crochet stitch
Chain one stitch
One double crochet stitch
Skip the next stitch.
In the following stitch, work a single crochet stitch.
Repeat this pattern across the entire curved edge.
The shells will naturally create the soft scalloped look seen in the image.
Step 7: Creating the Neck Ties
Attach yarn to one corner of the neckline.
Chain twenty five stitches to create a tie.
Fasten off.
Repeat on the opposite side.
Step 8: Crochet Bow
Using pink yarn:
Chain ten stitches.
Turn and place one single crochet stitch into each chain.
Fasten off.
Wrap yarn around the center several times to create the bow shape.
Sew this bow onto the center of the bib neckline.
Final Finishing
Use a yarn needle to weave in all loose yarn ends.
Lightly steam block the bib if necessary so the scallops open beautifully.
Your pastel scalloped crochet pet bib is now finished.
Pattern 2: Ruffled Cherry Crochet Pet Bib

This bright and playful bib features layered ruffles and small crocheted cherries at the center. The design creates a full circular collar that frames the pet’s face like a soft ruffle.
This is the yellow bib seen in the center image.
Skill Level
Beginner to intermediate
Finished Size
Approximately 7 inches wide with two layered ruffles.
Materials
- Soft yellow worsted weight yarn
- Small amounts of red yarn for cherries
- Green yarn for cherry leaves
- Crochet hook size 4.0 millimeters
- Yarn needle
- Stitch marker
- Scissors
Construction Overview
This bib is worked in the round from the neck outward. Each round increases gradually, and two decorative ruffle layers are created using double crochet increases.
Step 1: Starting the Neck Ring
Make a slip knot.
Chain thirty stitches.
Join the chain with a slip stitch to form a ring.
Be careful not to twist the chain.
Step 2: First Round
Chain one stitch.
Work one single crochet stitch into each chain around the ring.
Join with a slip stitch.
You should have thirty single crochet stitches.
Step 3: Second Round
Chain two stitches.
Work one half double crochet stitch into each stitch around.
Join with a slip stitch.
Step 4: Begin Expanding
Chain two stitches.
In the first stitch, place two half double crochet stitches.
In the next stitch, place one half double crochet stitch.
Repeat this pattern around the entire round.
This begins forming the circular bib shape.
Step 5: First Ruffle Layer
Chain three stitches.
In the same stitch, work two double crochet stitches.
In the next stitch, work three double crochet stitches.
Continue placing three double crochet stitches in every stitch around.
This heavy increase creates the soft gathered ruffle effect.
Join the round.
Step 6: Second Ruffle Layer
To create the layered look seen in the photo, a second ruffle is added slightly below the first.
Insert the hook into the row two rounds below.
Join yellow yarn.
Chain three stitches.
Work four double crochet stitches in each stitch around.
This produces the larger bottom ruffle.
Step 7: Crochet the Cherries
Using red yarn:
Create a magic ring.
Work six single crochet stitches into the ring.
Tighten the ring.
Work one single crochet stitch into each stitch for two rounds.
Fasten off.
Make two identical cherries.
Step 8: Cherry Leaves
Using green yarn:
Chain six stitches.
Turn.
Work one half double crochet stitch into the second chain.
Work one double crochet stitch in the next stitch.
Work one half double crochet stitch in the next.
Work one single crochet stitch in the final stitch.
Fasten off.
Make two leaves.
Step 9: Attaching the Decoration
Sew the two cherries together at the top.
Attach the leaves above them.
Sew the entire cherry cluster to the center of the bib neckline.
Final Finishing
Weave in all yarn ends.
Lightly shape the ruffles with your fingers so they spread evenly.
Your ruffled cherry crochet pet bib is now complete.
Pattern 3: Lace Collar Crochet Pet Bib with Bow and Hearts
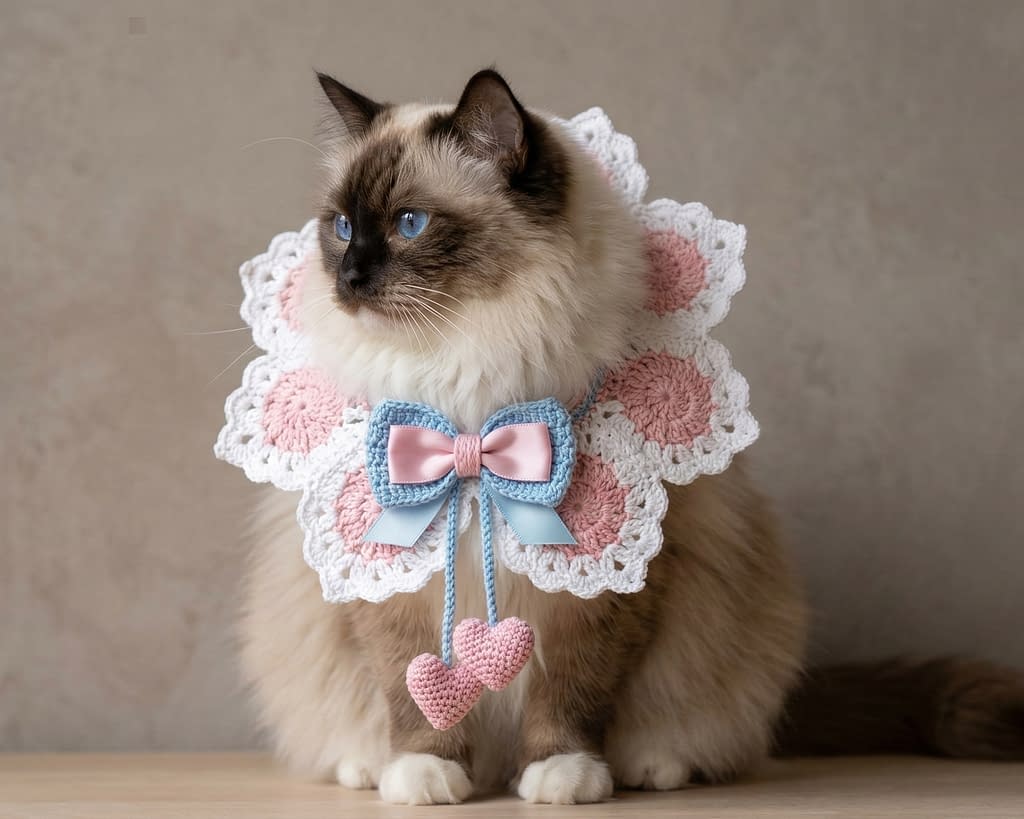
This elegant lace style collar is designed to resemble a vintage lace ruffle. The edge is made with open lace stitches and decorative shells, and the center bow with dangling hearts adds a charming finishing touch.
Skill Level
Intermediate beginner
Finished Size
Approximately 6.5 inches wide.
Materials
- White cotton yarn
- Light pink yarn
- Light blue yarn for the bow
- Crochet hook size 3.75 millimeters
- Yarn needle
- Scissors
Construction Overview
This collar is crocheted outward from the neckline in lace rows that gradually expand.
Step 1: Neck Foundation
Create a slip knot.
Chain twenty eight stitches.
Turn your work.
Step 2: First Row
Insert hook into the third chain from the hook.
Work one double crochet stitch.
Continue placing one double crochet stitch in each chain across.
Chain three stitches and turn.
Step 3: Lace Row
Skip the first stitch.
In the next stitch, work:
One double crochet
Chain one
One double crochet
Skip the next stitch.
Work one single crochet in the next stitch.
Repeat across the row.
Step 4: Expansion Row
Chain three stitches.
Place two double crochet stitches in the first stitch.
Work one double crochet stitch in each stitch across.
Place two double crochet stitches in the final stitch.
Turn.
Step 5: Decorative Lace Edge
Chain one stitch.
In the first stitch, work:
One single crochet
Chain three
One double crochet
Chain three
One single crochet
Skip two stitches.
Repeat this pattern across the entire edge.
This creates the lace flower-like edge seen in the collar.
Step 6: Crochet Bow
Using blue yarn:
Chain twelve stitches.
Turn.
Work one single crochet stitch in each chain.
Fasten off.
Wrap yarn around the center to shape the bow.
Step 7: Crochet Heart Charms
Using pink yarn:
Create a magic ring.
Chain three stitches.
Work three double crochet stitches.
Chain two stitches.
Work three more double crochet stitches.
Chain three stitches.
Slip stitch into the ring.
Tighten the ring.
Make two hearts.
Step 8: Assembly
Sew the bow to the center neckline.
Attach a short chain beneath the bow.
Sew the two hearts at the ends of the chain.
Final Finishing
Weave in all loose yarn ends carefully.
Block lightly to open the lace stitches.
Your lace collar crochet pet bib is now finished.
Pattern 4: Floral Garden Crochet Pet Bib with Cherry Accents
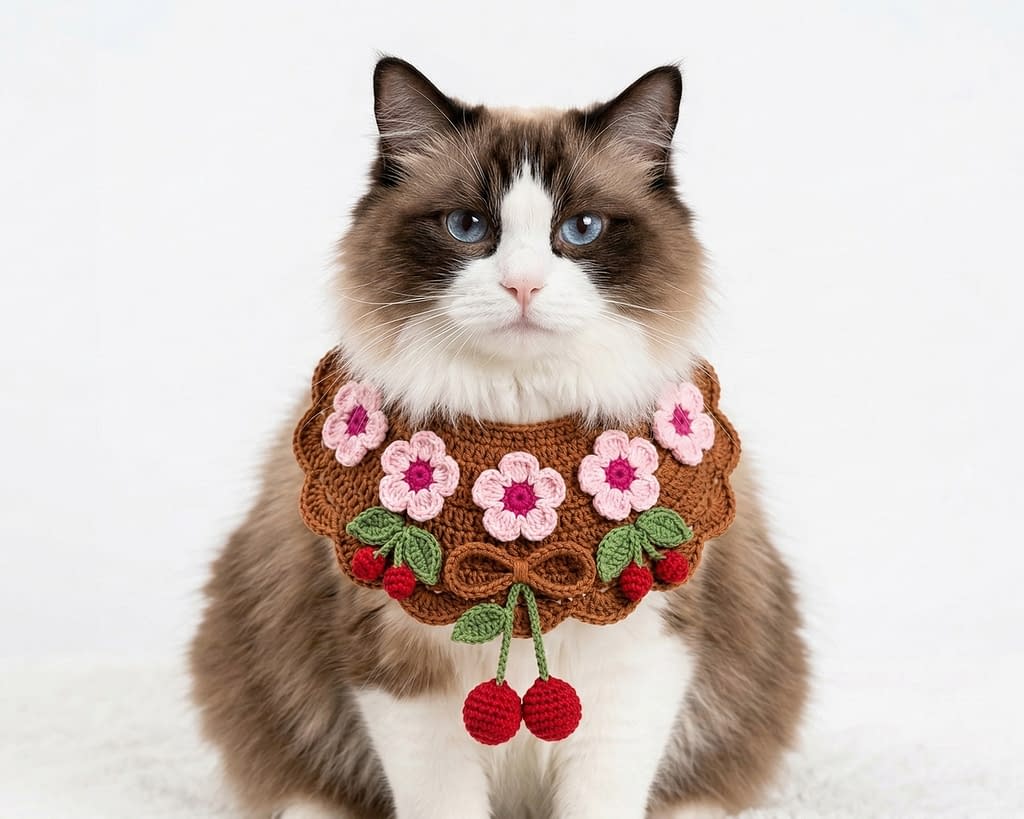
This charming floral crochet pet bib is inspired by the warm brown bib with small pink flowers and dangling cherries shown in the image. The design resembles a miniature garden collar, with small crocheted flowers decorating the surface and a pair of cherries hanging gently at the center.
The base bib is crocheted in a soft semicircle that frames the pet’s chest. Small three dimensional flowers are stitched across the surface, giving the collar a textured and handmade appearance.
This design is slightly more detailed than the previous patterns because it includes decorative appliqué elements. However, every step is written in full so beginners can follow the instructions comfortably.
Skill Level
Beginner to intermediate
Finished Size
Approximately 6 to 7 inches wide when laid flat. The bib extends about 3.5 inches from the neckline to the bottom point.
Materials
- Worsted weight yarn in warm brown for the base bib
- Small amounts of light pink yarn for the flowers
- Yellow yarn for flower centers
- Red yarn for cherries
- Green yarn for cherry stems and leaves
- Crochet hook size 4.0 millimeters
- Yarn needle
- Stitch markers
- Scissors
Construction Overview
This bib is worked in rows beginning at the neckline and gradually increasing to form a semicircle. After the base fabric is complete, flowers and cherries are crocheted separately and sewn onto the bib.
Creating the Bib Base
Begin by forming the collar section that wraps around the pet’s neck.
Step 1: Neck Foundation Chain
Create a slip knot and place it on the crochet hook.
Chain twenty four stitches. This will form the neckline that sits around the pet’s neck.
Turn your work.
Step 2: First Row
Insert the hook into the third chain from the hook.
Work one half double crochet stitch.
Continue placing one half double crochet stitch into each chain across the entire row.
At the end of the row, you should have twenty two half double crochet stitches.
Chain two stitches and turn your work.
Step 3: Begin Shaping the Bib
In order to create the rounded bib shape, increases will be placed near the edges.
Place two half double crochet stitches into the first stitch.
Work one half double crochet stitch into each stitch across the row until you reach the final stitch.
In the final stitch, place two half double crochet stitches.
Chain two stitches and turn your work.
Step 4: Continue Expanding Rows
Repeat the following row pattern four more times:
Place two half double crochet stitches in the first stitch.
Work one half double crochet stitch into each stitch across the row.
Place two half double crochet stitches in the final stitch.
Chain two stitches and turn.
As the rows continue, the bib will begin to widen into a gentle semicircle.
Continue until the bib measures approximately three inches from the neckline to the bottom edge.
Decorative Edge Border
Once the base shape is complete, a simple decorative edge is added to soften the border.
Join brown yarn at one corner of the bib.
Chain one stitch.
Work the following pattern across the curved edge:
Place one single crochet stitch in the next stitch.
Chain two stitches.
Skip one stitch.
Repeat this pattern across the entire curved edge.
This creates a lightly scalloped edge that matches the style seen in the image.
Fasten off and weave in the yarn end.
Creating the Small Crochet Flowers
These tiny flowers will decorate the surface of the bib.
Step 1: Flower Center
Using yellow yarn, create a magic ring.
Work six single crochet stitches into the ring.
Pull the yarn tail gently to close the ring.
Join with a slip stitch.
Fasten off the yellow yarn.
Step 2: Flower Petals
Attach pink yarn to any stitch of the yellow center.
Work the following sequence in the same stitch:
Chain two stitches.
Work two half double crochet stitches.
Chain two stitches.
Slip stitch into the same stitch.
This creates one petal.
Move to the next stitch and repeat the same petal sequence.
Continue around the flower until five petals are formed.
Fasten off and leave a tail for sewing.
Make five or six flowers depending on the size of your bib.
Creating the Cherry Decoration
The cherries are crocheted as small round shapes and connected with a stem.
Step 1: Cherry Ball
Using red yarn, create a magic ring.
Work six single crochet stitches into the ring.
Pull the ring closed.
Work one single crochet stitch in each stitch for two rounds.
Fasten off leaving a long yarn tail.
Create a second cherry in the same way.
Step 2: Cherry Stem and Leaves
Attach green yarn to the top of one cherry.
Chain ten stitches.
Slip stitch into the second cherry.
This creates the connecting stem.
For the leaf, chain five stitches.
Turn.
Work one half double crochet stitch in the second chain from the hook.
Work one double crochet stitch in the next chain.
Work one half double crochet stitch in the next chain.
Work one single crochet stitch in the last chain.
Fasten off.
Assembly
Place the flowers evenly across the bib front.
Use a yarn needle to sew them securely onto the fabric.
Sew the cherry decoration to the bottom center of the bib so the cherries hang slightly below the edge.
Finally, attach neck ties by joining yarn at each corner of the neckline and chaining twenty five stitches.
Fasten off and weave in all ends.
Your floral garden crochet pet bib is complete.
Pattern 5: Rosebud Lace Crochet Pet Bib Collar
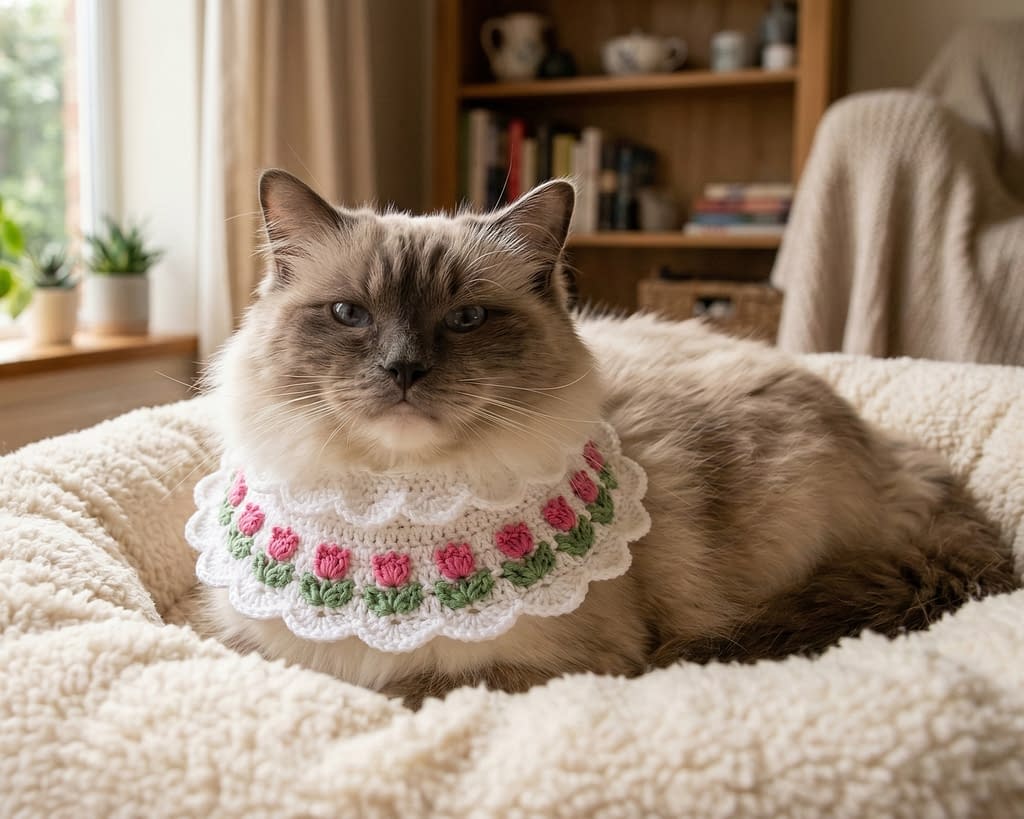
This final design is inspired by the delicate white collar with small rosebud details seen in the image. It resembles a classic lace collar, with soft scalloped edges and tiny raised rose stitches.
This bib sits gently around the pet’s neck like a decorative collar and spreads outward with layered scallops.
Skill Level
Beginner to intermediate
Finished Size
Approximately 6 inches wide.
Materials
- White cotton yarn for the base collar
- Pink yarn for rosebuds
- Green yarn for leaf details
- Crochet hook size 3.75 millimeters
- Yarn needle
- Stitch markers
- Scissors
Construction Overview
The collar is worked in rows beginning at the neckline. After the lace base is created, tiny rosebud stitches are added along the outer row.
Creating the Neckline Base
Step 1: Starting Chain
Create a slip knot.
Chain twenty six stitches.
Turn your work.
Step 2: Foundation Row
Insert the hook into the third chain from the hook.
Work one double crochet stitch.
Continue placing one double crochet stitch into each chain across the row.
Chain three stitches and turn.
Lace Expansion Rows
Step 3: Increasing Row
Place two double crochet stitches into the first stitch.
Work one double crochet stitch into each stitch across until the final stitch.
Place two double crochet stitches into the final stitch.
Turn your work.
Step 4: Shell Lace Row
Chain one stitch.
Skip the first stitch.
In the next stitch, work:
One single crochet stitch.
Chain three stitches.
Work three double crochet stitches.
Chain three stitches.
Work one single crochet stitch in the same stitch.
Skip two stitches.
Repeat this shell pattern across the entire row.
The shells create the delicate lace scallops around the collar.
Creating the Rosebud Details
The rosebuds are small raised crochet stitches placed on the final row.
Step 1: Rosebud Stitch
Attach pink yarn to a stitch between two shell sections.
Chain two stitches.
Work three half double crochet stitches in the same stitch.
Chain two stitches.
Slip stitch into the same stitch.
This creates a small puff shaped rosebud.
Repeat every few stitches across the collar.
Crochet Leaves
Attach green yarn beside each rosebud.
Chain three stitches.
Work one half double crochet stitch into the first chain.
Work one single crochet stitch into the next chain.
Slip stitch into the collar base.
This forms a tiny leaf beside the rose.
Neck Ties
Attach yarn to one corner of the neckline.
Chain twenty five stitches.
Fasten off.
Repeat on the opposite side to create a second tie.
Finishing
Weave in all yarn ends carefully using a yarn needle.
Lightly steam block the collar so the lace shells open fully.
Your rosebud lace crochet pet bib collar is finished.
Conclusion
Crocheting pet accessories is one of the most rewarding small craft projects. These 5 Crochet Pet Bibs Patterns show how simple stitches and a small amount of yarn can be transformed into charming handmade collars for cats and small pets.
Each pattern in this collection offers a different style and technique:
The pastel scalloped bib introduces basic shaping and shell edging.
The ruffled cherry bib teaches how to create layered ruffles and decorative fruit embellishments.
The lace bow collar explores open lace patterns and dangling charms.
The floral garden bib adds dimensional flowers and applique techniques.
The rosebud lace collar demonstrates delicate lace construction with textured details.
Together, these projects help crocheters practice many useful skills, including shaping, edging, embellishment, and decorative stitch work. Because these bibs are small, they are excellent for learning new techniques without committing to large projects.
Another advantage of these patterns is their flexibility. You can easily personalize each design by changing colors, adjusting the number of rows, or adding different decorative elements such as bows, beads, or seasonal motifs.
Many crafters also enjoy making multiple versions of these bibs for holidays, photography, or handmade gifts for pet lovers.
With just a hook, some yarn, and a bit of patience, you can create adorable handmade accessories that make pets look even more lovable.