

Paper pinwheels are one of those timeless crafts that never lose their charm. They’re simple, colorful, and endlessly versatile—perfect for parties, events, classrooms, or just a relaxing creative afternoon. What makes them even better is how adaptable they are: from classic spinning pinwheels to decorative rosettes, there’s a design for every occasion.
In this post, you’ll find four complete Paper Pinwheel Tutorials. Each style has step-by-step instructions, materials needed, and creative variations so you can choose the design that suits your project best.
Materials You’ll Need for All Pinwheel Tutorials
Before diving into the four tutorials, here are some common supplies:
- Paper (scrapbook paper, origami paper, cardstock, or patterned sheets)
- Scissors
- Pencil and ruler
- Glue stick or double-sided tape
- Push pins, brad fasteners, or thumbtacks
- Straws, wooden dowels, or skewers
- Buttons, beads, or sequins (optional, for embellishment)
- Hot glue gun (optional, for stronger finishes)
Now, let’s go through each tutorial step by step.
Tutorial 1: Classic Spinning Paper Pinwheel
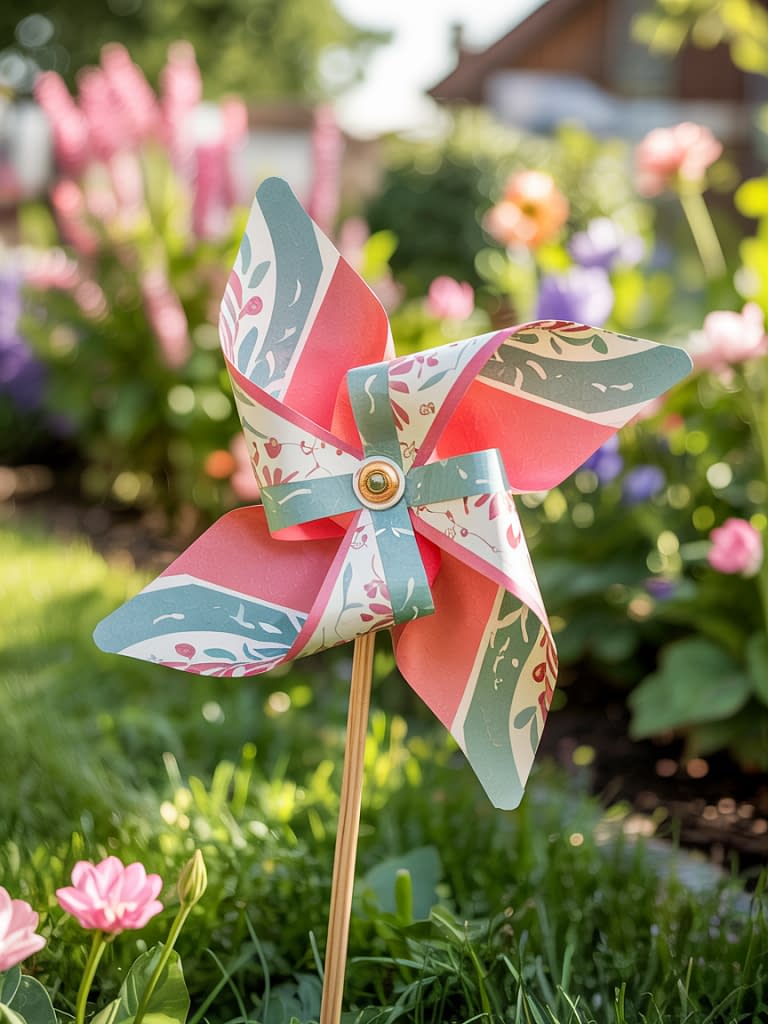
This is the traditional pinwheel design that actually spins when exposed to wind or air.
Steps
- Cut a Square
Start with a 6-inch x 6-inch square of paper. Double-sided paper works best. - Draw Guiding Lines
Use a ruler to draw diagonal lines from corner to corner, forming an “X.” - Cut Along Diagonals
Cut along each line, stopping about 1 inch before the center. Do not cut all the way through. - Fold Corners
Take one corner of each triangle and fold it toward the center. Skip every other corner so that four points overlap at the middle. - Secure the Center
Place a bead or button in front, push a brad fastener or tack through the folded corners, and attach it to a straw or dowel. - Test the Spin
Blow on it gently—it should spin smoothly!
Best Use
Perfect for outdoor parties, kids’ crafts, and fun décor.
Tutorial 2: Decorative Flat Pinwheel (Rosette Style)
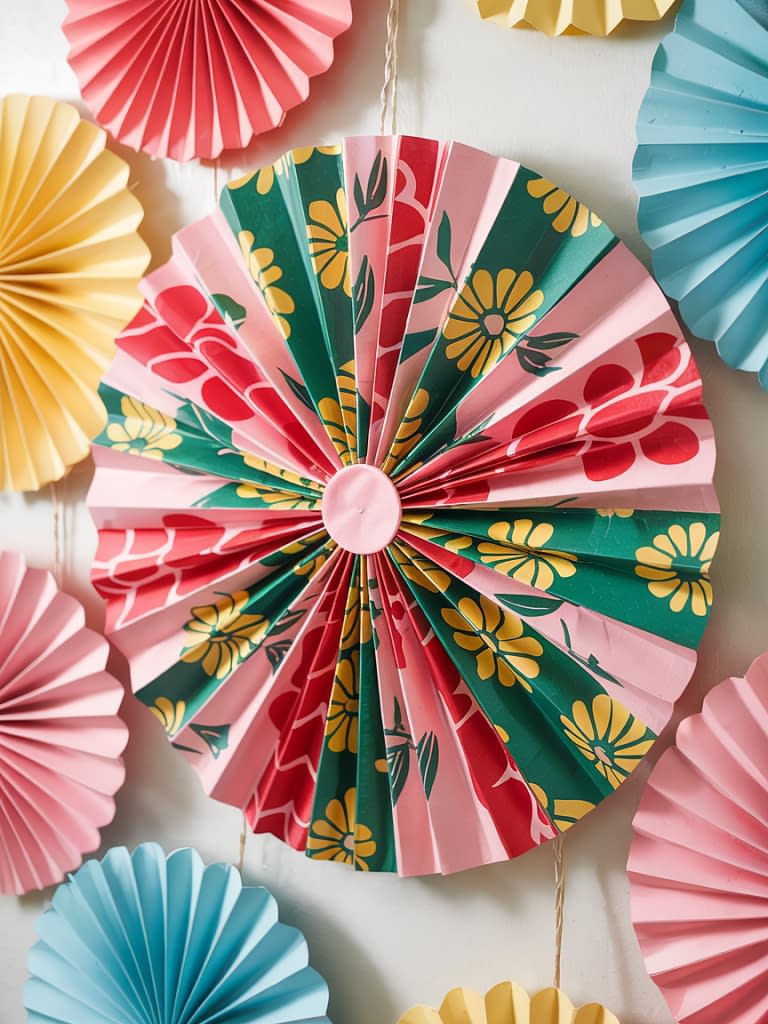
This version doesn’t spin but creates a beautiful, flower-like rosette perfect for wall décor, backdrops, and photo booths.
Steps
- Cut Strips of Paper
Use two strips of paper, each 2 inches wide and 10 inches long. - Accordion Fold
Fold each strip back and forth in ½-inch sections until the whole strip is folded like an accordion. - Join the Strips
Glue the two folded strips together end-to-end, forming a long accordion. - Create a Circle
Bring the two ends together to form a circle and glue them. - Press into Rosette
Push the top edges inward toward the center until it flattens into a circular rosette. - Secure the Center
Add a paper circle or button in the middle with hot glue to hold it in place.
Best Use
Great for party backdrops, wall art, and large event decorations.
Tutorial 3: Double-Layered Paper Pinwheel
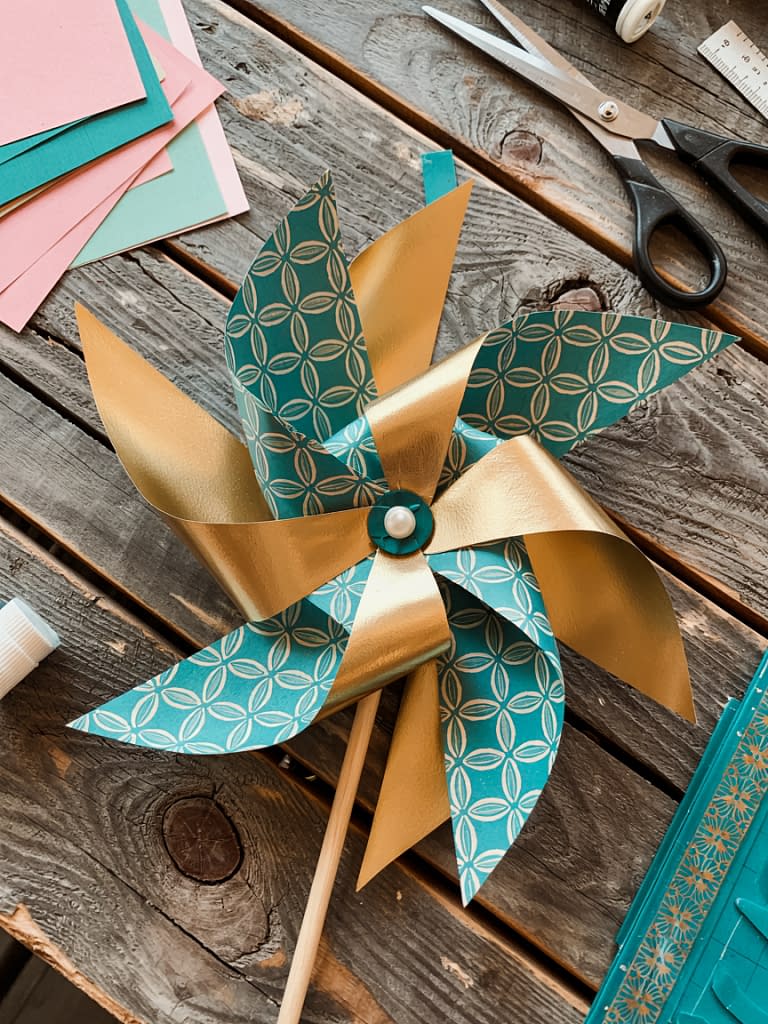
This pinwheel is more intricate and features two layers of pinwheels stacked together for a fuller, dimensional look.
Steps
- Cut Two Squares
Choose two squares of different sizes—one 6×6 inches and another 4×4 inches. - Repeat Classic Pinwheel Steps
Make a standard pinwheel with each square by cutting diagonals and folding every other corner to the center. - Layer Them Together
Place the smaller pinwheel on top of the larger one, aligning centers. - Secure with a Brad
Push a brad through both pinwheels, add a bead or button, and attach it to a dowel or straw. - Adjust for Dimension
Slightly curl the pinwheel blades with your fingers to give them extra shape.
Best Use
Perfect for weddings, elegant décor, and themed parties.
Tutorial 4: Oversized Garden Pinwheel
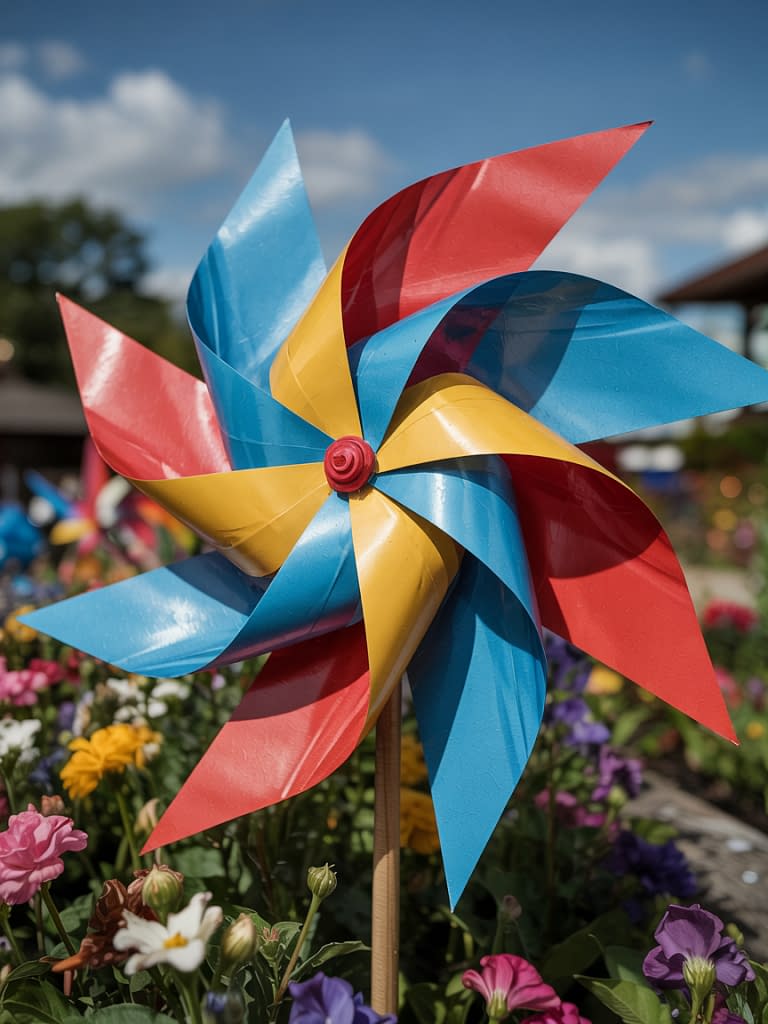
This is a giant pinwheel design that’s eye-catching and ideal for outdoor displays, festivals, or large party decorations.
Steps
- Cut a Large Square
Use poster board or cardstock in a 12×12 inch or larger square. - Mark and Cut Diagonals
Just like the classic pinwheel, cut from each corner toward the center, stopping about 2 inches away. - Fold and Secure
Fold every other corner toward the center. Since the paper is heavier, secure with hot glue or a strong brad. - Reinforce the Handle
Attach it to a sturdy wooden dowel instead of a straw. - Optional Decoration
Paint the blades or add glitter for extra effect.
Best Use
Perfect for garden décor, outdoor parties, or as a whimsical touch to festivals.
Creative Variations Across All Pinwheel Styles
- Pattern Mixing: Use polka dots, stripes, or floral prints for variety.
- Seasonal Themes: Red and green for Christmas, pastel for Easter, orange and black for Halloween.
- Glitter and Metallics: Add shine with metallic foil or glitter paper.
- Personalized Prints: Print names or event details on paper before folding.
Safety Notes
- Supervise kids when using sharp scissors or tacks.
- For children’s crafts, replace tacks with glue dots or use brads for safety.
- Oversized pinwheels should be handled carefully since poster board edges can be sharp.
Conclusion: Which Pinwheel Will You Try First?
Paper pinwheels are a delightful craft that combines creativity with practicality. Whether you choose the classic spinning version, the decorative rosette, the elegant double-layered pinwheel, or the giant outdoor statement piece, each design adds charm and personality to your space.
By following these four Paper Pinwheel Tutorials, you’ll not only learn the fundamentals of pinwheel-making but also discover how versatile this simple craft can be. From party decorations to everyday décor, pinwheels are a timeless way to add color, movement, and joy to your projects.


