Wrap shrugs are one of the most versatile and rewarding crochet garments to make. They combine the comfort of a shawl with the practicality of sleeves, creating a garment that drapes beautifully while staying securely on the shoulders. Whether you prefer lightweight layers for warmer weather or thick, cozy wraps for winter, a crochet wrap shrug adapts easily to different yarns, stitch patterns, and personal styles.
One of the greatest advantages of wrap shrug crochet patterns is their construction simplicity. Many designs begin as a single rectangle, making them approachable even for crocheters who are new to garment making. With careful folding, minimal shaping, and thoughtful finishing, a flat piece of fabric transforms into a wearable and stylish shrug.
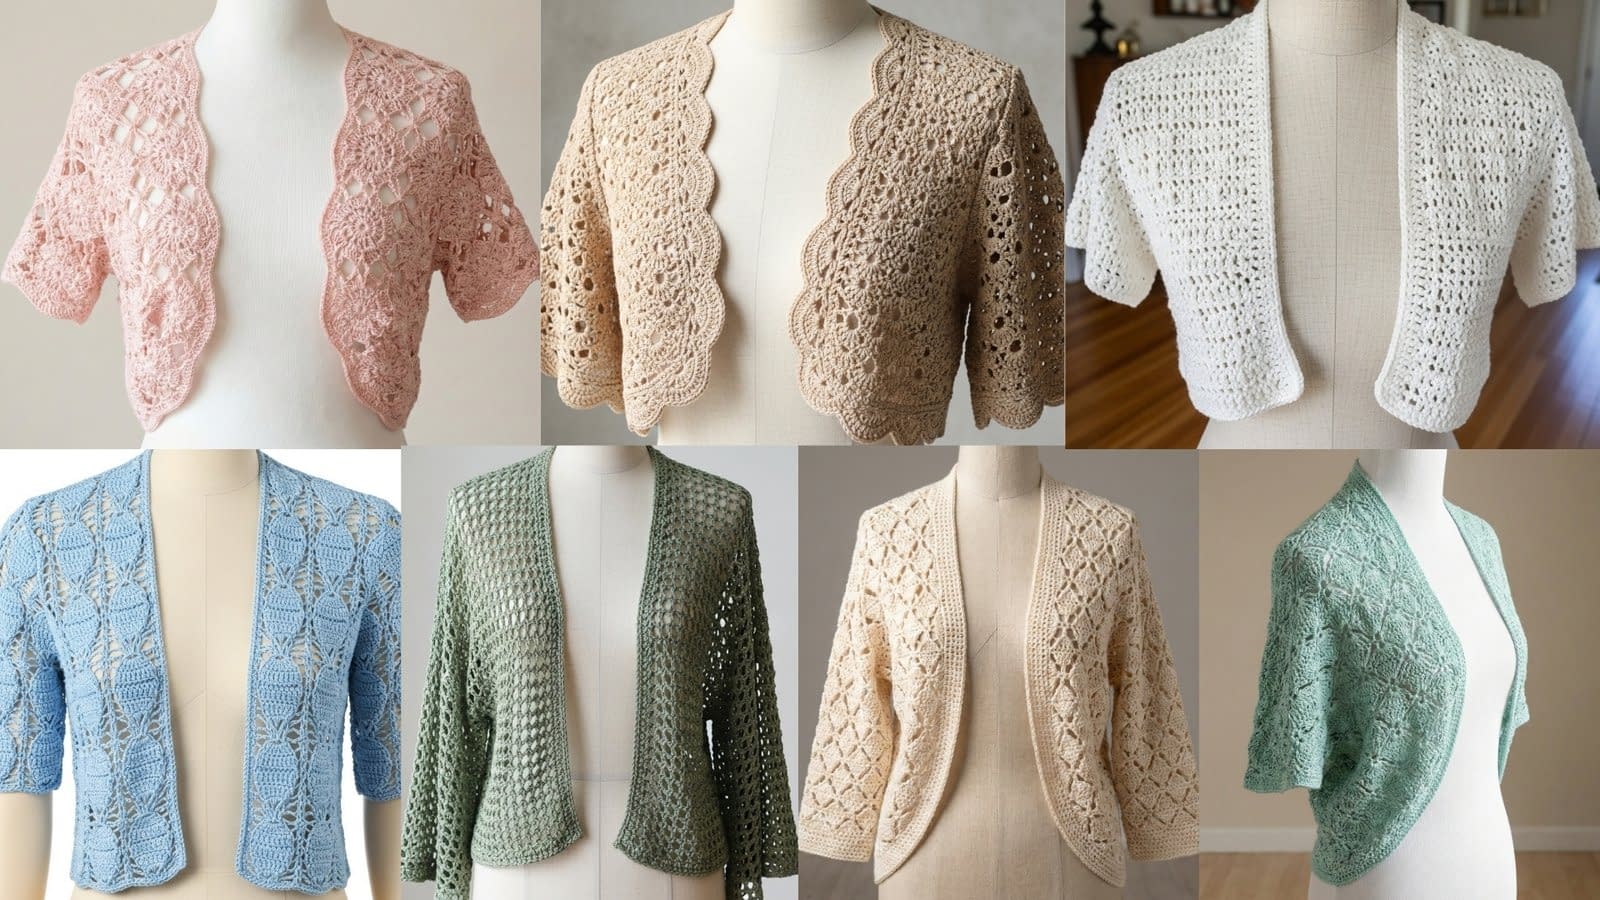
In this detailed blog post on 8 wrap shrug crochet patterns, you will find long, professional, and beginner-friendly tutorials that explain not only how to crochet each shrug, but also why each step matters. The instructions are written in full descriptive language, without shorthand, so that even a confident beginner can follow along comfortably. Each pattern includes guidance on skill level, finished size, materials, construction notes, and a complete step-by-step process from the first chain to final finishing.
1. Classic Rectangular Wrap Shrug

Skill Level
Beginner to intermediate
This pattern uses simple stitches and straight rows, with light finishing and folding.
Finished Size
Approximately 60 inches long by 20 inches wide when laid flat
Size can be adjusted by adding or removing rows or changing hook size and yarn weight.
Materials
Medium weight yarn suitable for garments, preferably cotton, cotton blend, or soft acrylic
Crochet hook appropriate for the chosen yarn
Yarn needle for sewing and weaving in ends
Scissors
Stitch markers (optional, but helpful for marking arm openings)
Design Overview and Notes
This classic rectangular wrap shrug is constructed from a single long rectangle. The rectangle is folded and lightly seamed to create arm openings, allowing the fabric to drape naturally across the shoulders. The stitch pattern is intentionally simple, making this an excellent first garment project.
The clean structure allows the fabric texture and yarn quality to shine. Even tension is more important than speed in this pattern, as straight edges and consistent rows determine how well the shrug sits on the body.
Step-by-Step Instructions
Foundation Chain
Begin by creating a foundation chain that matches the desired width of the shrug. For an average adult size, chain enough stitches to measure approximately twenty inches. Make sure the chain is not twisted and that the tension remains relaxed but even.
Turn your work after completing the chain.
Row One
Chain two to bring the yarn to the correct height for the first row. Work one half double crochet stitch into the third chain from the hook. Continue working one half double crochet stitch into each chain across the row. This establishes the base fabric.
At the end of the row, count your stitches to ensure consistency.
Row Two
Chain two and turn your work. Work one half double crochet stitch into each stitch across the row. Pay attention to the first and last stitches, as missing them can cause the edges to taper.
Rows Three Through Final Length
Repeat Row Two for each subsequent row until the rectangle measures approximately sixty inches in length. This length creates enough fabric to wrap comfortably around the shoulders.
As you work, periodically lay the fabric flat to check that the edges remain straight and the rows are even. If the fabric begins to ripple, your tension may be too loose. If it curls tightly, your tension may be too tight.
Creating the Shrug Shape
Lay the finished rectangle flat on a surface with the wrong side facing up. Fold the rectangle lengthwise, bringing the short ends closer together. Measure approximately eight inches from each folded edge and place stitch markers. These marked sections will become the arm openings.
Using a yarn needle and matching yarn, sew from each edge inward toward the stitch marker, leaving the marked section open. Repeat on the opposite side.
Turn the shrug right side out. The arm openings should now be clearly defined, and the fabric should drape evenly across the back and shoulders.
Finishing
Weave in all loose ends securely. Lightly steam or block the shrug if needed to relax the stitches and enhance drape. Avoid stretching the arm openings during blocking.
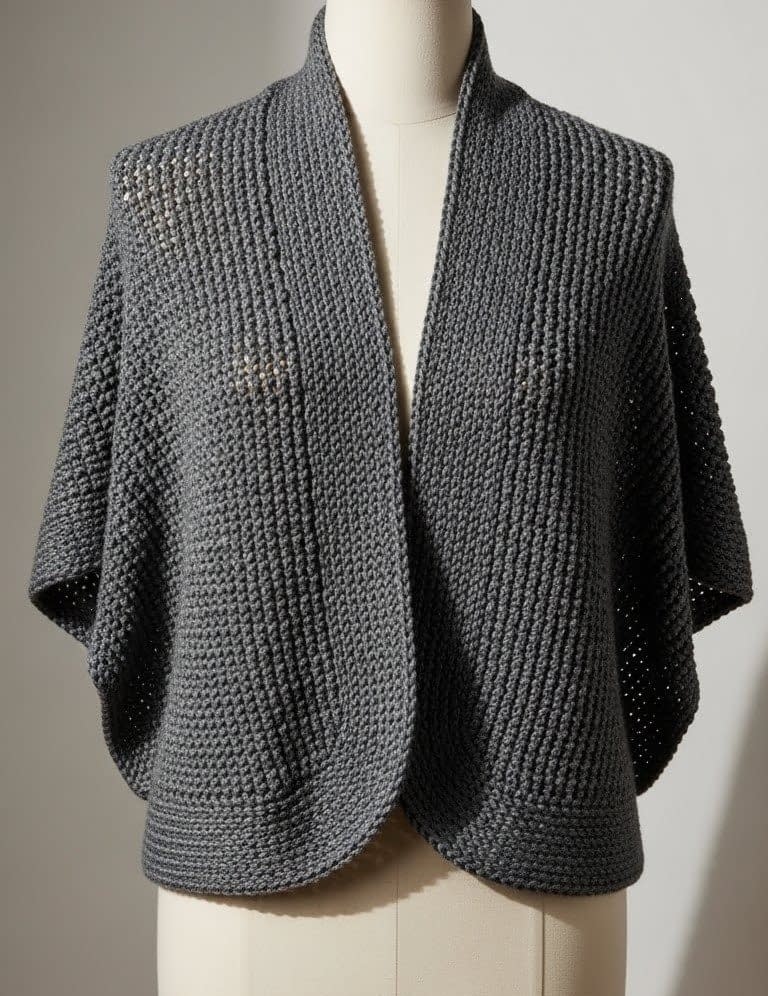
2. Ribbed Wrap Shrug

Skill Level
Intermediate
This pattern requires attention to stitch placement and consistent tension to maintain ribbing.
Finished Size
Approximately 58 inches long by 22 inches wide
Ribbing provides stretch, so exact measurements may vary slightly.
Materials
Medium weight cotton or cotton blend yarn with good stitch definition
Crochet hook suitable for the yarn
Yarn needle
Scissors
Stitch markers
Design Overview and Notes
The ribbed wrap shrug uses back loop only stitches to create deep vertical ridges. This ribbing adds elasticity, structure, and visual interest. The shrug fits more snugly than a flat fabric design, making it ideal for cooler weather or structured layering.
Because ribbing shows tension inconsistencies more clearly, take time to maintain even stitch size throughout.
Step-by-Step Instructions
Foundation Chain
Create a foundation chain long enough to measure approximately twenty-two inches. Keep the chain loose to prevent the edge from tightening.
Turn the work.
Row One
Chain two. Work one half double crochet stitch into the third chain from the hook. Continue working half double crochet stitches across the row, inserting the hook under both loops for this row only.
Row Two
Chain two and turn. This row introduces the ribbing. Insert the hook into the back loop only of the first stitch. Work one half double crochet stitch. Continue working one half double crochet stitch into the back loop only of each stitch across the row.
Row Three
Chain two and turn. Repeat Row Two, working exclusively into the back loop only. You should now see clear vertical ridges forming along the fabric.
Continuing the Ribbed Fabric
Repeat Row Three until the fabric reaches approximately fifty-eight inches in length. Periodically stretch the fabric gently to observe how the ribbing behaves. This helps ensure the shrug will fit comfortably once worn.
Shaping the Shrug
Fold the rectangle lengthwise with right sides facing together. Measure eight to nine inches from each edge and mark the arm opening sections.
Sew from the edges inward using a flexible seam technique, such as slip stitching through both layers. Avoid pulling the seam too tightly, as this can reduce stretch.
Turn the shrug right side out and gently stretch the ribbing to allow the fabric to relax.
Finishing
Weave in all ends carefully, following the ribbing lines to keep them hidden. Light steam blocking can help define the ribs further, but avoid excessive heat, especially with cotton blends.
3. Lightweight Mesh Wrap Shrug

Skill Level
Beginner to intermediate
Simple stitches with chain spaces require careful counting.
Finished Size
Approximately 62 inches long by 18 inches wide
Designed to drape loosely and feel airy.
Materials
Lightweight yarn such as bamboo, cotton, or bamboo blend
Crochet hook slightly larger than recommended to enhance drape
Yarn needle
Scissors
Design Overview and Notes
This lightweight mesh wrap shrug is ideal for warm climates and layering over summer outfits. The open mesh stitch allows airflow while still providing coverage.
Accuracy in chain spacing is essential, as uneven spaces can disrupt the mesh pattern.
Step-by-Step Instructions
Foundation Chain
Create a foundation chain in multiples appropriate for the mesh pattern. Chain enough stitches to reach approximately eighteen inches in width, adding two additional chains for turning.
Row One
Single crochet into the second chain from the hook. Chain one, skip one chain, then single crochet into the next chain. Repeat this sequence across the row. Turn at the end.
Row Two
Chain two. Single crochet into the first chain space. Chain one, then single crochet into the next chain space. Continue across the row, working into chain spaces rather than stitches.
Continuing the Mesh Pattern
Repeat Row Two until the fabric measures approximately sixty-two inches long. As the fabric grows, you will notice the mesh becoming more flexible and fluid.
Creating the Shrug Shape
Fold and seam the fabric in the same manner as the classic rectangular wrap shrug, leaving generous arm openings to maintain airflow.
Finishing
Block gently to open the mesh stitches. This step significantly improves the appearance and drape of the shrug.
4. Textured V-Stitch Wrap Shrug
Skill Level
Intermediate
Requires consistent stitch placement and pattern awareness.
Finished Size
Approximately 60 inches long by 21 inches wide
Materials
Medium weight yarn with clear stitch definition
Crochet hook matched to yarn
Yarn needle
Scissors
Stitch markers
Design Overview and Notes
The V-stitch creates a balanced fabric that is both textured and breathable. This shrug works well for transitional seasons and adds visual depth without becoming bulky.
Step-by-Step Instructions
Foundation Chain
Chain a number of stitches that is a multiple of two, plus three additional chains. The width should measure approximately twenty-one inches.
Row One
Double crochet into the fourth chain from the hook. Chain one, skip one chain, then double crochet into the next chain. Continue across the row.
Row Two
Chain three and turn. Work one double crochet, chain one, and another double crochet into the chain-one space from the previous row. Skip to the next chain-one space and repeat across.
Continuing the Pattern
Repeat Row Two until the fabric reaches the desired length. Maintain even spacing and consistent height in each V-stitch.
Shaping and Assembly
Fold, mark arm openings, and seam using the same method as previous patterns. Pay attention to aligning the V-stitches neatly at the seams for a polished finish.
Finishing
Weave in ends carefully and lightly block to enhance stitch definition.
5. Seamless Cocoon-Style Wrap Shrug
Skill Level
Beginner to intermediate
The stitch work is simple, but understanding folding and seamless construction is important.
Finished Size
Approximately 58 inches long by 24 inches wide before folding
The cocoon shape allows flexible sizing and a relaxed fit.
Materials
Medium weight yarn with good drape, such as acrylic, wool blend, or cotton blend
Crochet hook appropriate for the chosen yarn
Yarn needle
Scissors
Stitch markers (optional)
Design Overview and Notes
The seamless cocoon-style wrap shrug is created from a single rectangle that is folded in a specific way to form a rounded, enveloping shape. Unlike traditional wrap shrugs, this design minimizes visible seams and emphasizes fluid drape across the back and shoulders.
This style is extremely forgiving in fit, making it ideal for gift projects or wardrobe staples. Smooth, even rows are essential for a clean finished look.
Step-by-Step Instructions
Foundation Chain
Begin by chaining enough stitches to measure approximately twenty-four inches in width. Keep the foundation chain relaxed and even, as a tight chain can restrict the drape of the finished shrug.
Turn your work.
Row One
Chain two. Work one double crochet stitch into the third chain from the hook. Continue working one double crochet stitch into each chain across the row. This row establishes the main body fabric.
Row Two
Chain two and turn. Work one double crochet stitch into each stitch across the row. Focus on inserting the hook fully under both loops for consistent stitch height.
Rows Three Through Final Length
Repeat Row Two until the rectangle measures approximately fifty-eight inches in length. Periodically lay the fabric flat to ensure the edges remain straight and the fabric does not skew.
Because this shrug relies on drape rather than structure, avoid pulling stitches too tightly.
Folding and Seamless Assembly
Lay the rectangle flat with the wrong side facing up. Fold the rectangle in half lengthwise. Then, bring the short ends inward toward the center, overlapping them slightly.
Using stitch markers, mark the areas where the arm openings will be formed, usually eight to ten inches from each folded edge.
Sew only the short seam sections needed to secure the folds, leaving large, rounded arm openings. The center back remains seamless, creating the cocoon effect.
Turn the shrug right side out and gently adjust the folds so the fabric falls evenly.
Finishing
Weave in all ends carefully. Light blocking helps the cocoon shape settle naturally over the shoulders.
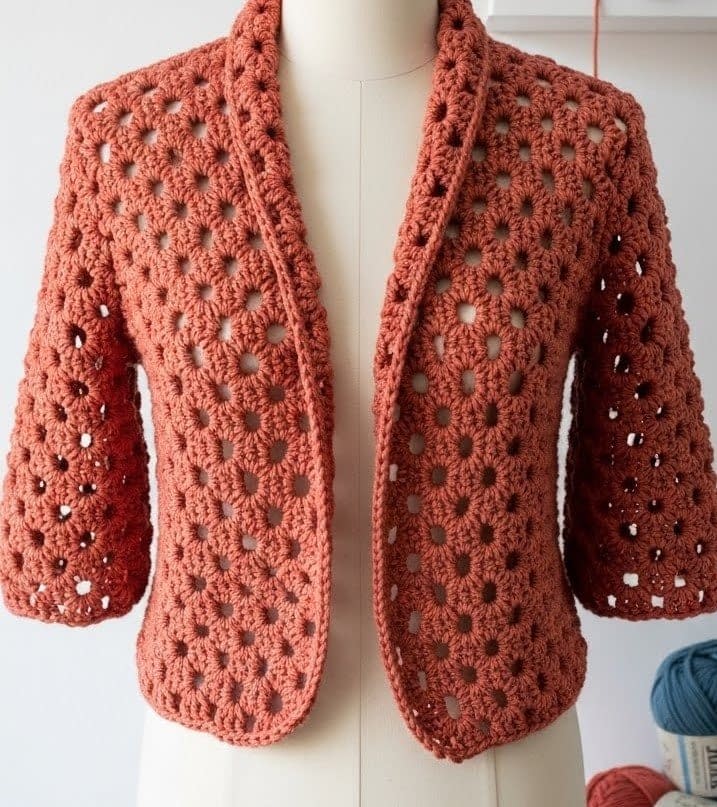
6. Granny Stitch Wrap Shrug
Skill Level
Beginner to intermediate
Basic cluster stitches with simple counting.
Finished Size
Approximately 60 inches long by 20 inches wide
Materials
Medium weight yarn in a single solid color or subtle tonal shade
Crochet hook suitable for the yarn
Yarn needle
Scissors
Design Overview and Notes
This wrap shrug uses the classic granny stitch, worked in rows instead of rounds. The repeating clusters create open spaces and rhythmic texture, making the shrug breathable and visually interesting.
Using a single color gives the design a modern look while preserving the traditional stitch structure.
Step-by-Step Instructions
Foundation Chain
Chain a multiple of three stitches plus two additional chains to reach approximately twenty inches in width.
Turn the work.
Row One
Work one double crochet stitch into the fourth chain from the hook. Work two more double crochet stitches into the same chain to form the first cluster. Skip two chains, then work three double crochet stitches into the next chain. Repeat across the row.
At the end, turn the work.
Row Two
Chain three. Work three double crochet stitches into the space between the clusters from the previous row. Continue working three double crochet stitches into each space across.
Continuing the Granny Rows
Repeat Row Two until the fabric measures approximately sixty inches in length. The clusters should stack neatly, forming vertical columns.
Assembly into a Shrug
Fold the rectangle lengthwise. Measure and mark the arm opening sections. Sew from the edges inward using matching yarn, taking care to align cluster spaces for a clean seam.
Turn the shrug right side out and gently adjust the fabric so the clusters sit evenly.
Finishing
Weave in ends securely along the cluster columns. Light blocking helps even out the stitches without flattening the texture.
7. Chunky Winter Wrap Shrug

Skill Level
Beginner
Large stitches and thick yarn make this a fast and forgiving project.
Finished Size
Approximately 56 inches long by 22 inches wide
The chunky fabric provides warmth and structure.
Materials
Super bulky or bulky weight yarn
Large crochet hook suitable for thick yarn
Yarn needle
Scissors
Design Overview and Notes
This chunky winter wrap shrug is designed for warmth and comfort. The thick yarn creates bold texture and a cozy feel, making it perfect for cold weather layering.
Because of the yarn weight, the fabric grows quickly, but even tension is still important to maintain balance.
Step-by-Step Instructions
Foundation Chain
Chain enough stitches to measure approximately twenty-two inches. The chain should remain loose to prevent stiffness.
Turn the work.
Row One
Chain two. Work one half double crochet stitch into the third chain from the hook. Continue working half double crochet stitches across.
Row Two
Chain two and turn. Work one half double crochet stitch into each stitch across.
Continuing the Fabric
Repeat Row Two until the rectangle measures approximately fifty-six inches in length. The fabric should feel dense but flexible.
Shrug Assembly
Fold the rectangle lengthwise. Mark wide arm openings, as chunky fabric needs extra space for comfort. Sew short seams on each side, leaving the arm openings open.
Turn the shrug right side out and gently shape the fabric.
Finishing
Weave in ends securely, as bulky yarn can loosen over time. Blocking is usually unnecessary, but gentle steaming can soften the fabric.
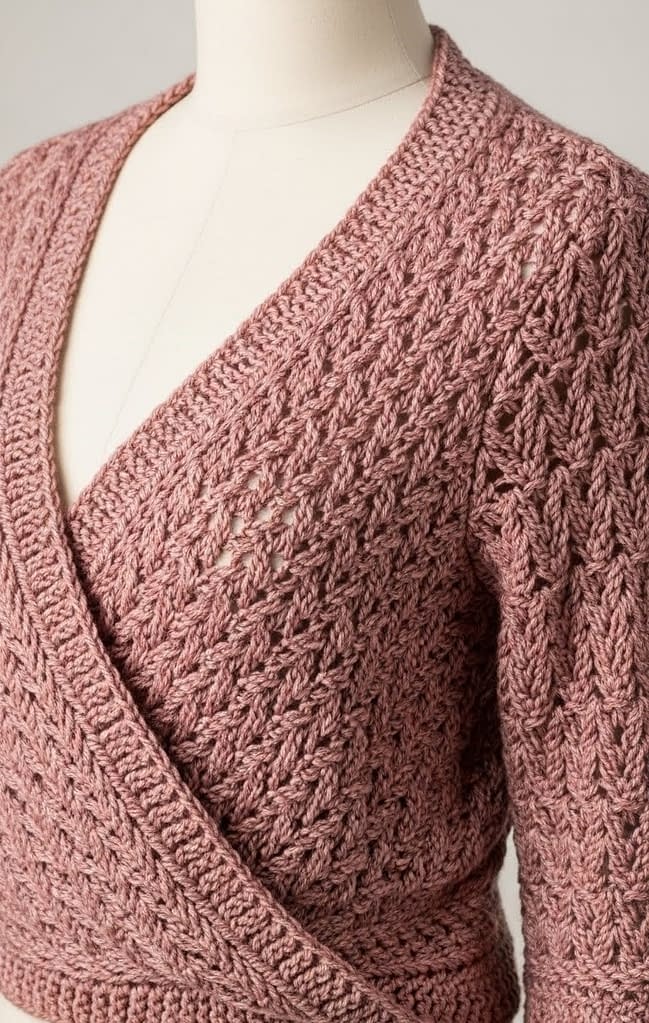
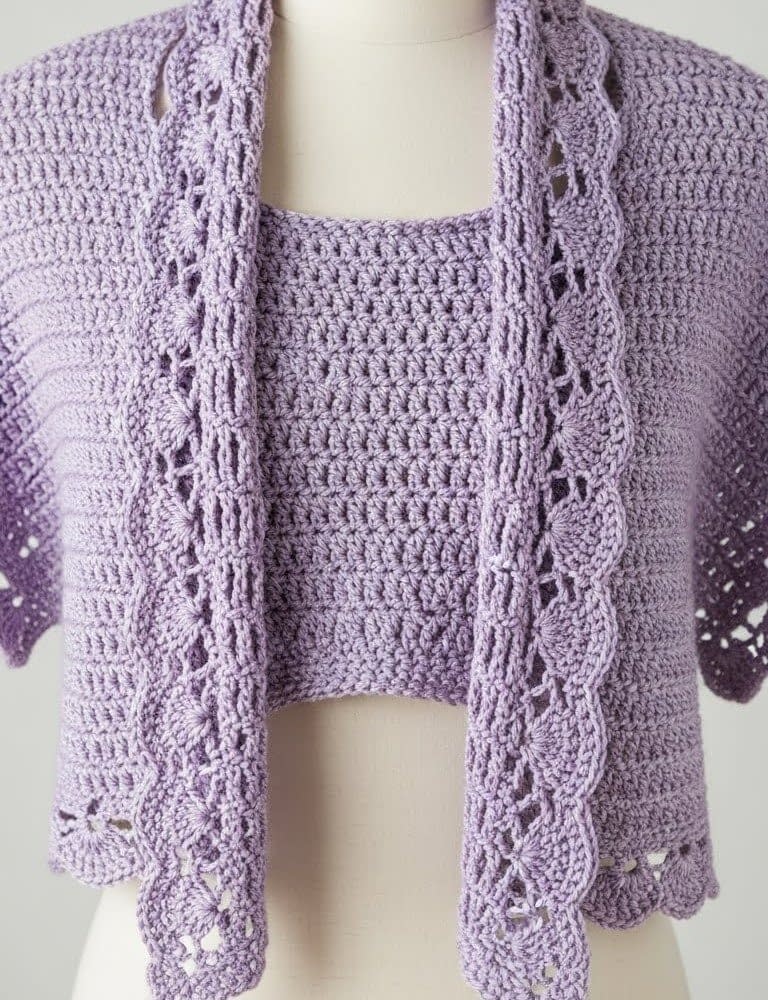
8. Wrap Shrug with Lacy Edge
Skill Level
Intermediate
Requires attention to edge work and stitch transitions.
Finished Size
Approximately 60 inches long by 20 inches wide
Materials
Medium weight yarn with soft drape and slight sheen
Crochet hook appropriate for yarn
Yarn needle
Scissors
Design Overview and Notes
This wrap shrug features a solid main body with a decorative lacy shell border. The contrast between the simple fabric and intricate edging creates an elegant, finished look suitable for special occasions or refined layering.
The lace border is added after the shrug body is completed and assembled.
Step-by-Step Instructions
Main Body Construction
Work the main body as a simple rectangle using double crochet rows, following the same method as the classic rectangular wrap shrug. Complete the rectangle and assemble it into a shrug before adding the lace edge.
Lace Edge Instructions
Border Setup
Join yarn at one corner of the shrug. Work single crochet stitches evenly around the entire edge, placing three single crochet stitches in each corner to maintain shape.
Join with a slip stitch.
Lace Shell Round
Chain three. Skip two stitches, then work five double crochet stitches into the next stitch to form a shell. Skip two stitches and work one single crochet stitch into the next stitch. Repeat this sequence around the entire edge.
Join with a slip stitch at the end of the round.
Finishing
Weave in all ends carefully. Light blocking enhances the lace pattern and smooths the edges.
Conclusion
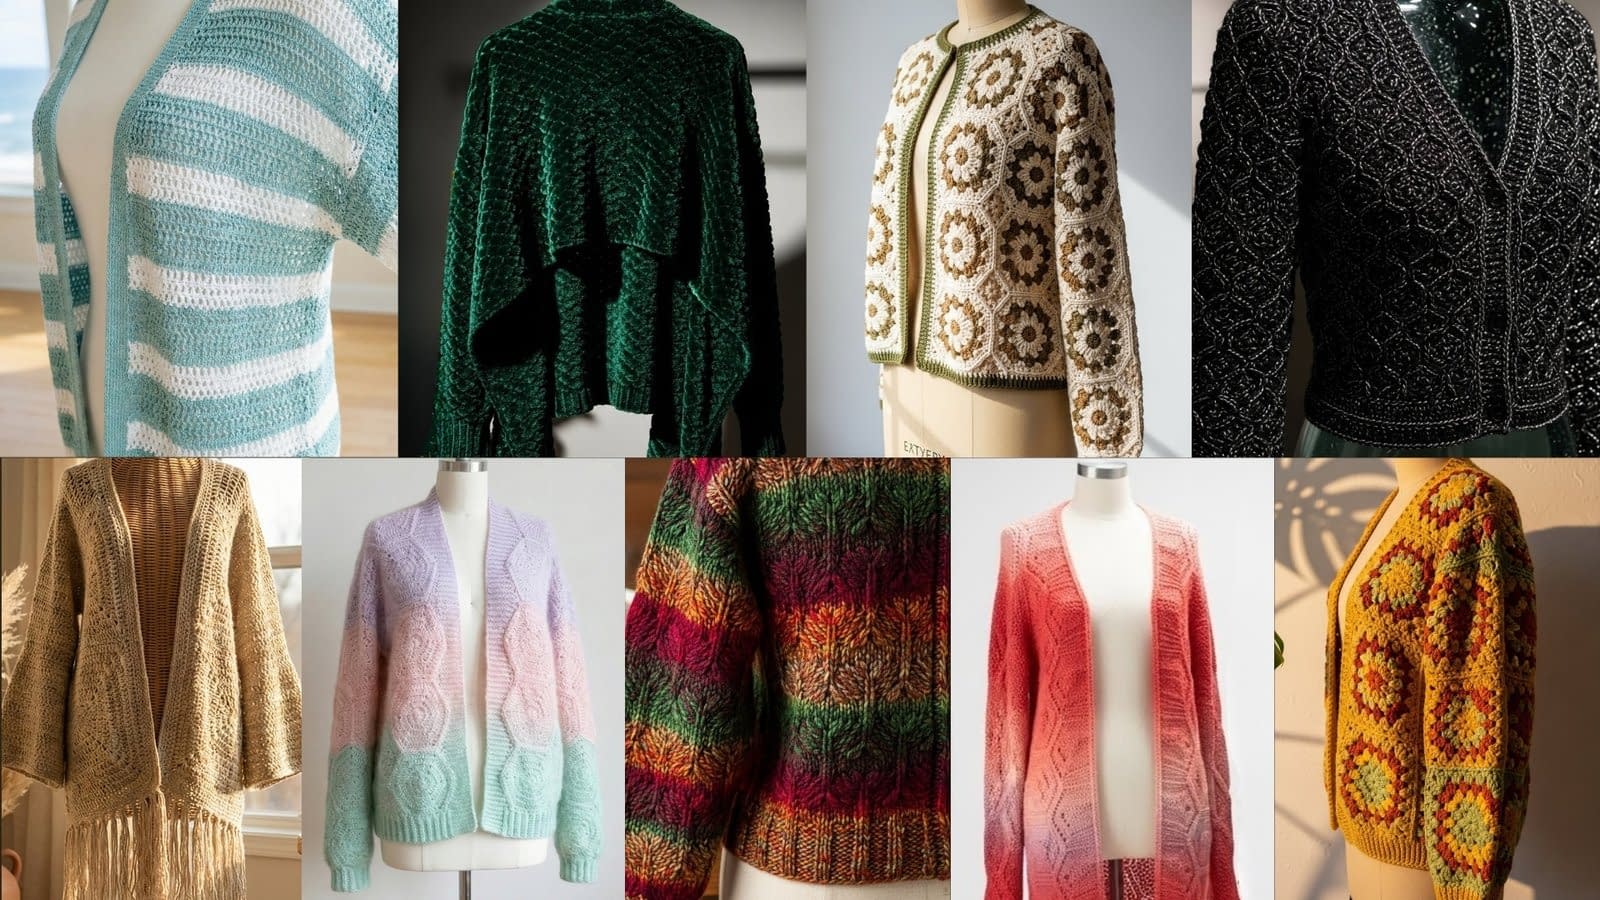
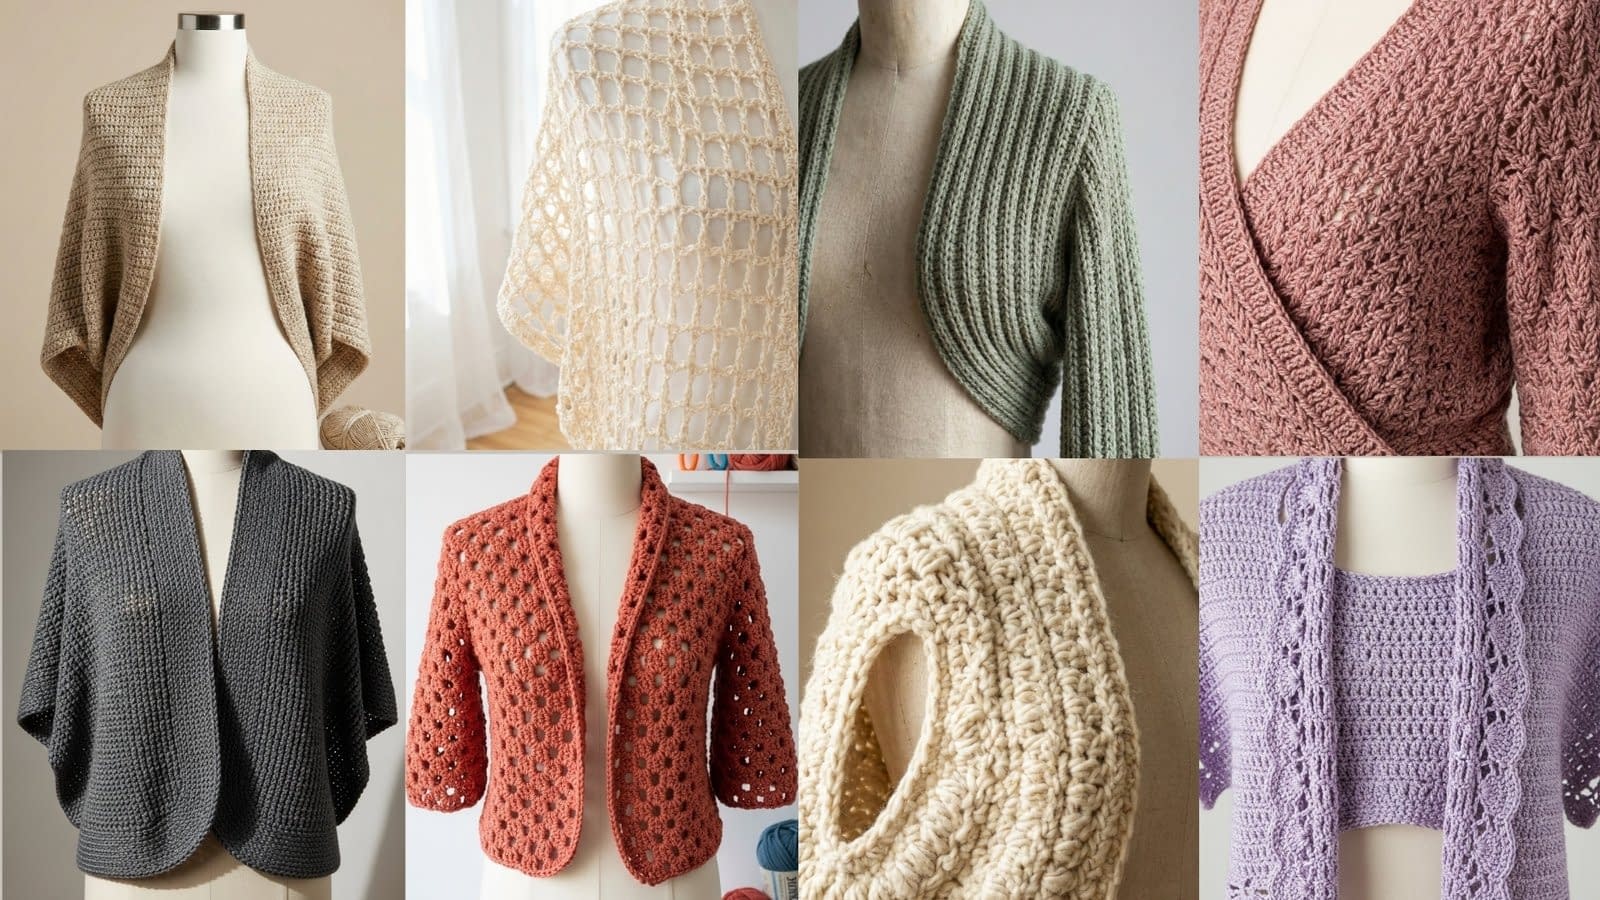
These eight wrap shrug crochet patterns demonstrate how versatile and rewarding this garment style can be. From simple rectangles to textured stitches, cocoon shapes, chunky winter layers, and elegant lace finishes, wrap shrugs offer endless creative possibilities while remaining approachable for many skill levels.
By following long-form, detailed instructions and understanding how each construction method works, you can confidently create wrap shrugs that fit well, drape beautifully, and suit different seasons and styles. Whether you crochet for yourself or others, wrap shrugs remain a timeless and practical addition to any handmade wardrobe.