
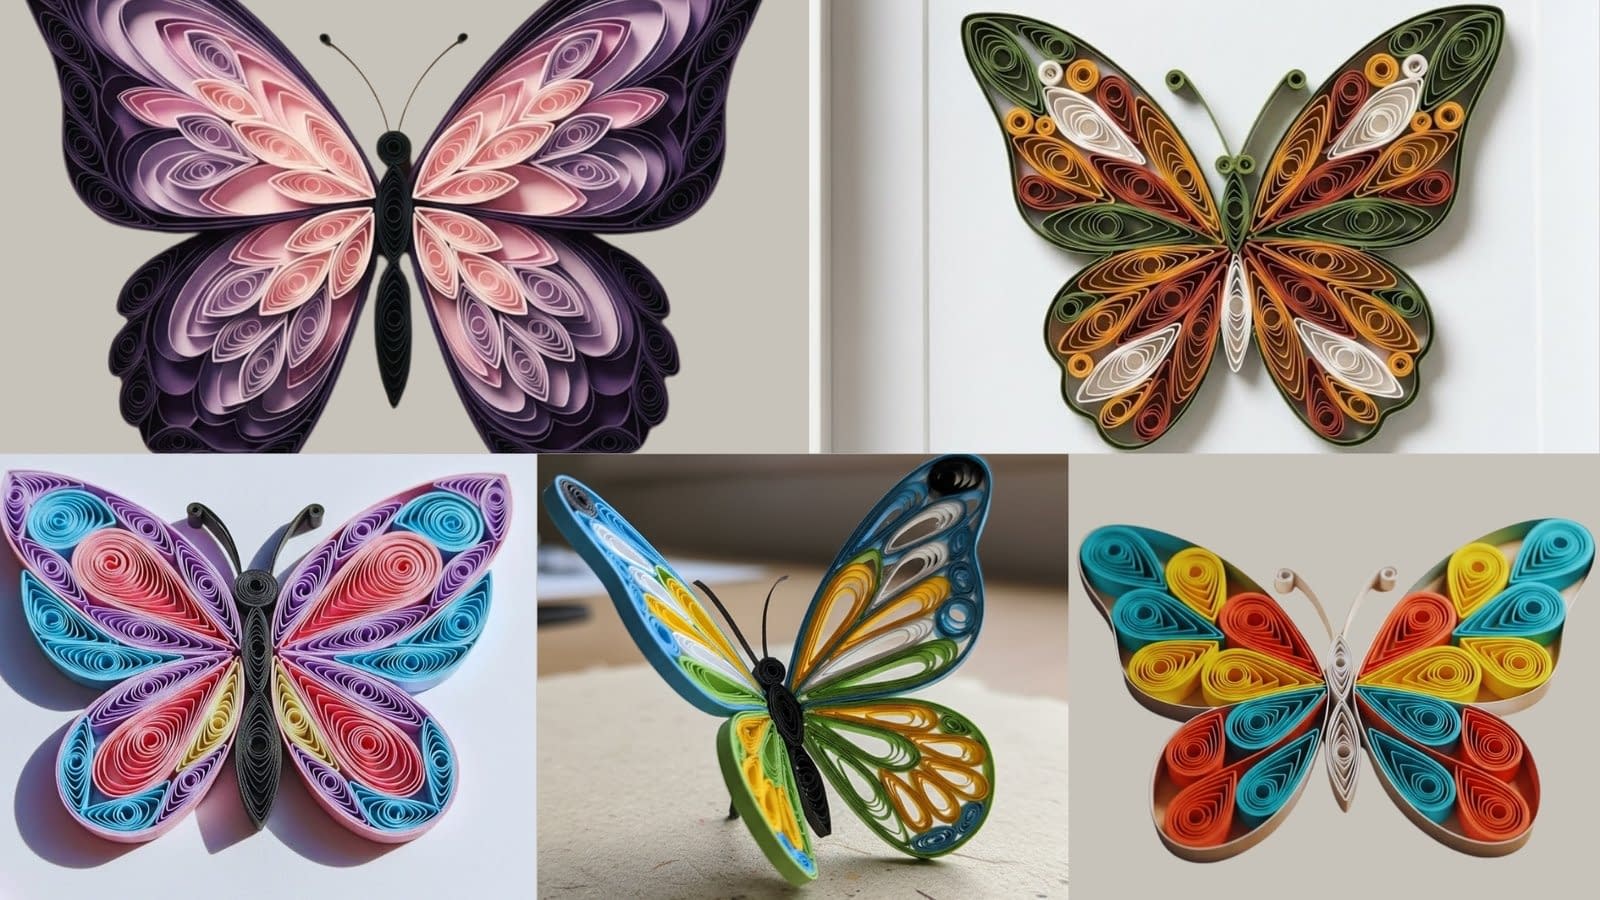
Paper quilling is a delicate paper art technique that transforms narrow paper strips into coils, scrolls, and shaped elements that can be arranged into intricate designs. Among all quilling subjects, butterflies remain one of the most popular because they allow symmetry, color play, layering, and both flat and three-dimensional construction.
This in-depth guide on 5 paper quilled butterfly tutorials is designed for beginners who want clear, step-by-step instruction and for experienced quillers who want refined techniques and professional finishing tips. Each tutorial explains how to prepare paper strips, how to roll and shape coils, how and when to apply glue, and how to assemble each butterfly with precision.
Throughout the post, you will also learn how to cut paper accurately, how to control coil tension, how to fold and curve shapes, and how to achieve clean edges and durable results.
Tools and Materials Used Across All Tutorials
Before starting any of the 5 paper quilled butterfly tutorials, it is important to prepare your tools and materials properly.
Essential Tools
A slotted quilling tool or fine needle tool for rolling paper strips
Sharp scissors for trimming and shaping paper
Tweezers for placing small coils accurately
A quilling board or foam mat to help shape coils consistently
Toothpicks or fine pins for applying glue precisely
Paper Selection and Preparation
Use quilling paper strips with a width between 3 mm and 5 mm for most butterfly designs. Narrow strips create finer details, while wider strips add bold structure. Before rolling, gently run each strip between your fingers to remove stiffness. This helps the paper coil smoothly without cracking.
If you need custom colors or gradients, cut strips from high-quality craft paper using a metal ruler and craft knife. Keep edges straight and clean, as uneven edges will be visible in tight coils.
Glue Usage Guidelines
Use a quick-drying, clear craft glue. Pour a small amount onto a scrap surface. Never apply glue directly from the bottle to the paper. Always use a toothpick to control the amount. Glue should be applied only to the very end of a strip or to the contact points between coils.
Tutorial 1: Classic Tight-Coil Paper Quilled Butterfly

Design Overview
This butterfly is built entirely from tight circular coils, giving it a compact, structured, and highly polished appearance. Because every element relies on tight coils, this design is excellent for learning tension control, consistency, and clean finishing. It is especially suitable for greeting cards, scrapbook covers, and flat wall art.
Understanding Tight-Coil Technique
A tight coil is created by rolling the paper strip firmly so that it does not expand after release. This requires steady hand pressure and consistent rolling speed. Uneven tension will result in lopsided coils, which are very noticeable in symmetrical butterfly wings.
Step 1: Preparing the Paper Strips
Cut quilling strips to equal lengths if you are not using pre-cut strips. For balanced wings, prepare at least 30–40 strips in soft pastel colors. Keep the lengths identical to ensure uniform coil sizes. Lightly smooth each strip between your fingers to remove stiffness.
Step 2: Rolling Perfect Tight Coils
Insert the paper strip into the quilling tool and roll slowly while maintaining firm tension. Do not rush this step. When the entire strip is rolled, apply a tiny amount of glue to the tip using a toothpick. Hold the end in place for several seconds until secure. Repeat until all coils are completed.
Step 3: Checking Size Consistency
Place finished coils side by side on a flat surface. If any coil appears larger or smaller, remake it. Consistency is critical for visual balance in this butterfly style.
Step 4: Creating the Butterfly Body
Use darker paper strips for contrast. Roll tight coils and gently pinch the ends between your fingers to elongate them into oval shapes. Do not flatten the coil completely. The body should remain slightly raised to add depth.
Step 5: Planning the Wing Layout
Lightly sketch the butterfly outline on white cardstock. Divide each wing into sections to guide coil placement. Start arranging coils from the center outward, alternating colors to maintain symmetry.
Step 6: Gluing the Coils in Place
Apply glue sparingly to the bottom edge of each coil. Press gently onto the cardstock and hold briefly. Glue one coil at a time and allow partial drying before adding adjacent coils to prevent shifting.
Step 7: Final Assembly and Cleanup
Attach the body last, aligning it carefully at the center. Allow the entire piece to dry completely before erasing pencil lines or moving the artwork.
Tutorial 2: Loose-Scroll Butterfly with Open Wing Design

Design Overview
This butterfly emphasizes lightness and movement through open shapes and negative space. Loose coils and scrolls create an elegant, airy effect that looks delicate and decorative. This style works well for framed art and decorative paper panels.
Step 1: Preparing Loose Coils
Roll each paper strip loosely and allow it to expand naturally. Place it into a quilling board to standardize size. Once satisfied, glue the end lightly. Avoid over-gluing, as excess glue stiffens the coil.
Step 2: Creating Scroll Elements
For S-scrolls, roll both ends of a strip inward toward the center without gluing. For open hearts or V-shapes, fold the strip gently in half before rolling outward. These shapes add movement to the wings.
Step 3: Making Teardrop and Marquise Shapes
Form loose coils and pinch one side for teardrops or both sides for marquise shapes. Pinch slowly to avoid creasing the paper.
Step 4: Constructing the Wing Outline
Use a long strip to form the butterfly wing outline. Shape it directly on the background using tweezers. Glue only the joining points and allow the outline to dry fully before filling.
Step 5: Filling the Wings Evenly
Place loose coils and scrolls inside the outline, spacing them evenly. Glue only where shapes touch the outline or neighboring elements. This keeps the design open and clean.
Step 6: Attaching the Body and Drying
Attach the body using elongated tight coils. Allow the butterfly to dry flat for several hours to preserve spacing.
Tutorial 3: Gradient Color Layered Quilled Butterfly

Design Overview
This butterfly focuses on smooth color transitions and depth through layering. It requires careful planning and patience but produces a highly refined, professional result suitable for display art.
Step 1: Planning the Color Gradient
Lay out all paper strips from darkest to lightest shades. Decide where each color will sit within the wing before rolling any shapes.
Step 2: Creating Marquise and Teardrop Shapes
Roll loose coils and pinch carefully. Keep shapes uniform within each color group. Consistency ensures smooth visual transitions.
Step 3: Building the Base Wing Layer
Glue the darkest and largest shapes first, following the wing outline. Allow this layer to dry completely before continuing.
Step 4: Adding Secondary Layers
Glue lighter shapes on top of the base layer using minimal glue. Place glue only at contact points to maintain definition between layers.
Step 5: Final Body and Antennae Details
Create a slim body using tightly rolled strips. For antennae, curl thin strips gently using fingers or a needle tool and glue lightly.
Tutorial 4: Framed Paper Quilled Butterfly Wall Art

Design Overview
This butterfly is designed specifically as permanent wall décor and display art. Unlike flat card designs, framed quilled butterflies must be structurally strong, visually balanced from a distance, and durable over time. This tutorial focuses on building a bold outline, reinforcing joints, and preparing the artwork so it sits perfectly inside a shadow-box frame without damage.
Step 1: Planning for Framing and Scale
Before rolling any paper, measure the inner dimensions and depth of your shadow-box frame. Decide the final butterfly size so there is equal spacing around all sides. Sketch the butterfly outline directly on the backing board, keeping the wings symmetrical. Consider how thick your coils will be so they do not touch the glass once framed.
Step 2: Selecting Paper Widths and Colors
Use wider strips, such as 5 mm or 7 mm, for the outer outline to create strength. Inner shapes can use narrower strips for contrast. Earthy tones work well for wall art because they complement home décor. Cut all strips cleanly and keep edges straight.
Step 3: Constructing the Quilled Outline
Shape the outline strip slowly along the pencil sketch. Use tweezers to guide curves and corners. Apply glue only at joining points, holding each joint in place until fully set. Let the entire outline dry completely before filling the interior. This prevents distortion.
Step 4: Reinforcing the Outline
Once the outline is dry, add tiny glue dots along the inside edge where inner shapes will touch. This reinforcement helps anchor the interior coils securely over time.
Step 5: Creating Interior Coil Variety
Roll a combination of tight coils, loose coils, and marquise shapes. Vary sizes slightly to avoid a flat appearance. Test placement before gluing to ensure balanced distribution across both wings.
Step 6: Filling the Wings Methodically
Work one wing section at a time. Glue each shape at its contact points only. Allow partial drying before moving to the adjacent section. This slow approach keeps the design clean and prevents collapse.
Step 7: Attaching the Body and Antennae
Create a firm body using elongated tight coils. Glue it securely to the backing board first, then connect wing shapes to it. For antennae, curl thin strips gently and glue only the base.
Step 8: Mounting Inside the Frame
After the artwork is fully dry, attach the backing board into the shadow box. Ensure nothing touches the glass. Seal the frame carefully to protect the quilling from dust and humidity.
Tutorial 5: 3D Raised Wing Paper Quilled Butterfly

Design Overview
This butterfly focuses on creating realistic movement and depth by lifting the wings off the surface. The raised-wing effect requires careful shaping, controlled gluing, and patience. This design is ideal for advanced quillers or anyone wanting to move beyond flat compositions.
Step 1: Preparing a Strong Base
Choose a thick cardstock or handmade paper as the base. The surface must be sturdy enough to support raised elements. Lightly sketch the butterfly body position only; do not outline the wings fully, as they will be shaped in the air.
Step 2: Forming Curved Wing Shapes
After rolling coils and teardrop shapes, gently curve them over a rounded tool handle, marker, or your finger. Curve gradually to avoid creases. Each wing section should have a natural upward lift.
Step 3: Creating Layered Wing Sections
Build wings in sections rather than all at once. Glue smaller shapes onto larger base shapes, applying glue only at the center contact point. Allow each layered section to dry completely before handling.
Step 4: Testing Wing Elevation
Before final assembly, place wing sections next to the body without glue. Adjust curvature until both sides match in height and angle. Symmetry is crucial for realism.
Step 5: Attaching the Body Securely
Glue the body firmly to the base using slightly more glue than usual. Hold it in place until fully set, as it will support the wings.
Step 6: Attaching Wings with Minimal Glue
Apply glue only where the wings meet the body. Do not glue the outer edges of the wings. Hold each wing in position until stable. Use temporary supports, such as rolled paper or foam, to hold wings upright while drying.
Step 7: Adding Hidden Support if Needed
If wings feel unstable, add tiny concealed glue supports beneath the inner wing edges. These supports should not be visible from above.
Step 8: Final Shaping and Drying
Once glued, make final curvature adjustments gently. Allow the butterfly to dry undisturbed for several hours to ensure structural stability.
Care and Preservation Tips
Three-dimensional quilled butterflies should be displayed away from airflow, moisture, and direct sunlight. Display under a dome or in a deep frame for best longevity.
Conclusion
These 5 paper quilled butterfly tutorials now cover flat, open, layered, framed, and three-dimensional techniques in full depth. By mastering each approach, you gain the skills needed to design your own original quilled butterflies with confidence, precision, and artistic control.


