
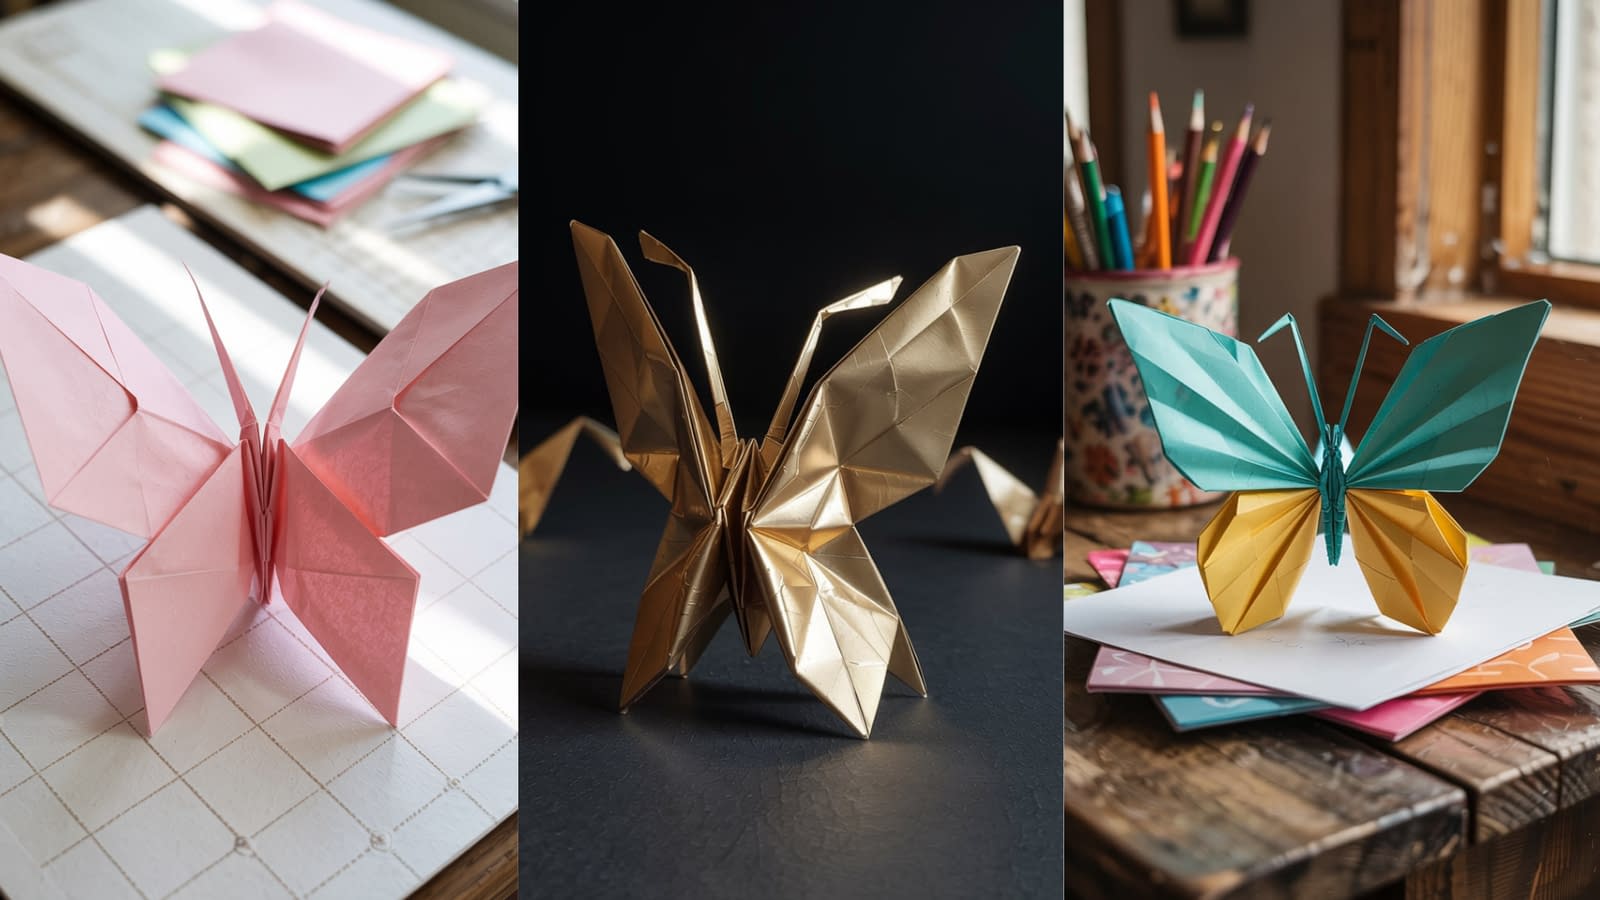
Origami, the timeless Japanese art of paper folding, transforms a simple sheet of paper into something extraordinary. Among all origami creations, butterflies stand out for their elegance, versatility, and symbolism. Whether you want to decorate your home, create a handmade gift, or simply enjoy a relaxing craft, learning 3 easy origami butterfly designs is a rewarding place to start.
In this guide, you’ll discover not just one but three different origami butterfly tutorials, each with clear step-by-step instructions, helpful tips, and creative ways to personalize your creations. From the simplest fold to a more detailed design, this post covers it all.
What You’ll Need for All 3 Origami Butterfly Designs
While origami is known for its minimal materials, having the right tools makes your butterflies look more polished.
Materials
- Square sheets of origami paper (recommended: 15×15 cm / 6×6 inches)
- A flat, clean surface for folding
- Optional: bone folder or the back of a spoon for sharper creases
Paper Tips
- Thin paper is best for beginners since thick paper makes precise folds harder.
- Double-sided colored paper adds dimension to your butterflies.
- Recycled wrapping paper or magazine pages can create unique patterns.
Design 1: The Classic Easy Origami Butterfly

This is the simplest design, perfect for beginners or quick crafts.
Step-by-Step Instructions
- Start with a square sheet (colored side facing down).
- Fold diagonally in half to form a triangle; crease well and unfold.
- Fold along the other diagonal, crease, and unfold.
- Turn the paper over and fold it in half vertically, then horizontally.
- Collapse into a triangle base: Using the creases, push the vertical and horizontal folds inward, letting the diagonals fold naturally to form a flat triangle.
- Fold the two upper triangle flaps downward, aligning them with the bottom point.
- Flip the paper over and fold the top point downward so it extends slightly past the bottom edge.
- Fold in half along the center line to form the butterfly shape.
- Spread the wings gently to complete the look.
Tip: For a more realistic appearance, curve the wings slightly with your fingers.
Design 2: The Double-Layer Origami Butterfly
A slightly more intricate design with layered wings for added depth.
Step-by-Step Instructions
- Start with a square sheet, colored side up.
- Fold in half diagonally (both directions) and crease well.
- Flip over and fold in half horizontally and vertically.
- Collapse into a triangle base as in Design 1.
- Fold the right and left corners of the top layer to the top point.
- Flip over and fold the top point downward, leaving a small triangle above the fold.
- Fold the small triangle upward to lock the wings in place.
- Gently pull the top wings apart to create the double-layer effect.
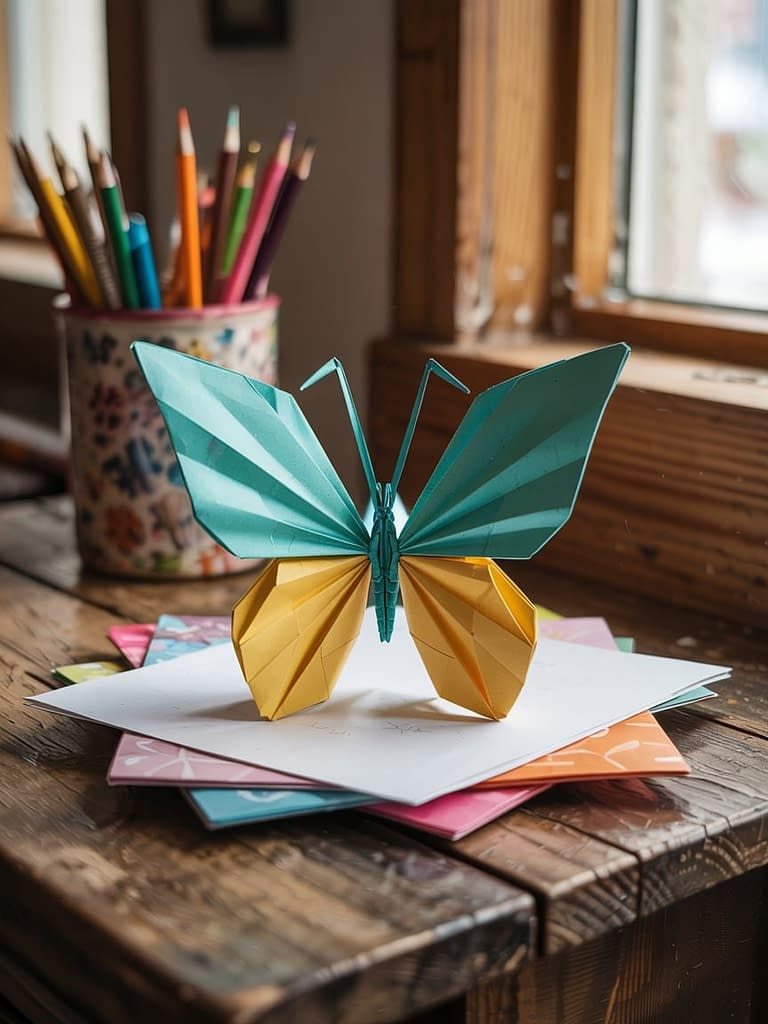
Creative Variation: Use paper with a different color on each side for a striking two-tone butterfly.
Design 3: The 3D Flapping Origami Butterfly

This one adds a fun, interactive element – the wings can “flap” when you press the body.
Step-by-Step Instructions
- Begin with a square sheet, colored side up.
- Fold diagonally in both directions, then horizontally and vertically.
- Collapse into a square base instead of a triangle base.
- Fold the top triangle flaps down to meet the bottom edge.
- Fold the sides inward to create a kite shape.
- Fold the top section down to form the butterfly’s body.
- Carefully pinch the body between your thumb and forefinger – the wings will lift slightly and appear to flap.
Tip: Use lightweight, crisp paper to get better flapping movement.
Decorating and Displaying Your Origami Butterflies
Once you’ve mastered these 3 easy origami butterfly designs, you can use them in countless creative ways.
- Wall Art – Arrange them in a pattern or gradient for a stunning 3D wall piece.
- Greeting Cards – Attach a butterfly to the front for a handmade touch.
- Gift Wrapping – Use as embellishments on wrapped presents.
- Mobiles – Hang several butterflies with clear thread for a floating effect.
Troubleshooting Common Problems
Even with simple designs, beginners sometimes face challenges.
- Paper Tearing – Use thinner paper and avoid excessive force on folds.
- Uneven Wings – Ensure all folds are aligned precisely from the start.
- Won’t Hold Shape – Sharpen creases using a bone folder or fingernail.
Tips for Perfecting Your Origami Skills
- Practice with larger sheets before moving to smaller ones.
- Always fold on a flat, hard surface.
- Watch video tutorials alongside written instructions for better understanding.
- Experiment with patterned paper for more artistic results.
Final Thoughts
Making 3 easy origami butterfly designs is not just a craft activity; it’s a calming, creative process that brings beauty into everyday life. Whether you’re making them for décor, gifts, or simply to enjoy the art of folding, these butterflies offer endless possibilities for personalization.
So, gather your paper, find a comfortable spot, and let your creativity take flight. Soon, your space – and perhaps your heart – will be filled with delicate, colorful butterflies.


