
Knitted triangle shawls have remained one of the most cherished and timeless accessories in the world of fiber arts. They are versatile, visually striking, and endlessly customizable. Whether a knitter prefers lightweight drapey shawls for warmer seasons or thicker, cozier versions for cold evenings, a triangle shawl can be adapted to nearly any style and purpose. What makes triangle shawls especially rewarding is the accessible construction method. Most designs begin at a single point and grow outward using simple increases, making them ideal for knitters who want to explore shaping without feeling overwhelmed.
This guide, titled 5 Simple Knit Triangle Shawl Patterns, brings together five thoughtfully written patterns suitable for beginners who want slow, patient, and detailed instruction. Every pattern is written without shortened stitch names, ensuring that even knitters unfamiliar with standard knitting abbreviations can follow along with ease.
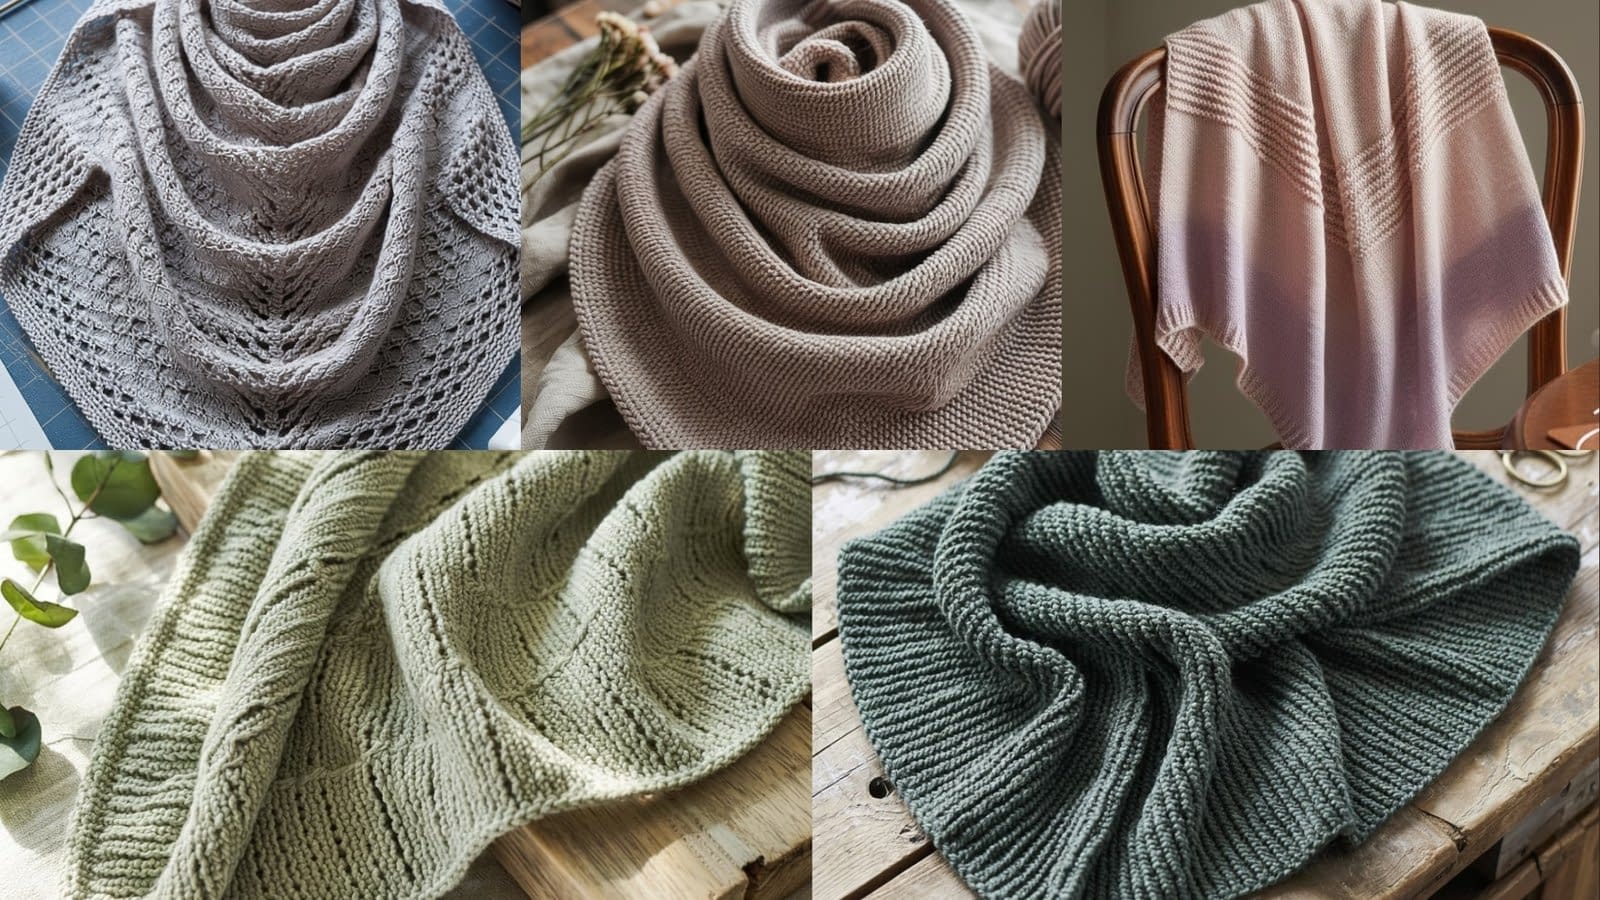
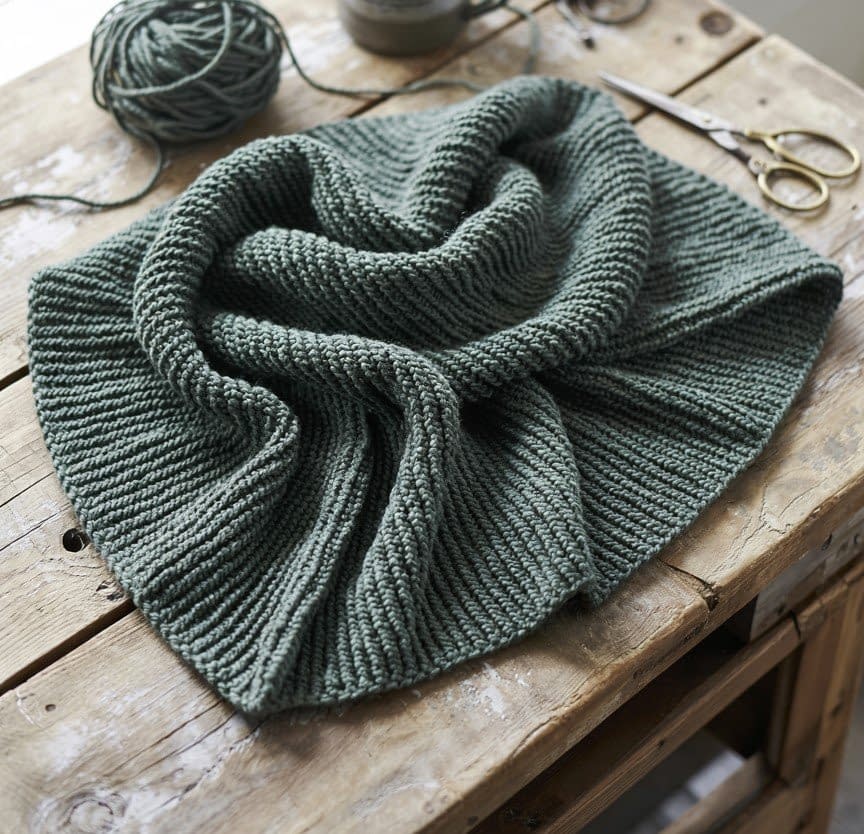
Pattern 1: Classic Garter Stitch Triangle Shawl
Skill level
Beginner. This pattern uses only the knit stitch and simple increases worked at each edge. It is an excellent introduction to triangular shaping.
Finished size
Approximately 60 inches wide across the top and 28 inches deep from top edge to bottom point after blocking. Size can be easily adjusted by working more or fewer rows.
Materials
• Worsted weight yarn, approximately 600 to 700 yards
• Knitting needles: 5.5 millimeters or size required for comfortable drape
• Yarn needle for weaving in ends
• Scissors
• Optional blocking pins and blocking mat
Notes
This pattern begins with a tiny cast-on at the bottom point and gradually increases along both edges to form a symmetrical triangle. The garter stitch fabric creates a soft, squishy texture and lies flat naturally. Because there is no purling in this pattern, it is ideal for practicing consistent tension.
Instructions
Step 1: Begin the shawl at the bottom point
Cast on three stitches using your preferred cast-on method. These three stitches create the very bottom tip of the shawl.
Step 2: Establish the increase structure
Row 1: Knit two stitches, then insert one new loop by knitting into the front and then the back of the next stitch to form an increase.
Turn your work.
Row 2: Knit across all stitches to the end of the row.
This simple structure creates gentle growth, adding fabric evenly on both sides.
Step 3: Continue increasing to grow the triangle
Repeat the following two-row sequence:
Row 1: Knit two stitches, then create one new stitch by knitting into the front and back of the next stitch. This step grows the shawl on the right side.
Row 2: Knit across the entire row.
Each time you repeat these rows, your triangle becomes wider and deeper. Continue until the shawl reaches your desired size. For the dimensions listed, you will likely continue knitting until the top edge measures approximately 60 inches.
Step 4: Bind off
Once the shawl has reached the desired width, bind off loosely to ensure the edge stretches during blocking.
Step 5: Finishing
Weave in all yarn ends using a yarn needle.
Gently block the shawl to open up the stitches and even out the shape.
Customization ideas
• Add stripes by changing colors every ten to fifteen rows.
• Knit with hand-dyed yarns for tonal variation.
• Add fringe along the top edge for a rustic look.
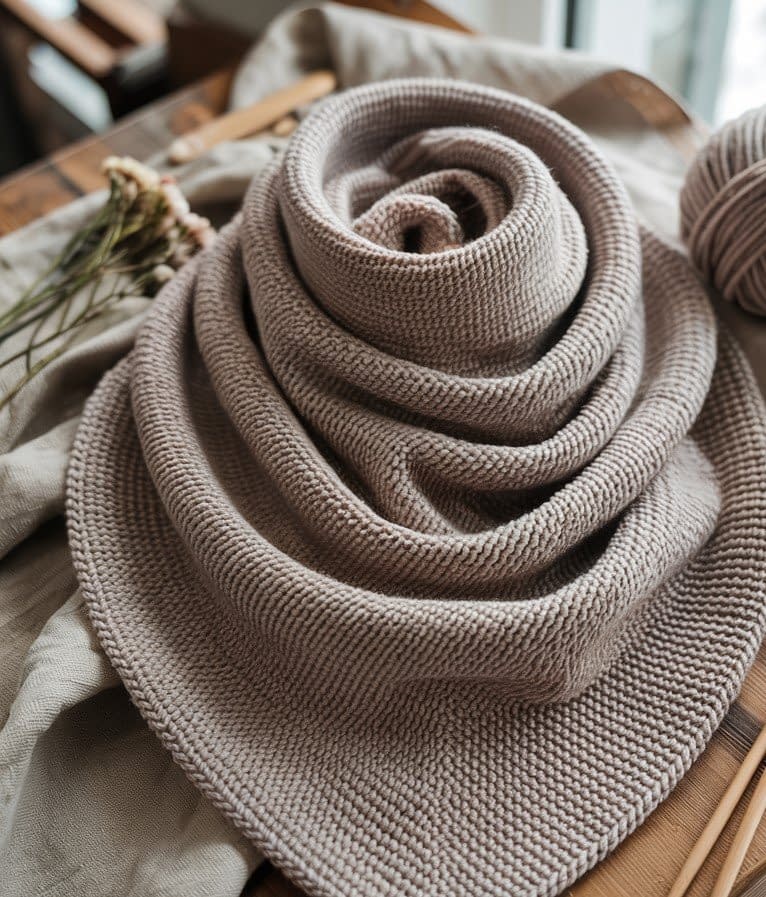
Pattern 2: Simple Stockinette Triangle Shawl
Skill level
Beginner to intermediate. This pattern uses knit rows on one side and purl rows on the opposite side. Regular increases shape the triangle.
Finished size
Approximately 64 inches wide and 30 inches deep when blocked. Can be made longer by continuing the increase sequence.
Materials
• Fingering weight yarn, 800 to 900 yards
• Knitting needles: 4.0 millimeters
• Yarn needle
• Scissors
• Blocking tools
Notes
This shawl begins at the top edge and decreases down to the bottom point. Starting wide and decreasing inward creates a smooth, elegant drape. Because stockinette stitch naturally rolls at the edges, a garter stitch border is included to keep the shawl flat.
Instructions
Step 1: Cast on and prepare the border
Cast on 350 stitches.
Rows 1 through 6: Knit every stitch. These rows form the top border.
Step 2: Begin shaping the triangle
Row 7 (right side): Knit three stitches to maintain the garter edge, then purl across until three stitches remain. Knit the last three stitches.
Row 8 (wrong side): Knit three stitches, knit two stitches together to decrease one stitch, knit until five stitches remain, knit two stitches together, then knit the last three stitches.
This pair of rows creates decreases two times every wrong-side row, gradually shaping the fabric into a triangle.
Step 3: Continue decreasing
Repeat Rows 7 and 8 until only five stitches remain on the needle.
Step 4: Shape the final point
Knit two stitches together, knit one stitch, knit two stitches together.
Knit the remaining three stitches for two more rows to create a pointed end.
Bind off the three stitches.
Step 5: Finishing
Weave in ends carefully.
Block the shawl to smooth the stockinette fabric and accentuate the drape.
Customization ideas
• Use gradient yarn for a natural color transition.
• Add eyelet rows every twenty rows for a lace effect.
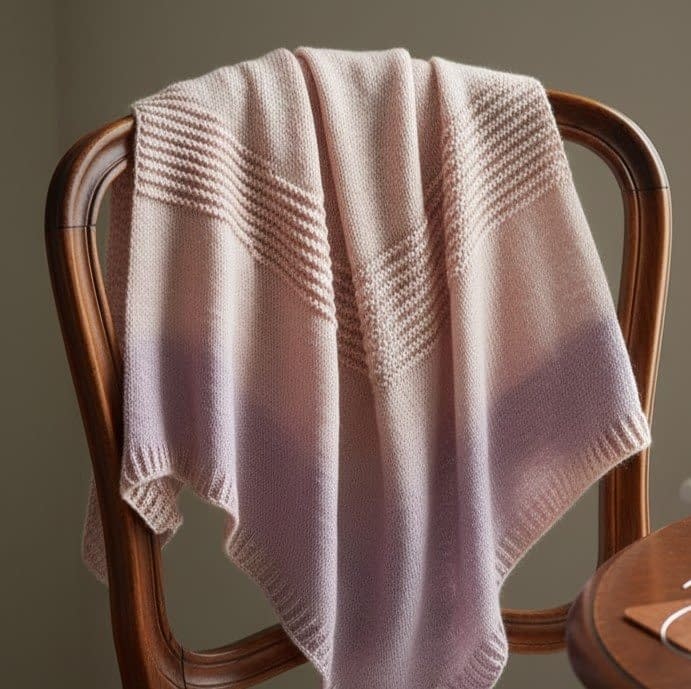
Pattern 3: Eyelet Ridge Triangle Shawl
Skill level
Intermediate beginner. This pattern includes simple yarn-over increases and occasional eyelet rows.
Finished size
Approximately 58 inches wide and 26 inches deep. Easily adjustable.
Materials
• Sport weight yarn, 700 to 800 yards
• Knitting needles: 4.5 millimeters
• Yarn needle
• Scissors
• Blocking equipment
Notes
This shawl is constructed from the bottom point upward. Yarn-over increases along the edges and the center line create a symmetrical triangle shape. Occasional rows of eyelets add visual texture.
Instructions
Step 1: Cast on the bottom point
Cast on three stitches.
Step 2: Establish the increase structure
Row 1: Knit one stitch, yarn over to create one new loop, knit one stitch, yarn over again, knit one stitch.
This creates the central shaping structure.
Row 2: Knit every stitch.
Step 3: Continue forming the triangular shape
Repeat the following two-row sequence:
Row 1 (right side): Knit one stitch, yarn over, knit until one stitch remains before the last stitch, yarn over again, knit one stitch.
Row 2: Knit across.
Every right-side row adds two new stitches, one on each side of the shawl.
Step 4: Add eyelet texture
Every tenth right-side row, work the following for an eyelet ridge:
Knit one stitch, yarn over, knit two stitches together, knit until three stitches remain, knit two stitches together, yarn over, knit one stitch.
Work the next row knit across, then resume normal increase rows for nine more rows.
Repeat this sequence until you reach your desired size.
Step 5: Final rows and bind off
Once the shawl width reaches approximately 58 inches, knit five rows without increases to stabilize the top.
Bind off loosely.
Step 6: Finishing
Weave in yarn ends.
Block the shawl to open the eyelets and sharpen the triangular shape.
Customization ideas
• Add a picot bind-off for decorative edging.
• Create wider spacing between eyelet rows.
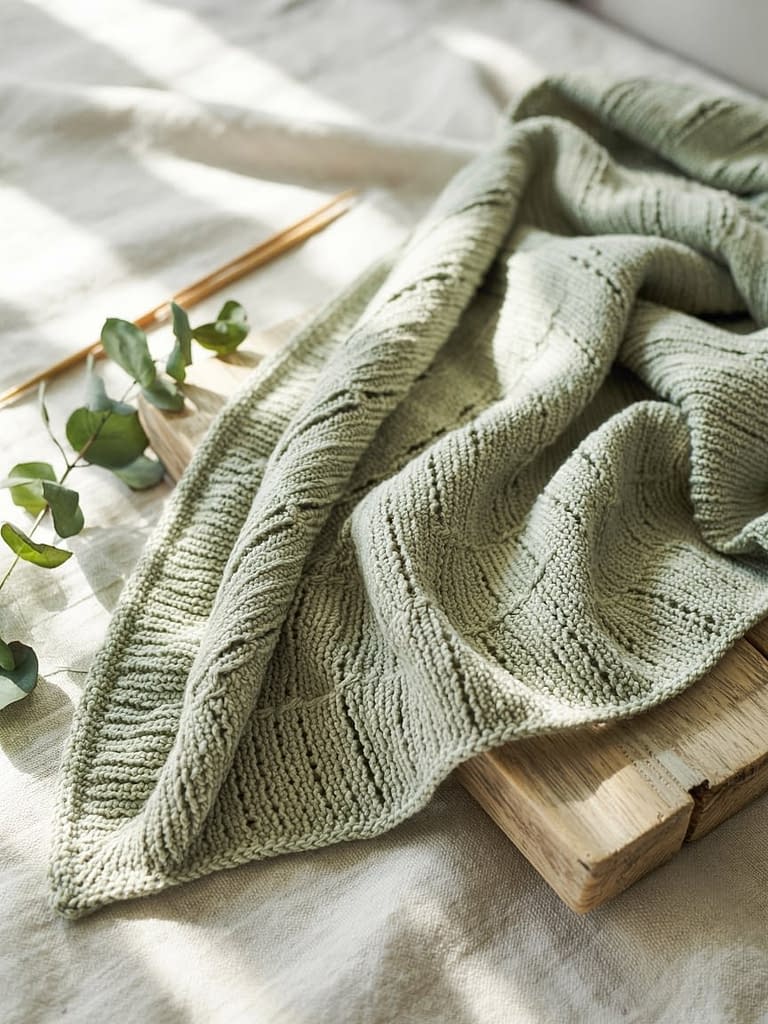
Pattern 4: Textured Ridge Triangle Shawl
Skill level
Intermediate beginner. This pattern switches between knit rows and purl ridges for texture.
Finished size
Approximately 60 inches wide and 24 inches deep.
Materials
• Aran weight yarn, 500 to 600 yards
• Knitting needles: 6.0 millimeters
• Yarn needle
• Scissors
Notes
This shawl is knit from the bottom point upward. Alternating texture sections make the finished shawl visually appealing without being difficult.
Instructions
Step 1: Begin the shawl
Cast on three stitches.
Step 2: Start shaping the triangle
Row 1: Knit all stitches.
Row 2: Knit one stitch, yarn over, knit one stitch, yarn over, knit one stitch.
Step 3: Texture sequence
Repeat the following four-row texture cycle:
Row 1: Knit all stitches.
Row 2: Knit one stitch, yarn over, knit until one stitch remains before the last stitch, yarn over, knit one stitch.
Row 3: Purl every stitch.
Row 4: Knit across.
Repeat this cycle until the shawl reaches your preferred size.
Step 4: Final rows and bind off
Work ten final rows in garter stitch for a simple border.
Bind off loosely.
Step 5: Finishing
Weave in ends and lightly block.
Customization ideas
• Alternate two colors every texture section.
• Add tassels at each point.
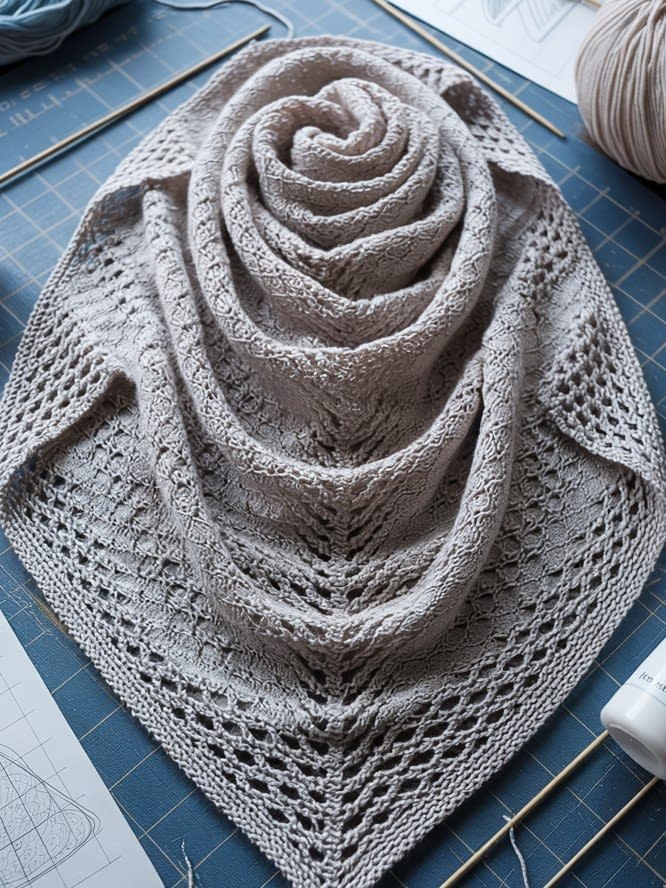
Pattern 5: Lightweight Lace Triangle Shawl
Skill level
Intermediate. Includes yarn overs and basic lace stitches.
Finished size
Approximately 70 inches wide and 32 inches deep.
Materials
• Lace weight yarn, 900 to 1,000 yards
• Knitting needles: 3.5 millimeters
• Yarn needle
• Blocking tools
Notes
This pattern uses a central spine increase and lace rows to create a delicate, airy fabric. Because lace grows significantly during blocking, the shawl will appear smaller before finishing.
Instructions
Step 1: Cast on the starting point
Cast on three stitches.
Step 2: Begin lace shaping
Row 1: Knit one stitch, yarn over, knit one stitch, yarn over, knit one stitch.
Row 2: Knit across.
Step 3: Establish lace pattern
Work the following four-row lace sequence:
Row 1: Knit one stitch, yarn over, knit two stitches together, knit until three stitches remain, knit two stitches together, yarn over, knit one stitch.
Row 2: Knit across.
Row 3: Knit across.
Row 4: Knit one stitch, yarn over, knit until one stitch before final stitch, yarn over, knit one stitch.
Repeat until the shawl reaches desired width.
Step 4: Top edge and bind off
Once you have reached approximately 70 inches, knit six rows in garter stitch.
Bind off loosely.
Step 5: Finishing
Weave in ends.
Block aggressively to open the lace and emphasize the triangular shape.
Customization ideas
• Create alternating lace and solid sections.
• Use beads along the edge for embellishment.
Conclusion
Knitting a triangle shawl combines meditative repetition with elegant shaping, making it one of the most rewarding projects for both new and experienced knitters. Whether following the gentle growth of garter stitch, the smooth drape of stockinette, the airy charm of lace, or the satisfying structure of textured ridges, each shawl invites creativity and relaxation. The five simple knit triangle shawl patterns in this guide have been written with clarity, patience, and depth to support all skill levels. With long-form explanations and carefully structured steps, these tutorials are designed to help knitters develop confidence while producing beautiful finished pieces.
A handmade shawl is not just a project; it is a comforting accessory, a thoughtful gift, and a timeless expression of craftsmanship. As you explore these patterns, feel free to adjust colors, textures, and sizes to reflect your personal style. The world of knitted shawls is vast, adaptable, and endlessly inspiring. Whether this is your first shawl or one of many, may each stitch bring joy, relaxation, and a deeper appreciation for the art of knitting.


