
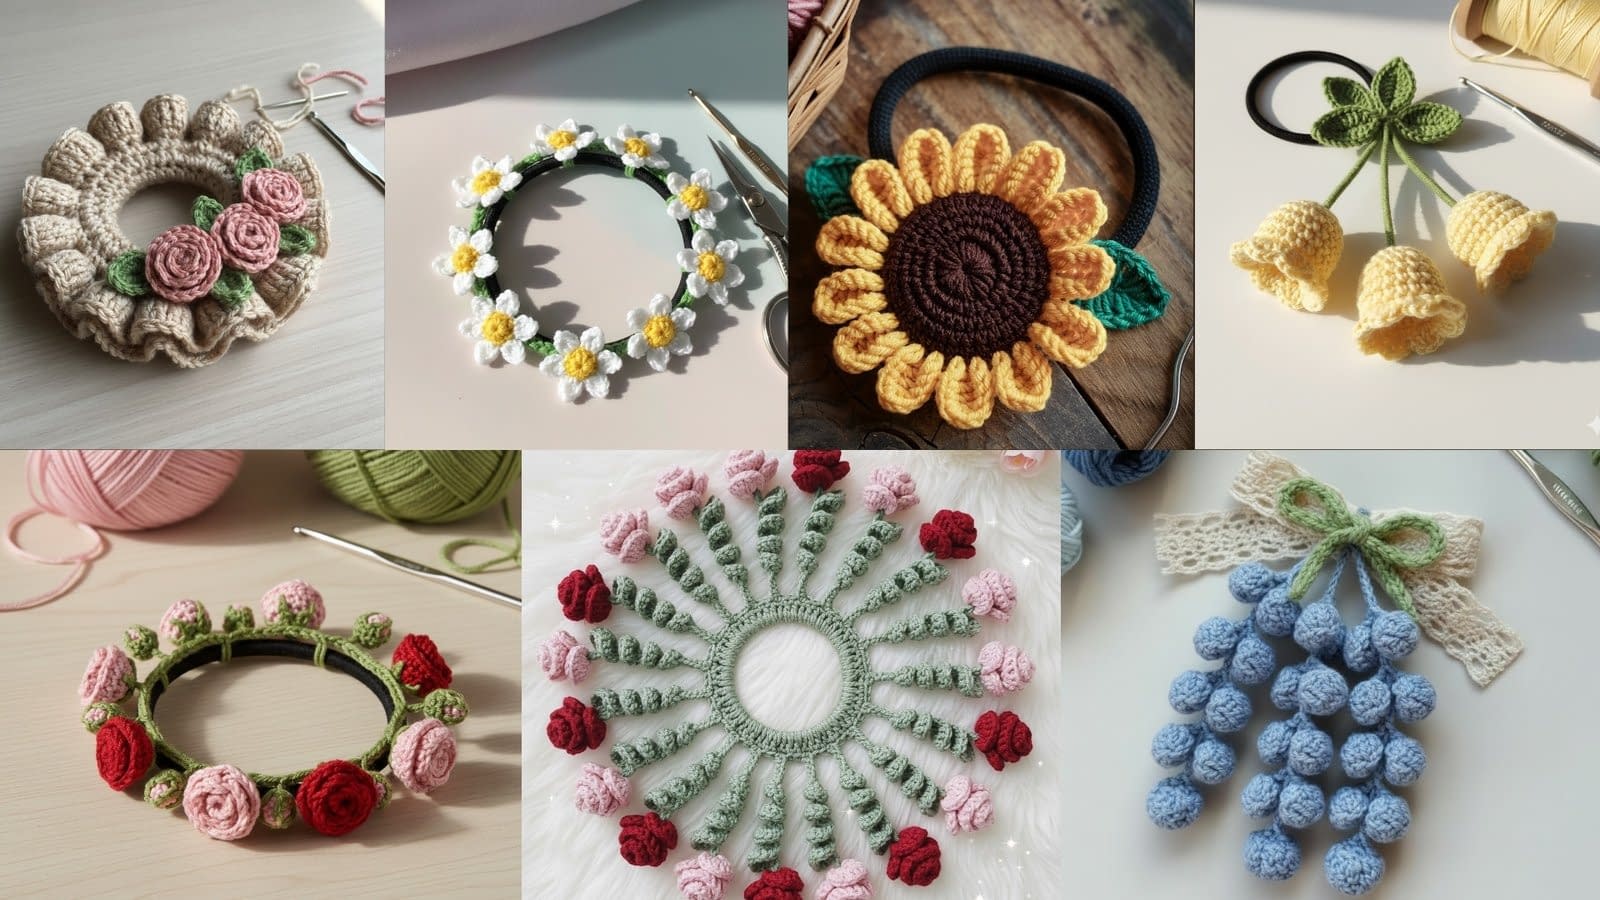
Crochet hair accessories have a timeless charm. They add softness, elegance, and character to hairstyles in a way store-bought pieces rarely do. Whether you love delicate flowers, bold blossoms, or playful motifs, crochet hair ties allow you to personalize every detail. This guide presents a complete and highly detailed 7 Crochet Hair Tie Patterns Tutorial, with every step clearly explained so you can confidently create professional-looking pieces.
Inspired by designs like floral scrunchies, tiny daisy chains, mini rose clusters, grape-style drop flowers, and bell blossoms, this tutorial explores each idea in depth. You will learn how to shape petals, how to arrange flowers, how tightly to wrap around hair ties, when to stiffen petals, how to attach pieces securely, and how to choose yarns and hooks for clean results.
This is not a quick or short instruction list. Instead, it is a thoughtfully crafted, reader-focused tutorial designed to teach you everything you need to successfully create beautiful crochet hair ties that look delicate but hold up during wear.
Let’s begin.
What You Need Before Starting
Although each pattern varies slightly, you will benefit from having the following materials on hand:
- Cotton or mercerized cotton yarn (soft, lightweight, holds shape well)
- Crochet hooks (2.0 mm to 3.0 mm recommended for floral detailing)
- Black, beige, or neutral-colored elastic hair ties
- Yarn needle for weaving in ends
- Scissors
- Fabric or textile glue (optional but recommended for stabilizing flowers)
- Starch spray or fabric stiffener (optional)
- Stitch markers if needed for counting
- Small sewing needle and matching thread for extra security when attaching flowers
Pattern 1: Vintage Ruffled Floral Scrunchie with Roses
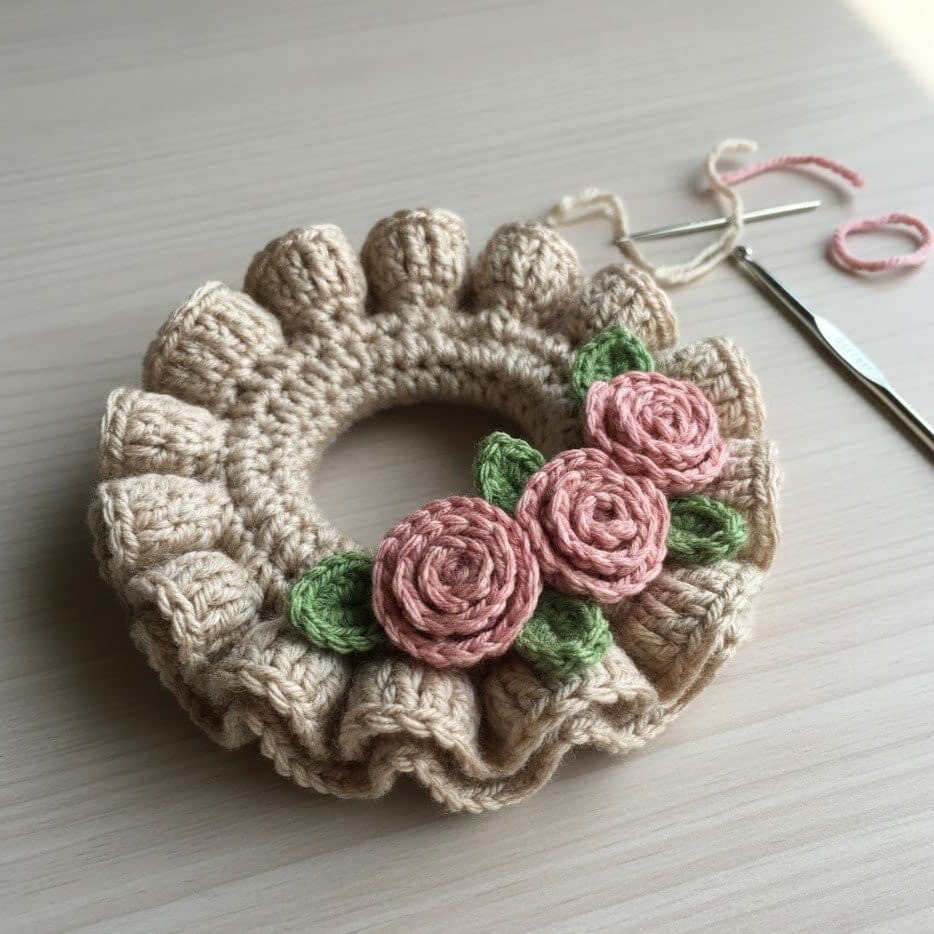
This pattern mimics the beautiful round scrunchies with ruffled edges and rose clusters shown in your reference images. The design combines a textured scrunchie base with small crochet roses and leaves.
Step 1: Preparing the Scrunchie Base
- Take a plain elastic hair tie.
- Join yarn with a slipknot directly onto the elastic.
- Work single crochets tightly around the entire circumference. Push stitches together gently so they sit close and fill the elastic completely.
- Continue until no part of the elastic is visible.
- Slip stitch to the first stitch to close the round.
Step 2: Creating the Ruffled Outer Layer
- Chain 3.
- Work double crochets into each stitch around the scrunchie base. This creates the first layer of ruffles.
- Slip stitch to join.
- For a fuller ruffle:
- Chain 4.
- Work triple crochets into each stitch around.
This layering gives volume and creates the circular frill you see in the beige scrunchies.
Step 3: Crocheting Mini Roses
For each rose:
- Chain 20.
- In the second chain from the hook, work: 3 double crochets in one chain, slip stitch in the next chain.
- Repeat this pattern of clusters and slip stitches across the chain.
- After the strip is complete, gently fold from one end, rolling it tightly like a spiral.
- Use a yarn needle to sew the bottom together firmly.
- If desired, apply a small amount of fabric glue at the base to lock the shape.
Create 2–3 roses per scrunchie.
Step 4: Crocheting Leaves
- Chain 7.
- In the second chain, work single crochet.
- Next: half double crochet, double crochet, double crochet, half double crochet, single crochet.
- Chain 1, rotate the leaf, and repeat the same sequence on the other side of the chain.
Make 4–6 leaves.
Step 5: Attaching Roses and Leaves
- Arrange roses first, clustering them together near one edge of the scrunchie.
- Place leaves behind roses for depth.
- Use a needle and thread to sew them in place securely.
- Add glue under the base of each rose for extra stability.
- Let dry completely before use.
Pattern 2: Crochet Grape Cluster Hair Tie (Fully Detailed Tutorial)
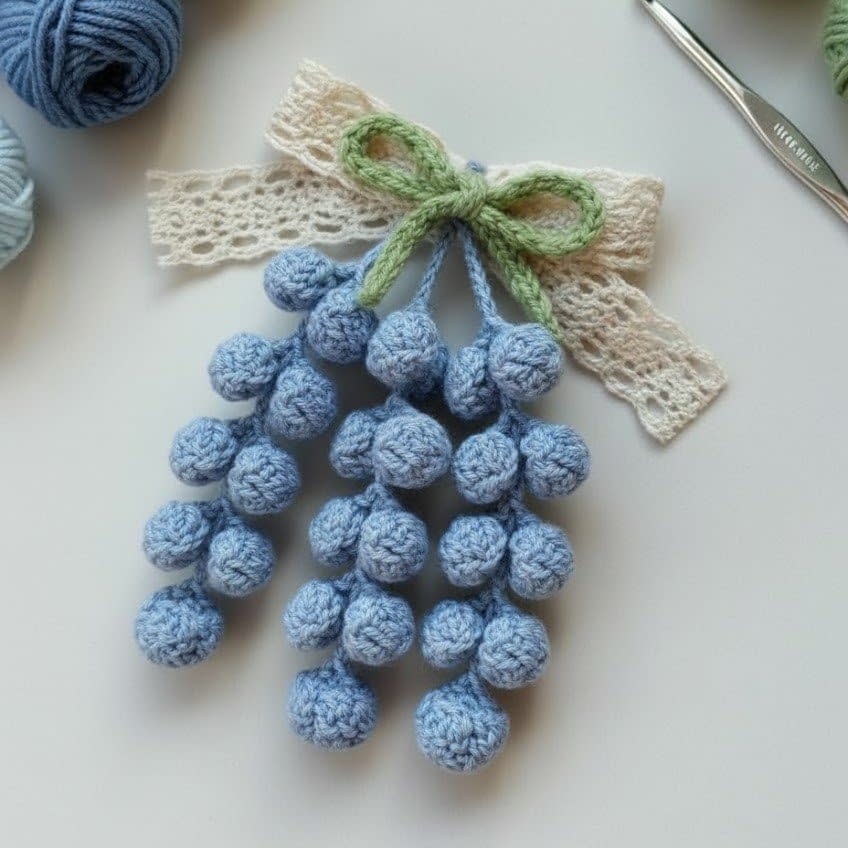
This hair tie mimics the charming, natural look of small grape clusters. It includes individually shaped berries, structured stems, layered leaves, and a bow base that sits neatly on the elastic. This design is ideal for braids, low ponytails, and decorative side ties.
Step 1: Crocheting the Individual Grape Berries
Each berry must be firm and round so the cluster hangs naturally and does not collapse during use.
- Begin with a magic ring.
- Work 6 single crochets into the ring and pull tight.
- Round 2: Increase in each stitch to create 12 stitches.
- Rounds 3–4: Work 12 stitches evenly to form the rounded middle.
- Begin decreasing:
- Sc2tog around until the opening narrows.
- Before closing the berry fully, lightly stuff with scrap yarn or a tiny amount of fiberfill to help it maintain shape.
- Close the berry completely and fasten off, leaving a long tail for sewing.
- Shape gently using your fingers, pressing the sides to ensure a smooth, oval roundness.
Make 9–12 berries in slightly varying shades of purple, lavender, or deep blue so the cluster looks natural and dimensional.
Step 2: Crocheting the Structured Bow Top
This bow acts as the anchor for the grape stems and adds a decorative finish.
- Chain 18.
- Work double crochet across the row.
- Fasten off and fold the strip so both short edges meet at the center.
- With a new strand of yarn, wrap tightly around the middle several times to cinch and shape the bow.
- Sew the wrapped area secure so it does not unravel over time.
- Flatten the bow and adjust the folds so each side curves softly outward.
This creates a clean, sturdy base for assembling the grape cluster.
Step 3: Crocheting Leaves for the Cluster
Use the same leaf pattern as in Pattern 1, but make them slightly smaller so they fit proportionally.
- Chain 6.
- Work: sc, hdc, dc, dc, hdc, sc across the chain.
- Rotate and repeat stitches on the other side.
- Fasten off and shape the leaf by pinching its tip slightly.
Make 4–5 leaves.
Step 4: Creating the Hanging Stems
Each stem should differ in length to create a flowing, natural cluster.
- Chain between 8–12 stitches per stem.
- Attach one berry to the end of each chain:
- Use the long tail from the berry,
- Stitch through the final chain,
- Secure tightly so it does not swing loosely or detach.
- Create 3–4 stems, each with 2–3 berries attached.
Step 5: Final Assembly
- Position the bow on top of the hair tie and stitch through the wrapped center multiple times to secure it.
- Arrange the stems beneath the bow, staggering lengths to create a natural cascade.
- Sew each stem to the underside of the bow tightly.
- Add leaves around the base of the stems to fill gaps and give a fuller look.
- Apply a small amount of glue under the bow and at stem bases for added durability.
The result is a detailed, dimensional grape cluster hair tie with professional structure.
Pattern 3: Small Daisy Chain Hair Tie (Full-Length, Detailed Tutorial)
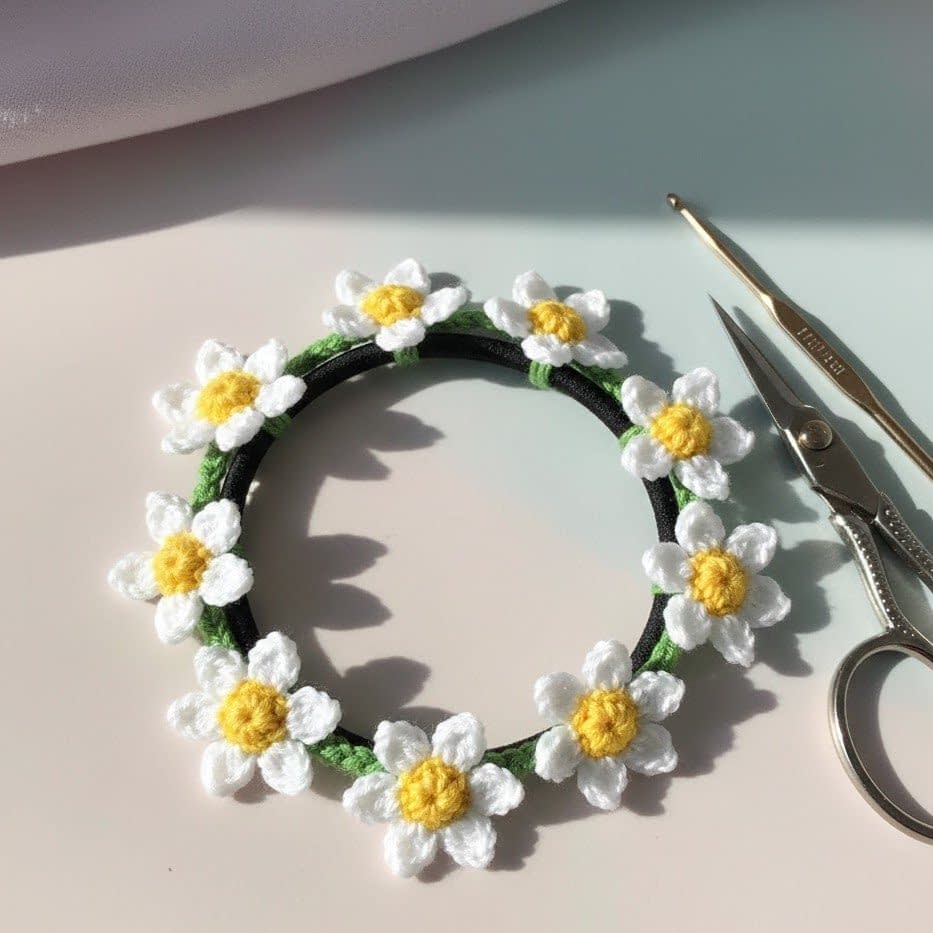
This pattern recreates a delicate string of daisies that wrap beautifully around the hair tie. The finished design feels airy, feminine, and perfect for soft hairstyles.
Step 1: Crocheting Miniature Daisies
Small daisies require clean shaping so petals remain even and do not curl excessively.
- Begin with a magic ring using yellow yarn.
- Work 5 single crochets into the ring.
- Pull tight and switch to white yarn.
- For each petal:
- Chain 4.
- Slip stitch into the next stitch.
- Repeat until you have 5 petals circling the yellow center.
- Fasten off and weave in ends neatly at the back.
- Shape petals outward gently so they do not bunch.
Create 7–8 daisies.
Step 2: Crocheting the Vine Chain Base
This chain will hold all daisies and must be smooth and flexible.
- Chain 50–60 stitches, depending on how dense you want the chain.
- Every 7–8 chains, attach a daisy:
- Insert your hook through the back of the daisy center.
- Slip stitch to join it to the chain.
- Continue chaining after each flower.
- At the end, fasten off and shape the chain so it lays flat and even.
Step 3: Wrapping and Attaching to the Hair Tie
- Wrap the finished daisy vine loosely around the hair tie.
- Position the flowers so they face outward evenly.
- Sew both ends of the chain securely to the tie.
- Add a stitch or two between a few flowers so the vine does not shift with movement.
- For crisp petals, lightly steam or stiffen with a minimal spray of fabric starch.
This creates a lightweight, beautifully spaced daisy chain hair tie.
Pattern 4: Bell Flower Hair Tie (Full, Detailed Version)
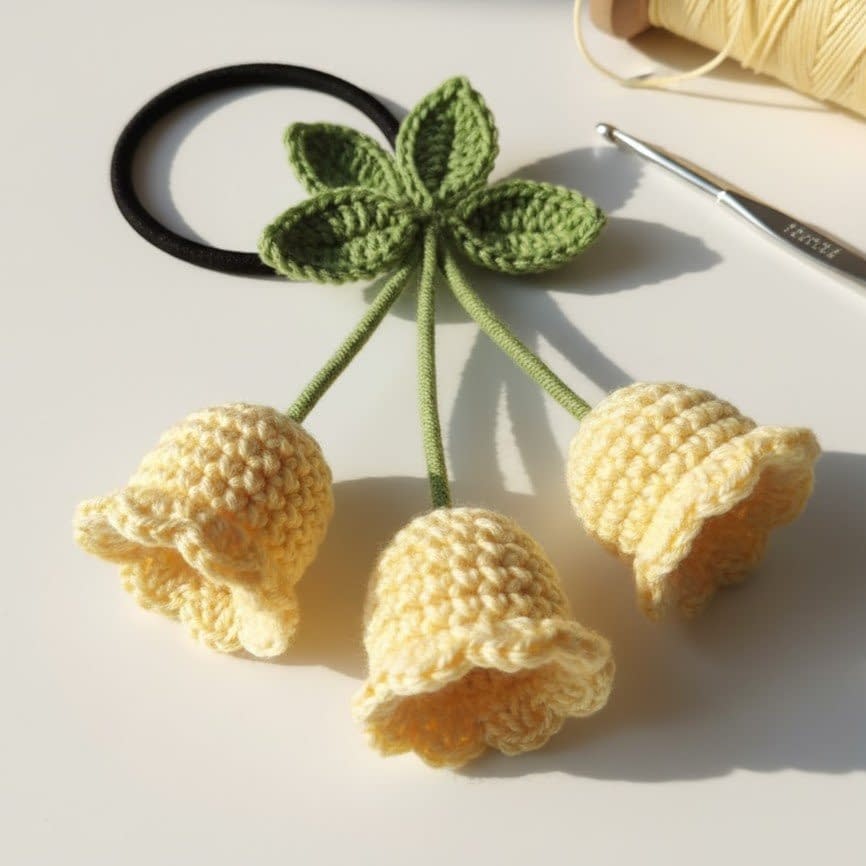
This design creates softly hanging bell-shaped blossoms that resemble the yellow flowers from your reference images. They add lovely movement and depth to the hairstyle.
Step 1: Crocheting the Bell Flowers
- Begin with a magic ring.
- Work 6 single crochets into the ring.
- Round 2: Increase to 12 stitches.
- Round 3: Increase to 18 stitches.
- Rounds 4–6: Work even rounds to create the cylindrical body.
- To shape the opening:
- Work 2 double crochets into each stitch around.
- This ruffled edge mimics the soft flare of a real bell blossom.
- Fasten off, weave ends, and gently shape the bell flare with your fingers.
Make 3 bell flowers.
Step 2: Creating Structured Stems
- For each flower, chain 20–25 stitches.
- Attach the chain to the top center of the bell by sewing through the inside.
- Fold the chain slightly where it meets the flower so it hangs naturally.
- Add a tiny dab of glue to keep the fold defined.
Step 3: Making the Leaf Cluster
- Use the standard leaf method.
- Make 2–3 leaves to cluster behind the flowers.
- Arrange leaves so they appear layered and slightly staggered.
Step 4: Assembly
- Gather all three stems together and sew them tightly at the top.
- Attach this cluster directly onto the elastic hair tie.
- Reinforce by sewing twice around the joint.
- Apply a touch of glue at the base to prevent the stems from twisting.
This creates a beautifully flowing bell-flower accessory that moves softly with the hair.
Pattern 5: Sunflower Ring Hair Tie (Full-Length Tutorial)
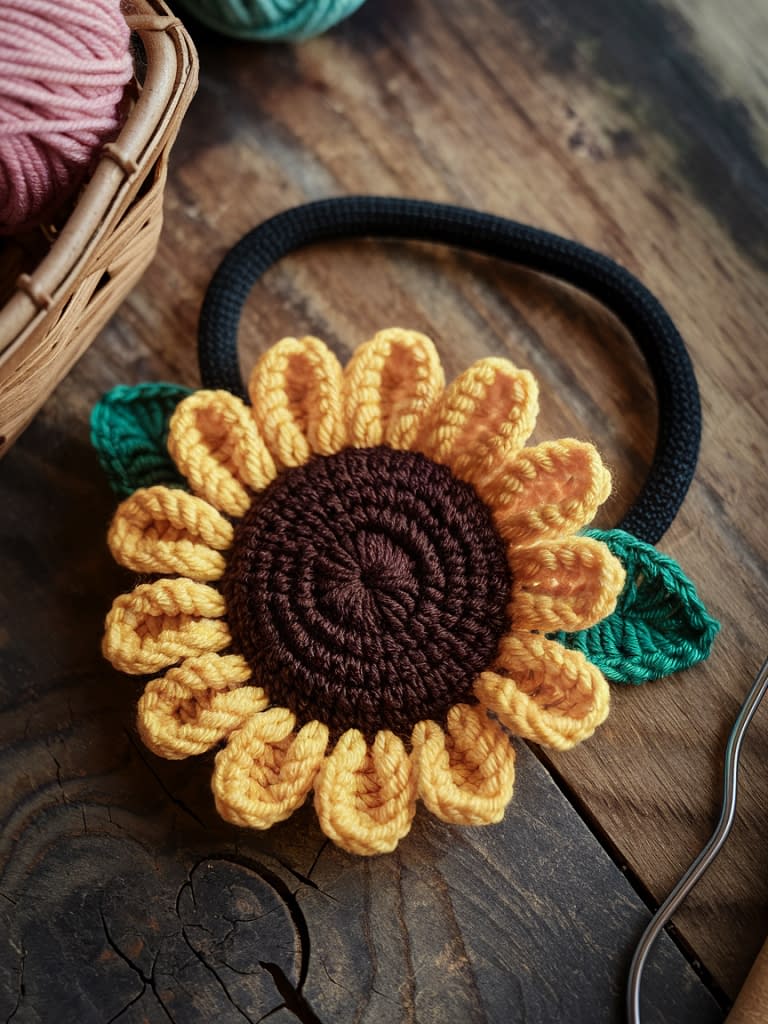
This sunflower ring replicates the bold, structured bloom seen in your references. The design focuses heavily on petal shaping and center texture to mimic a real sunflower.
Step 1: Crocheting the Textured Center
- Begin with a magic ring using dark brown yarn.
- Work 6 single crochets into the ring.
- Increase evenly each round until the circle is about 1 inch wide.
- To add texture:
- Work front-post single crochets across one round.
- This creates a raised seed-like effect.
- Fasten off and shape the circle so it sits flat.
Step 2: Shaping the Sunflower Petals
- Join yellow yarn.
- For each petal:
- Chain 5.
- Work single crochet in the 2nd chain,
- Half double in the next chain,
- Double crochet in next two chains.
- Slip stitch into the next stitch on the brown center.
- Repeat around the circle, creating 12–14 petals.
- After completing petals, shape each one:
- Pinch the sides lightly.
- Curve the tip outward for a natural look.
Step 3: Attaching to Hair Tie
- Position the sunflower so it covers one small section of the elastic.
- Sew around the brown center multiple times.
- Optional: Add extra green leaves or small sunflower buds around the main bloom.
- Apply minimal glue beneath the center to hold it firmly.
This creates a bold, eye-catching sunflower hair tie.
Pattern 6: Rose Vine Hair Tie (Full-Length Tutorial)
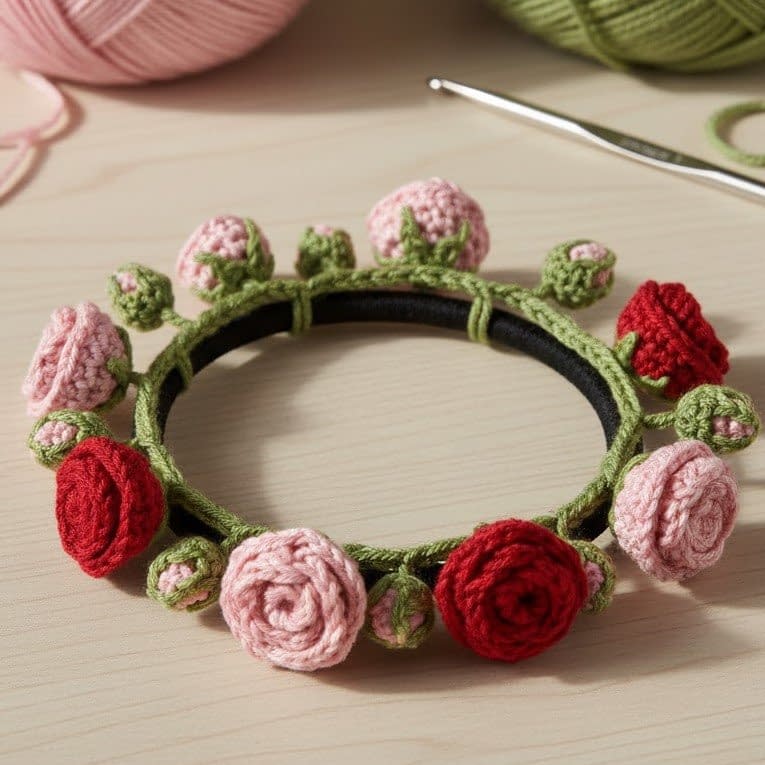
This pattern forms a flexible vine that wraps around the entire hair tie. It includes small roses, buds, and side branches for a lush, garden-like look.
Step 1: Crocheting the Vine Base
- Chain 60 stitches for a long vine.
- Work slip stitches across the entire chain to create a clean, even cord.
- At random points, create side branches by:
- Chaining 6,
- Slip stitching back to the main vine.
- This creates attachment points for roses and buds.
Step 2: Crocheting Mini Roses
Use a smaller version of the rose from Pattern 1.
- Chain 12.
- In the second chain:
- Work 3 double crochets,
- Slip stitch in the next chain.
- Repeat across the chain.
- Roll the strip from one end to form a spiral rose.
- Sew base tightly.
Make 4–6 mini roses.
Step 3: Making Closed Buds
- Magic ring.
- Work 6 single crochets into the ring.
- Pull tight and fasten off.
- Do not increase; these form small rounded buds.
- Shape with fingers so they look plump.
Make 3–4 buds.
Step 4: Assembly
- Attach roses to the vine branches by sewing through the base.
- Add buds between roses for natural variation.
- Wrap the vine around the hair tie carefully.
- Pin the vine in place temporarily while adjusting spacing.
- Sew at multiple points so the vine does not shift.
- Add a small dab of glue to reinforce.
This creates a beautifully winding rose vine that wraps delicately around the hair tie.
Pattern 7: Mini Blossom Drop Tie for Braids (Full Detailed Version
This pattern creates tiny dangling blossoms perfect for braids, pigtails, and low ponytails. The small flowers sway gracefully, giving a delicate look.
Step 1: Crocheting the Mini Blossoms
- Magic ring.
- Work 4 single crochets into the ring.
- Chain 3 for first petal.
- Slip stitch into the next stitch.
- Repeat until you have 5 petals.
- Fasten off and shape petals outward.
Make 6–8 blossoms.
Step 2: Creating Thin Stems
- Chain 15–18 stitches per stem.
- Slip stitch all the way back down the chain.
- Attach one blossom to the end by:
- Sewing through its center,
- Securing firmly.
Make 3–4 stems.
Step 3: Leaf & Cluster Top
- Create 2–3 small leaves.
- Gather all stems at the top.
- Sew stems together tightly.
- Attach leaves around the bundle to hide the joint.
Step 4: Final Assembly
- Position the cluster on the hair tie.
- Sew through both the elastic and the stem base repeatedly.
- Add tiny dabs of glue beneath the cluster.
- Shape blossoms so they hang outward and not directly downward.
This creates a playful, lightweight floral drop accessory.
Conclusion
This 7 Crochet Hair Tie Patterns Tutorial covers a full range of delicate and expressive floral designs. From classic roses and elegant grape clusters to playful bell flowers and dainty daisies, each pattern is designed to help you craft accessories that are sturdy, beautiful, and full of character.
By following the detailed shaping, folding, gluing, and assembly tips included in this guide, even a beginner can produce professional-quality crochet hair ties.


