
Paper flowers are timeless, eco-friendly, and versatile. They transform simple materials into something visually stunning, and when crafted from book pages, each rose carries a hint of vintage charm. In this guide, you’ll learn three distinct styles of book page paper roses—each with unique shaping, cutting, and assembly techniques. By the end, you’ll have a trio of blooms that can be used in bouquets, décor, gifts, or craft projects.
These tutorials are beginner-friendly, but detailed enough for advanced crafters looking for precision and realistic effects.
Materials You’ll Need
Before diving into the roses, gather the following:
- Old book pages (aged, cream-colored pages work best)
- Pencil and ruler
- Sharp scissors
- Craft glue or tacky glue
- Toothpick or thin skewer for curling
- Floral wire (optional, for stems)
- Green floral tape (optional, for stems)
- Templates (you’ll make them in each tutorial)
- Craft mat or clean work surface
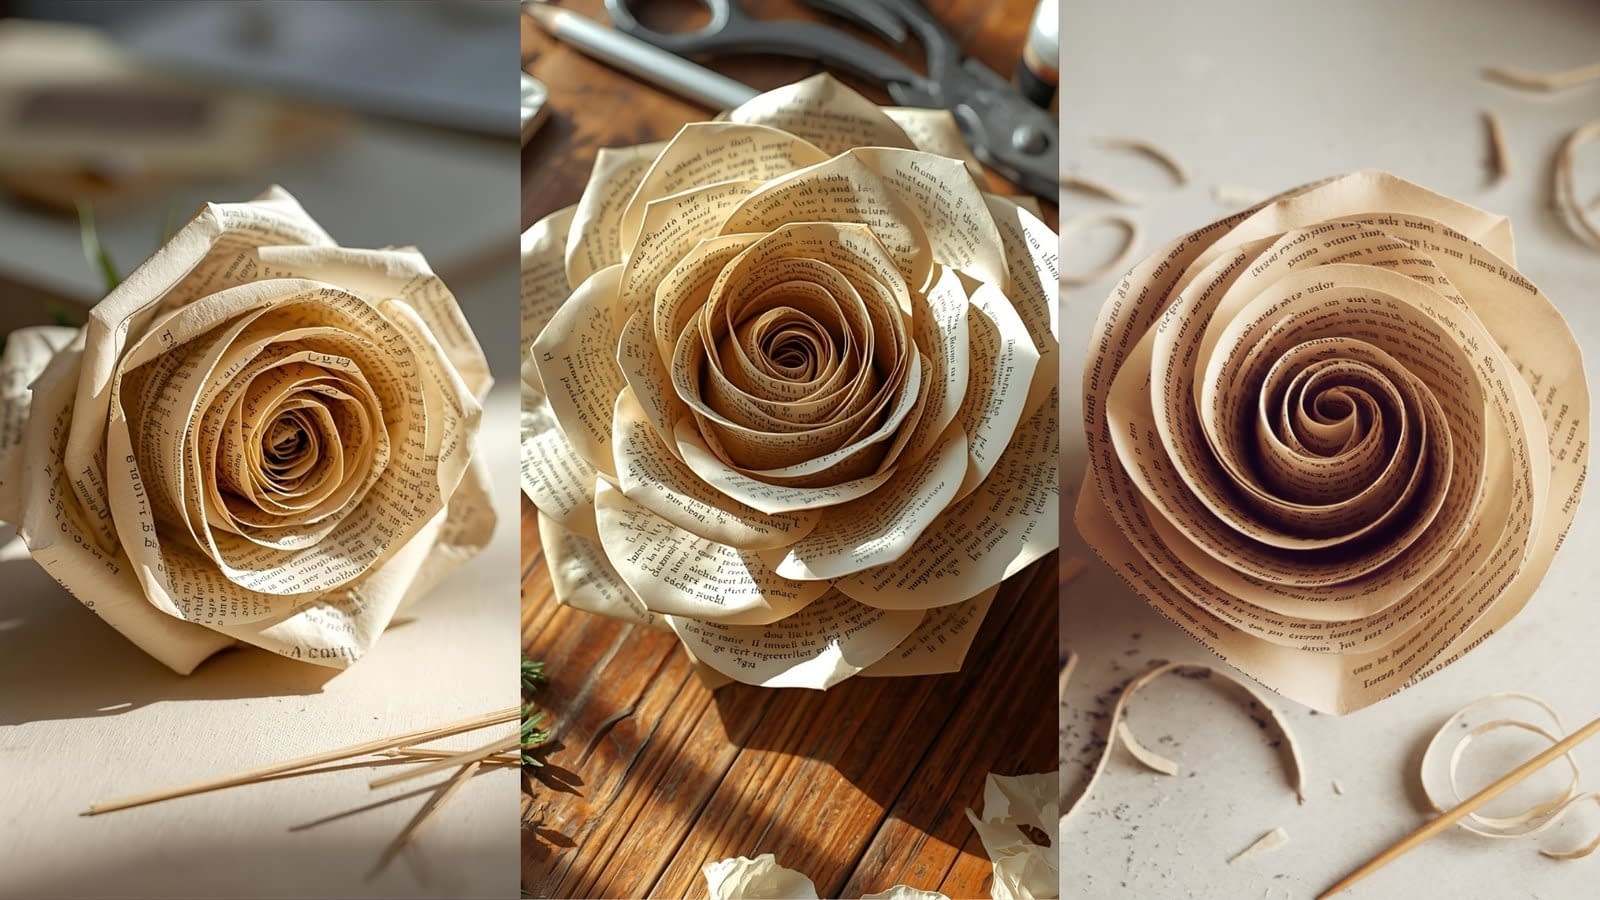
Tutorial 1: Rolled Book Page Rose (Classic Spiral Rose)
This is a simple, elegant rose made by rolling a single spiral cut from a book page. It’s great for beginners and produces a vintage-looking bloom.
Step 1: Create the Spiral Template
- Take a square piece of book page, about 6×6 inches (larger for bigger roses).
- Draw a spiral shape starting from the outside edge and curving inward to the center. Make the spiral about 1/2 inch wide.
- Cut out the spiral with scissors.
Step 2: Curl the Petals
- Use a toothpick or skewer to curl the outer edge of the spiral slightly outward.
- This adds a natural, open look once rolled.
Step 3: Roll the Spiral
- Start rolling from the outer edge toward the center.
- Keep the roll tight at first, then loosen slightly as you approach the center for a realistic bloom.
- Use a dab of glue at the base to secure the rolled rose.
Step 4: Shape the Bloom
- Adjust the petals by bending and separating the edges for a more organic look.
- Optional: Glue a small circle of cardstock to the bottom to stabilize the base.
Step 5: Finish with a Stem (Optional)
- Insert floral wire into the bottom of the bloom and wrap with green floral tape.
Uses: Boutonnieres, small bouquets, card embellishments.
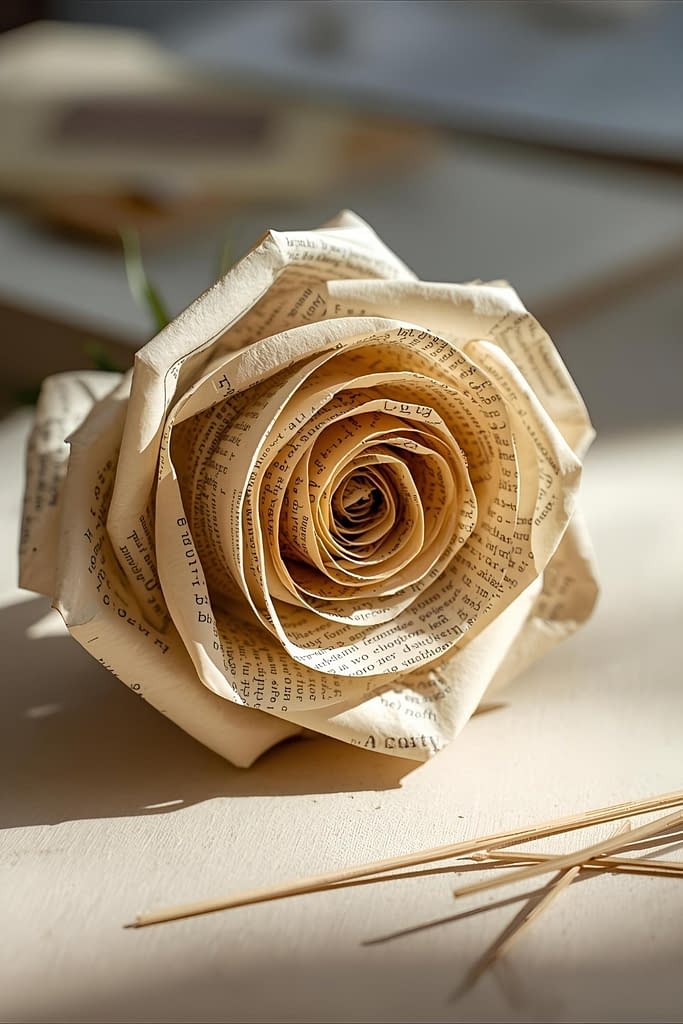
Tutorial 2: Layered Petal Book Page Rose
This rose uses individual petals layered around a center, creating a fuller, more dimensional flower.
Step 1: Prepare Petal Templates
- Draw three sizes of petals: small (center), medium, and large (outer layer).
- Cut 4–5 small, 6–8 medium, and 8–10 large petals per rose.
Step 2: Curl the Petals
- Use a toothpick to curl the top edge outward.
- Curl small petals more tightly, medium petals moderately, and large petals loosely for realism.
Step 3: Build the Center
- Take one small petal, roll it tightly, and secure with glue.
- Gradually add the remaining small petals, slightly overlapping.
Step 4: Add Medium and Large Petals
- Apply glue to the base of each petal and attach around the previous layer.
- Angle petals outward and downward to form a natural spiral.
- Adjust curls and spacing for a lifelike bloom.
Step 5: Optional Stem
- Insert floral wire into the base and cover with floral tape.
- Add paper leaves for extra realism.
Uses: Decorative bouquets, wall décor, gift toppers.
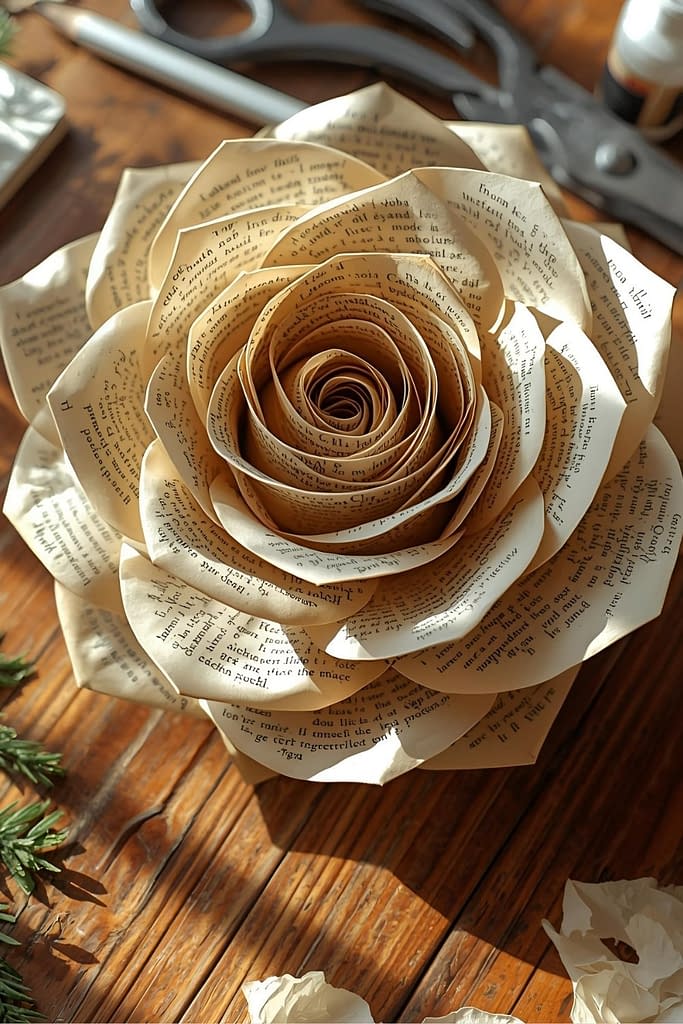
Tutorial 3: Spiral Cut Book Page Rose (Modern Cut-Out Rose)
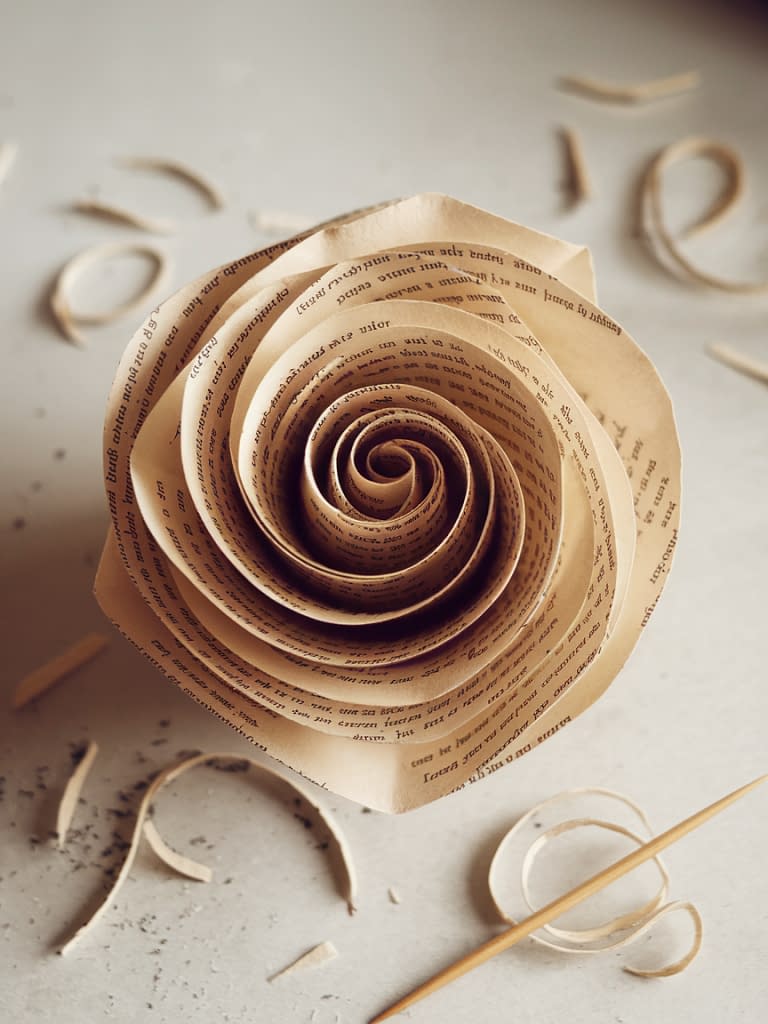
This rose features intricate spiral cuts along the petal edges for a delicate, lace-like effect. Perfect for adding visual texture and elegance.
Step 1: Create the Spiral Cut Petals
- Draw and cut a circular piece of book page about 5–6 inches in diameter.
- Inside the circle, use small, sharp scissors to make tiny slits along the outer edge, pointing inward. These act as individual petals.
Step 2: Shape and Curl
- Gently curl each slit/petal with a toothpick, varying angles for realism.
- For a fuller effect, pinch the base of each slit slightly.
Step 3: Form the Rose
- Start rolling from the outer edge toward the center.
- Secure with a small amount of glue at the base.
- Adjust individual slits/petals to give the rose a textured, airy look.
Step 4: Add Stem (Optional)
- Insert floral wire at the base and wrap with green floral tape.
Uses: Wedding décor, framed wall art, elegant table arrangements.
Tips for All Rose Styles
- Use aged pages: Yellowed or vintage-looking pages enhance the aesthetic.
- Vary petal size and curl: No two petals should be identical for realism.
- Tea-staining: Lightly dip pages in tea for a softer, antique look.
- Layering for fullness: Don’t be afraid to add extra petals to achieve volume.
- Be patient with glue: Let each layer dry slightly before adding the next.
Display and Arrangement Ideas
- Combine all three rose styles in a single bouquet for contrast.
- Arrange in a vase with other paper or dried flowers for a mixed-media look.
- Glue roses to canvas or shadow boxes for lasting home décor.
- Use as gift toppers, scrapbook embellishments, or photo props.
Final Thoughts
With these three different book page paper rose tutorials, you can craft roses that range from simple and elegant to textured and intricate. Each style brings its own charm, and together, they create endless possibilities for décor, gifting, and creative projects.
These roses are eco-friendly, unique, and timeless. Once you master these techniques, you’ll find yourself transforming old books into beautiful, meaningful blooms again and again.


