
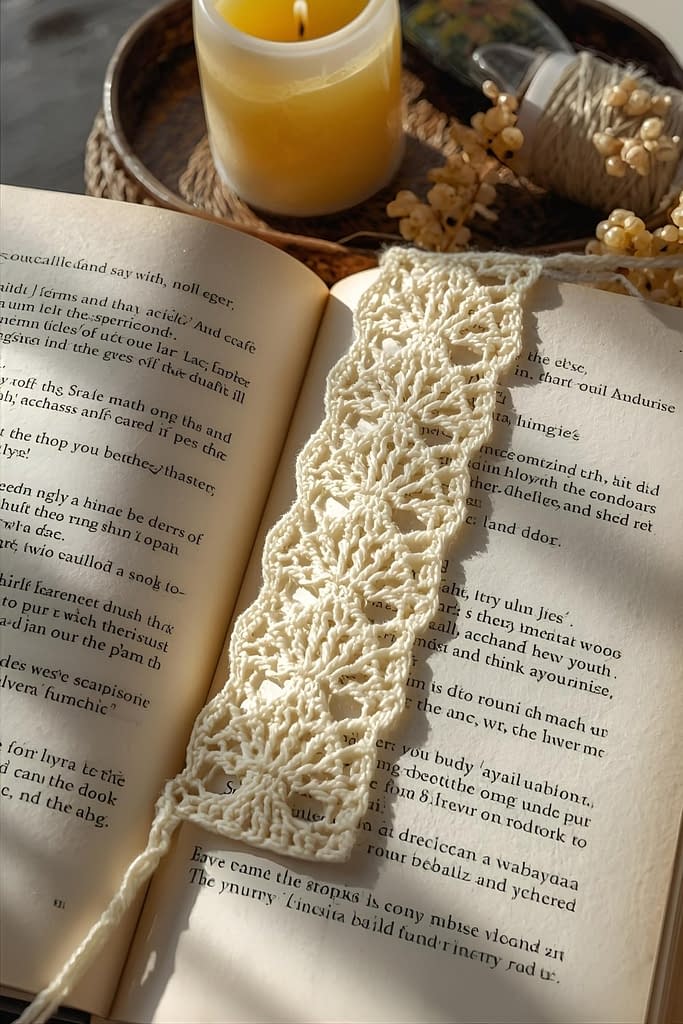
There is something timeless and beautiful about a lace knit bookmark. These delicate designs combine the soothing rhythm of knitting with the elegance of lacework, resulting in a finished piece that feels both classic and personal. Whether you are an experienced knitter or just beginning to explore lace knitting, creating your own bookmarks can be one of the most rewarding small projects to add to your collection.
Unlike larger lace projects like shawls or scarves, bookmarks are quick to complete, portable, and a perfect way to practice new stitch techniques. They also make meaningful handmade gifts for book lovers, teachers, and friends—especially when paired with a favorite novel or journal.
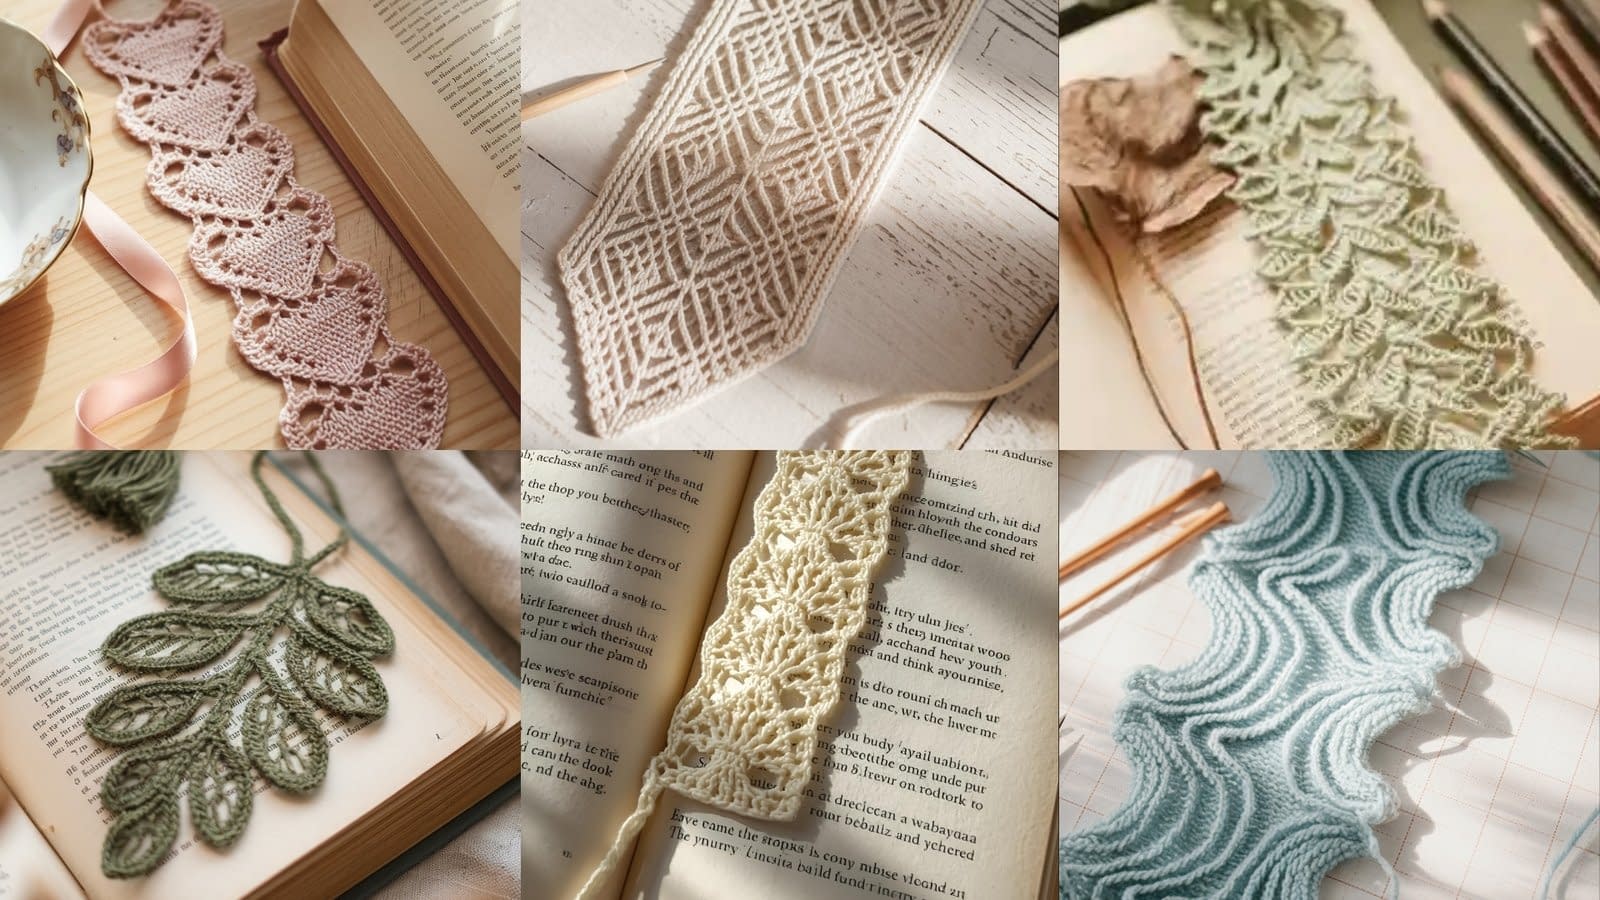
In this post, you will find six beautifully detailed lace knit bookmark patterns, each designed with unique stitches, textures, and inspirations. Every section includes a complete materials list, stitch instructions, finishing details, and helpful tips to ensure your bookmark comes out perfectly. Each pattern has been written in clear, beginner-friendly language to guide you through every step, even if you have never tried lace knitting before.
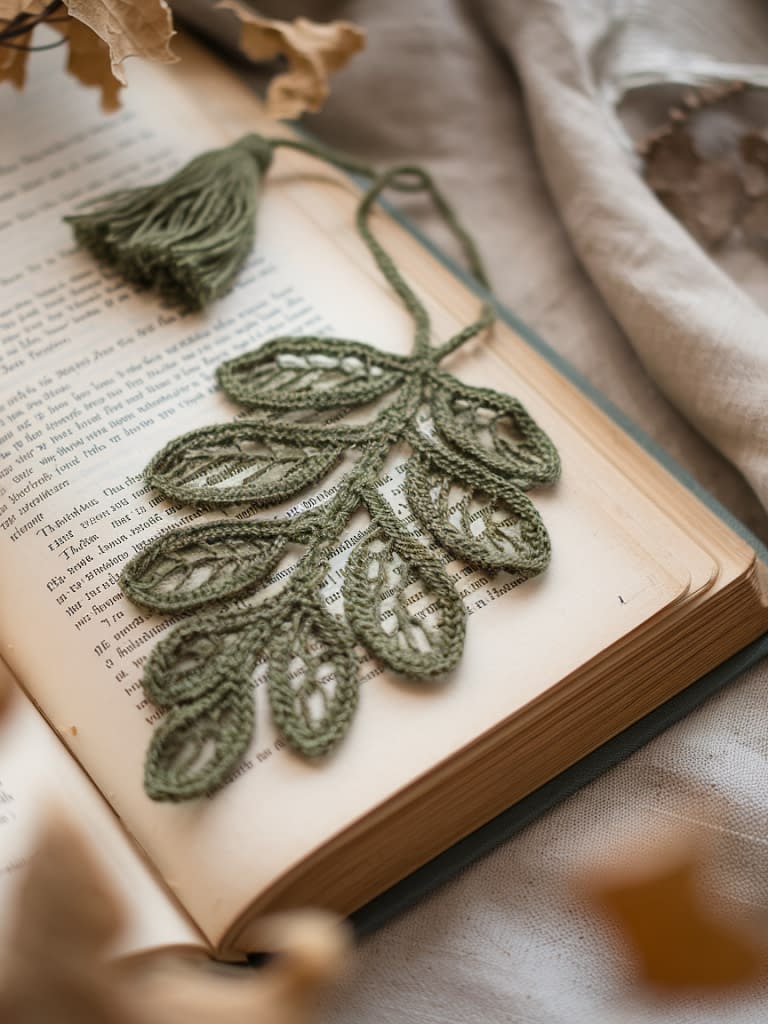
1. Lace Leaf Knit Bookmark Pattern
Skill Level: Beginner–Intermediate (simple lace shaping + blocking)
Finished Size: Approximately 2″ wide × 7″ long; adjustable by changing yarn weight or needle size.
Materials Needed:
- Fingering weight yarn in green or variegated tones (100% cotton or bamboo recommended for crisp lace definition)
- Knitting needles size US 3 (3.25 mm) or size needed for gauge
- Yarn needle for weaving in ends
- Scissors
- Blocking pins and mat
Notes:
This lace leaf design creates a delicate series of leaves connected by simple yarn overs and decreases. It is worked flat from the bottom up and features repeating lace motifs that are ideal for those learning lace knitting. Blocking is essential for defining the shape and opening up the lacework.
Step-by-Step Instructions:
Step 1: Cast On
Begin by casting on 16 stitches using the long-tail cast-on method. Make sure the tension is even but not too tight, as lace stitches need flexibility.
Step 2: Establish Pattern Setup Row
Work Row 1 as a setup row: Knit across all stitches. This creates a foundation for the lace pattern.
Step 3: Lace Pattern Repeat
The lace pattern will form through combinations of yarn overs (which create holes) and knit two together (which create decreases that shape the leaf).
- Row 1 (Right Side): Knit 1, yarn over, knit 2 together, knit 3, slip-slip-knit, yarn over, knit 1, repeat between * * until end of row.
- Row 2 (Wrong Side): Purl all stitches.
Repeat these two rows until your piece measures around 6.5 inches in length or your desired bookmark size.
Step 4: Final Rows
Work 2 rows in garter stitch (knit every row) to give the top edge a stable finish.
Step 5: Bind Off and Finish
Bind off loosely, cut the yarn leaving a 6-inch tail, and weave in all ends with a yarn needle.
Step 6: Blocking
Soak your bookmark gently in lukewarm water, squeeze out excess moisture, then pin it flat on a blocking mat, stretching slightly to open the lace pattern. Let it dry completely before removing pins.
Optional: Add a small tassel or ribbon loop to the top for an elegant finishing touch.
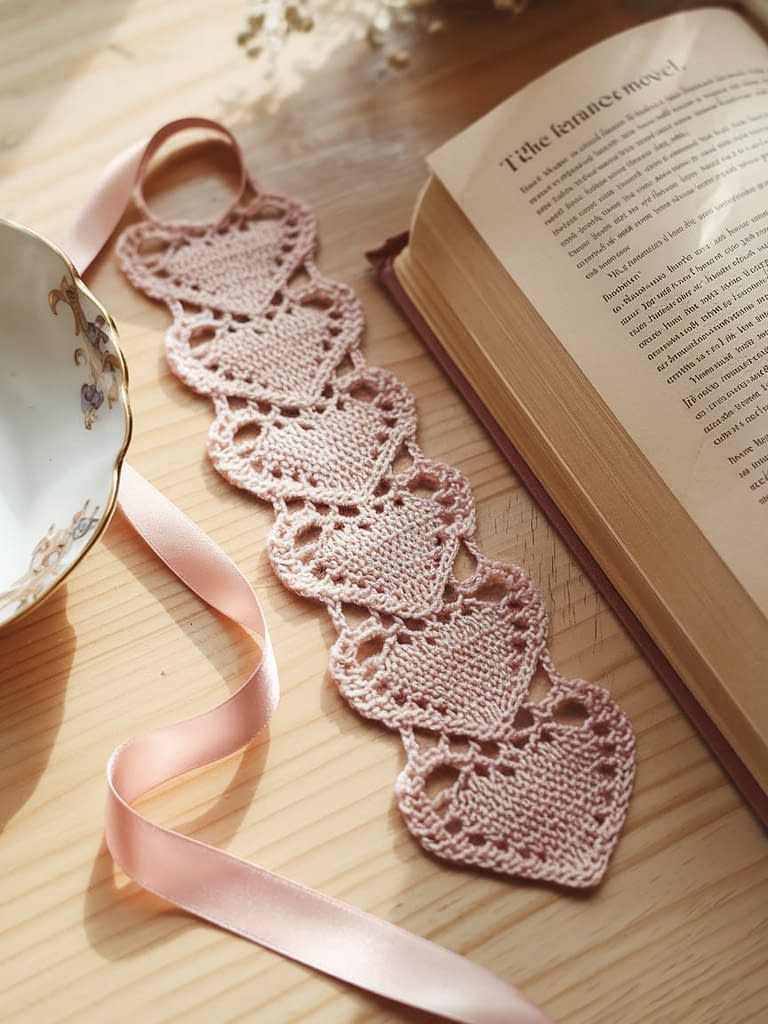
2. Delicate Heart Lace Knit Bookmark Pattern
Skill Level: Intermediate (basic lace repeats and eyelet shaping)
Finished Size: 2.25″ × 8″
Materials Needed:
- Lace weight yarn (cotton or silk blend for sheen)
- Knitting needles size US 2 (2.75 mm)
- Yarn needle, scissors, blocking tools
Notes:
This pattern features small heart motifs arranged vertically, creating a sweet and romantic design. It is perfect for Valentine’s Day gifts or simply as a thoughtful handmade surprise.
Step-by-Step Instructions:
Step 1: Cast On
Cast on 20 stitches using your preferred cast-on method.
Step 2: Setup Row
Knit all stitches once to create a base.
Step 3: Heart Lace Repeat
- Row 1 (Right Side): Knit 2, yarn over, knit 3 together, yarn over, knit 1, yarn over, knit 3 together, yarn over, knit 2, repeat to end.
- Row 2: Purl all stitches.
Repeat Rows 1–2 until your piece measures about 7.5 inches.
Step 4: Finishing Edge
Knit 3 rows in garter stitch to form a neat top border.
Step 5: Bind Off and Block
Bind off loosely, weave in ends, then block carefully to open up the lace hearts.
Tip: For extra charm, you can thread a thin satin ribbon through the eyelets running along the edges.
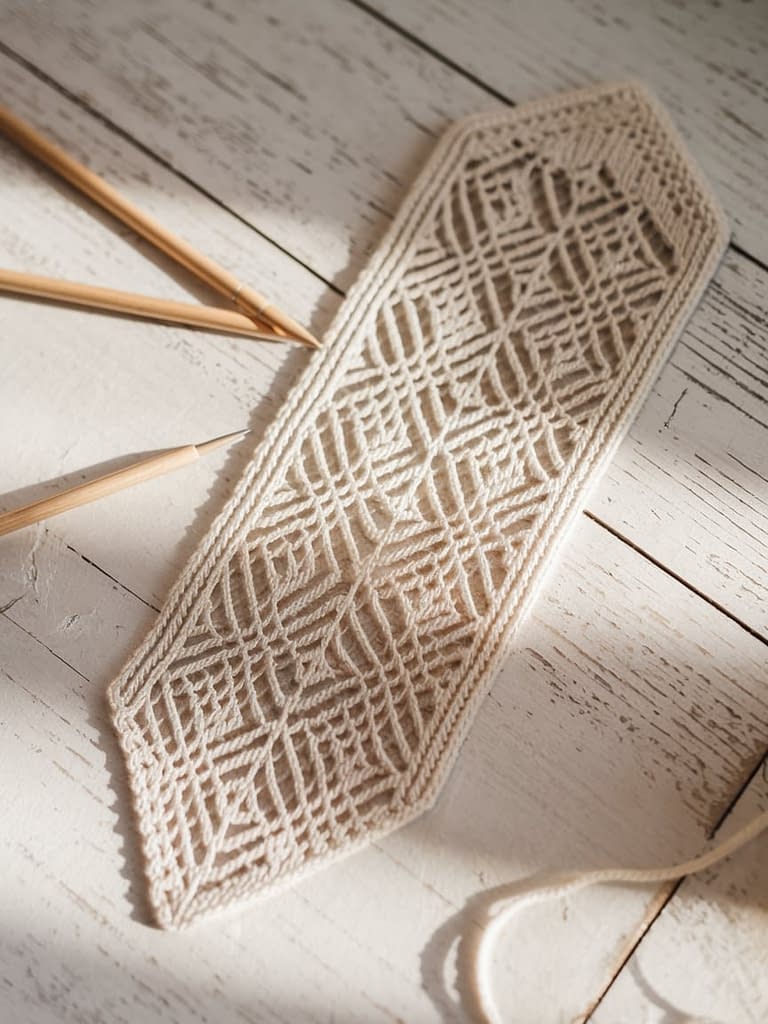
3. Diamond Lace Knit Bookmark Pattern
Skill Level: Beginner–Intermediate
Finished Size: 2″ × 7″
Materials Needed:
- Fingering weight cotton yarn
- Knitting needles size US 4 (3.5 mm)
- Yarn needle, scissors
Pattern Notes:
The diamond lace pattern alternates openwork and solid knit stitches, creating a geometric, modern effect. Ideal for knitters who want to practice symmetry and even tension.
Instructions:
- Cast On: 18 stitches.
- Setup Row: Knit across.
- Lace Pattern:
- Row 1: Knit 2, yarn over, knit 2 together, knit 4, slip-slip-knit, yarn over, knit 2 repeat to end.
- Row 2: Purl across.
Continue these two rows until your piece reaches the desired length.
- Finishing: Work 2 rows of garter stitch and bind off loosely.
- Blocking: Gently block to open the diamond motifs.
4. Wave Lace Knit Bookmark Pattern
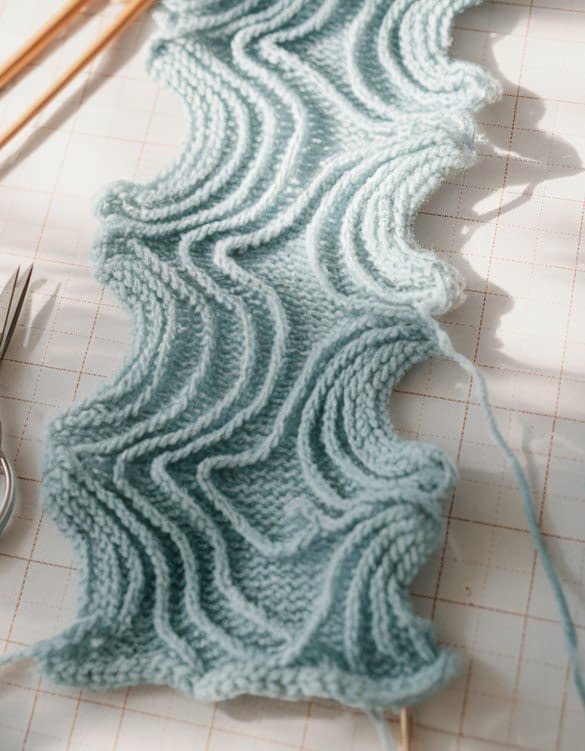
Skill Level: Intermediate
Finished Size: 2″ × 8″
Materials Needed:
- Fingering or lace weight yarn
- Knitting needles size US 3 (3.25 mm)
- Yarn needle and scissors
Notes:
This pattern uses yarn overs and decreases to form flowing wave shapes that travel across the length of the bookmark.
Instructions:
- Cast On: 21 stitches.
- Setup Row: Knit across.
- Wave Lace Pattern:
- Row 1: Knit 2, yarn over, knit 2 together, knit 2, slip-slip-knit, yarn over, knit 2 repeat to end.
- Row 2: Purl across.
Repeat until you reach desired length.
- Finishing: Knit 2 rows, then bind off loosely.
- Block to accentuate the wave shapes.
5. Vine Lace Knit Bookmark Pattern

Skill Level: Intermediate
Finished Size: 1.75″ × 7″
Materials Needed:
- Fingering weight yarn in natural or pastel tones
- Knitting needles size US 2.5 (3.0 mm)
- Yarn needle, scissors
Notes:
The vine lace pattern features alternating eyelets and diagonal stitches that create a gentle climbing vine effect—perfect for those who enjoy organic motifs in their knitting.
Instructions:
- Cast On: 17 stitches.
- Row 1: Knit 1, yarn over, slip-slip-knit, knit 2, knit 2 together, yarn over, knit 1 repeat to end.
- Row 2: Purl all stitches.
Continue pattern for about 7 inches. - Bind Off and Block.
6. Fan Lace Knit Bookmark Pattern
Skill Level: Advanced Beginner
Finished Size: 2.25″ × 8″
Materials Needed:
- Lightweight yarn
- Knitting needles size US 3 (3.25 mm)
- Yarn needle, scissors
Notes:
The fan lace bookmark creates a scalloped texture resembling small fans or shells. It looks intricate but follows a simple repeat pattern, making it suitable for confident beginners.
Instructions:
- Cast On: 24 stitches.
- Setup Row: Knit across.
- Pattern Repeat:
- Row 1: Knit 2 together, yarn over twice, knit 2 together, knit 1 repeat across.
- Row 2: Purl 1, knit 1 into the double yarn over, purl 1, knit 1, repeat.
Continue these rows for length desired.
- Finishing: Knit 2 rows, bind off, and block into a scalloped shape.
Final Finishing and Customization Ideas
Once all bookmarks are finished and blocked, you can personalize them further:
- Add Tassels: Use leftover yarn to make a small tassel and attach it to one end.
- Incorporate Beads: String small glass or pearl beads along the edge for added charm.
- Use Multiple Colors: Alternate colors for each lace section or edge for contrast.
- Gift Wrapping Idea: Pair your handmade lace knit bookmark with a hardcover book or journal and wrap it in kraft paper tied with a yarn bow.
Conclusion
Knitting lace bookmarks offers a beautiful balance between creativity and practicality. Each pattern in this collection allows you to experiment with stitches, textures, and techniques without committing to a large project. Whether you are making these for personal use or as heartfelt gifts, these lace knit bookmark patterns will add an elegant, handcrafted touch to any reading experience.
Every lace motif tells a story through its delicate stitches—just like every book tells a story through its words. So, choose your yarn, pick your pattern, and let your creativity flow stitch by stitch.


