
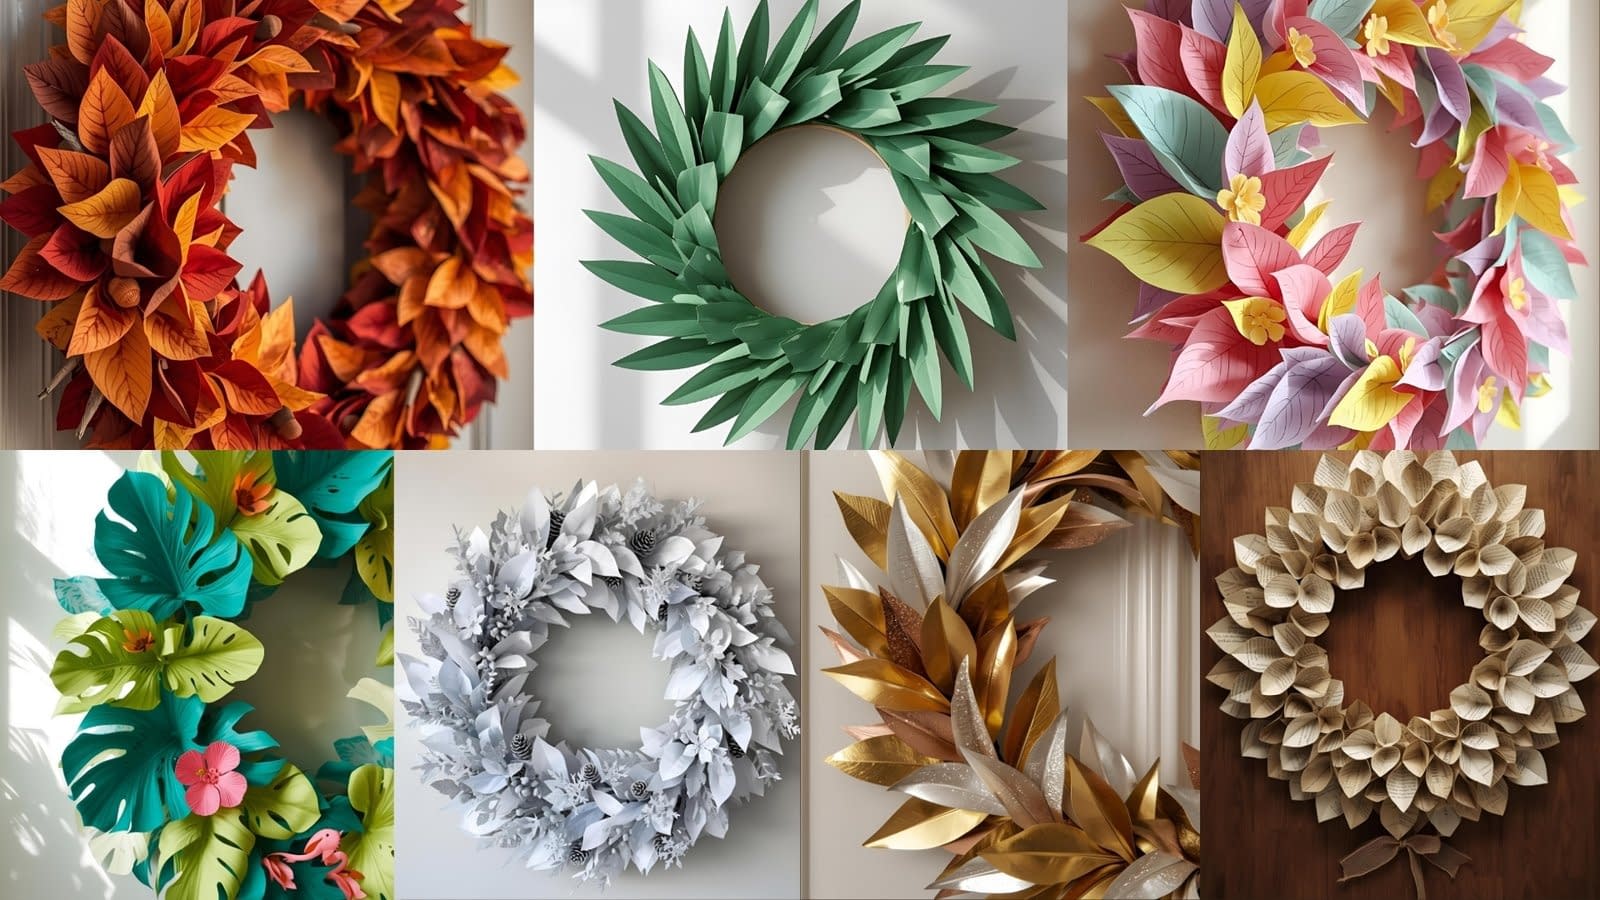
Paper leaf wreaths are a simple yet creative way to bring seasonal beauty into your home. With just paper, scissors, and glue, you can craft a stunning decoration that reflects your style and the season. These wreaths are perfect for beginners and advanced crafters alike because they are customizable, budget-friendly, and fun to make.
In this guide, we’ll show you 6 Easy Paper Leaf Wreath Tutorials, each with detailed instructions including how to fold and cut the leaves, attach them to the base, and add finishing touches for a professional look. By the end, you’ll have six beautiful wreaths ready to display in your home or give as gifts.
Materials You’ll Need for All Wreaths
Before starting, gather these basic tools and materials. Most of them will be used across all six tutorials:
Materials:
- Paper: cardstock, colored, patterned, or recycled
- Scissors or craft knife
- Pencil and eraser
- Glue: hot glue gun (for sturdiness) or strong craft glue
- Wreath base: cardboard, foam, or wire ring
- Ribbon or string for hanging
- Ruler for precision
Optional:
- Gold/silver markers for detail
- Curling tool (or pencil) for shaping leaves
- Mod Podge or spray sealant for durability
- Small embellishments like beads, faux flowers, or glitter
Tutorial 1: Classic Fall Paper Leaf Wreath
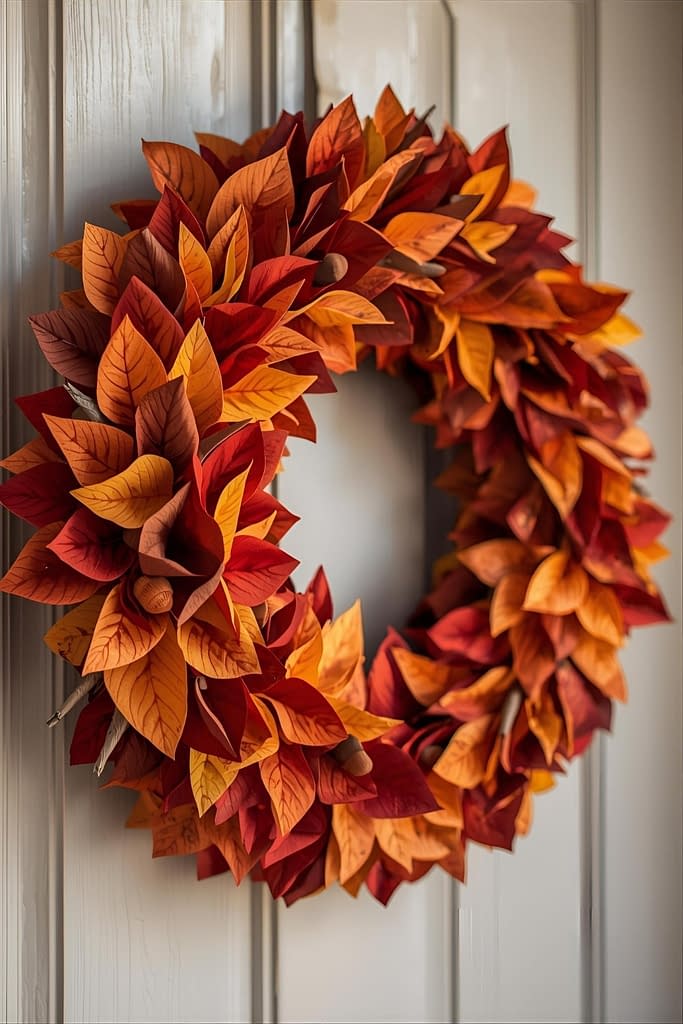
This wreath captures the beauty of autumn with rich colors and layered textures.
Step 1: Select Your Colors
Choose warm fall colors such as burnt orange, mustard yellow, deep red, and brown. Mix plain and patterned paper for depth.
Step 2: Draw the Leaves
- Start by sketching simple leaf shapes: maple, oak, and elm.
- Use a pencil lightly to allow erasing mistakes.
- Draw leaves in various sizes (small, medium, large) to add dimension.
Step 3: Cut the Leaves
- Use scissors to carefully cut along your pencil lines.
- For sharper detail, use a craft knife for intricate veins or pointed edges.
- Cut at least 40–50 leaves depending on your wreath size.
Step 4: Shape and Fold the Leaves
- Fold each leaf slightly along the center vein to give it dimension.
- Curl edges gently using a pencil or the edge of scissors.
- Optional: lightly score smaller veins on each side of the central fold for realism.
Step 5: Prepare the Wreath Base
- Cut a cardboard ring 12 inches in diameter with a 2-inch-wide border.
- Cover the base with a matching colored paper or leave plain.
Step 6: Start Gluing the Leaves
- Begin at one point of the ring. Apply a thin line of glue along the bottom center of each leaf.
- Overlap leaves slightly so no gaps are visible.
- Alternate colors and sizes to create a natural look.
Step 7: Layering for Fullness
- Add a second layer of leaves, some facing the opposite direction to increase depth.
- Make sure edges peek out for a fuller appearance.
Step 8: Finishing Touches
- Optional: add small twigs, gold marker highlights, or tiny faux acorns.
- Attach a ribbon loop on the back for hanging.
Tutorial 2: Minimalist Green Paper Leaf Wreath
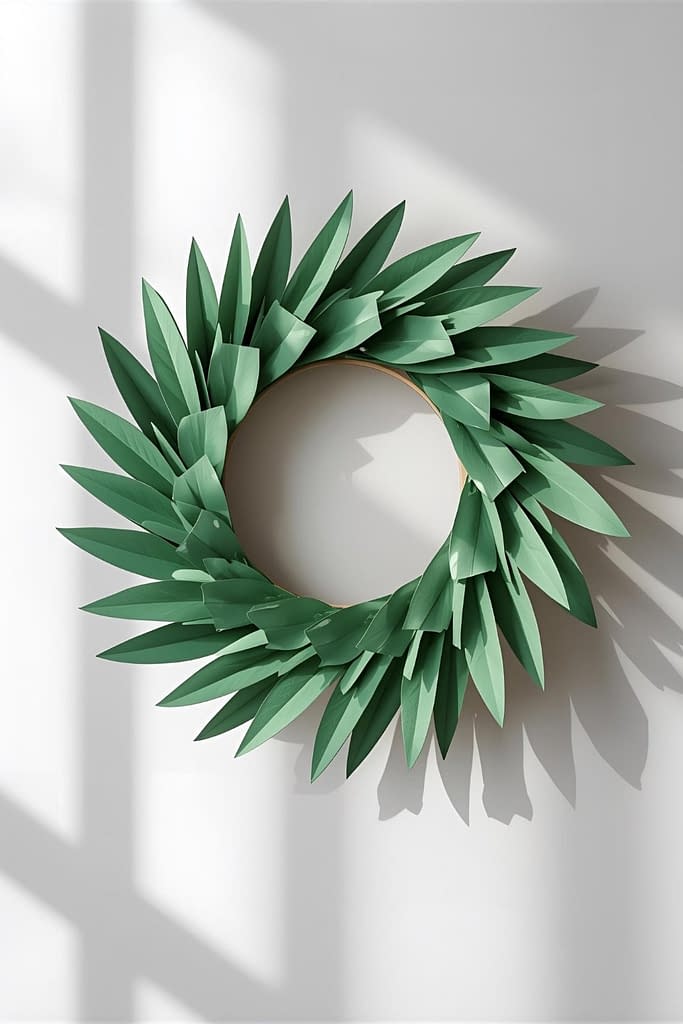
A simple and modern design perfect for spring or contemporary interiors.
Step 1: Choose Paper Colors
- Select 3–4 shades of green for variation.
- You can use plain or textured cardstock.
Step 2: Draw the Leaves
- Draw long, slender leaves in varying lengths (5–8 inches).
- Include a subtle central vein line to guide folding.
Step 3: Cut and Shape
- Cut each leaf carefully.
- Curl leaves slightly using a pencil to give a soft curve.
- Fold gently along the central vein to add structure.
Step 4: Create the Base
- Use a cardboard or wire ring. Paint the ring green if desired.
Step 5: Arrange and Glue
- Start gluing leaves around the base in a single direction.
- Apply glue only to the center of the leaf for a lifted look.
- Overlap each leaf slightly to ensure coverage.
Step 6: Add Small Accents
- Glue a few smaller leaves or paper flowers randomly for interest.
Step 7: Hang and Style
- Use a thin ribbon for hanging. Ideal for kitchens, offices, or living rooms.
Tutorial 3: Colorful Spring Paper Leaf Wreath
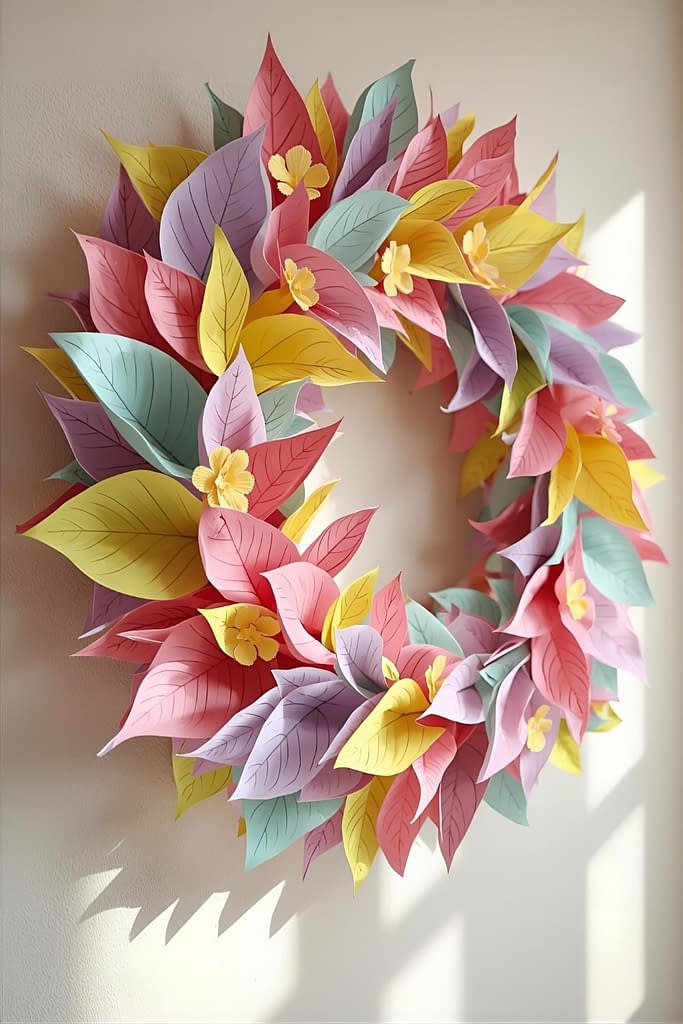
Bright and playful, this wreath evokes spring’s cheerful vibe.
Step 1: Select Colors
- Use pastel tones such as pink, lavender, mint, and yellow.
- Mix solid and patterned papers for variety.
Step 2: Draw and Cut Leaves and Petals
- Draw 40–50 leaves and petals in small and medium sizes.
- Cut precisely along lines.
Step 3: Add Texture
- Score veins lightly using a craft knife or pencil edge.
- Curl edges for depth.
Step 4: Prepare Base
- Cut a cardboard ring 10–12 inches in diameter.
- Optionally wrap the base with pastel ribbon.
Step 5: Start Gluing
- Glue larger leaves first, overlapping slightly.
- Layer smaller leaves and petals on top.
- For lifted effect, fold the base slightly before gluing.
Step 6: Add Details
- Insert small paper flowers, beads, or glitter.
- Ensure balance across colors for aesthetic harmony.
Step 7: Display
- Attach ribbon or twine for hanging. Perfect for front doors or above a mantel.
Tutorial 4: Rustic Book Page Paper Leaf Wreath
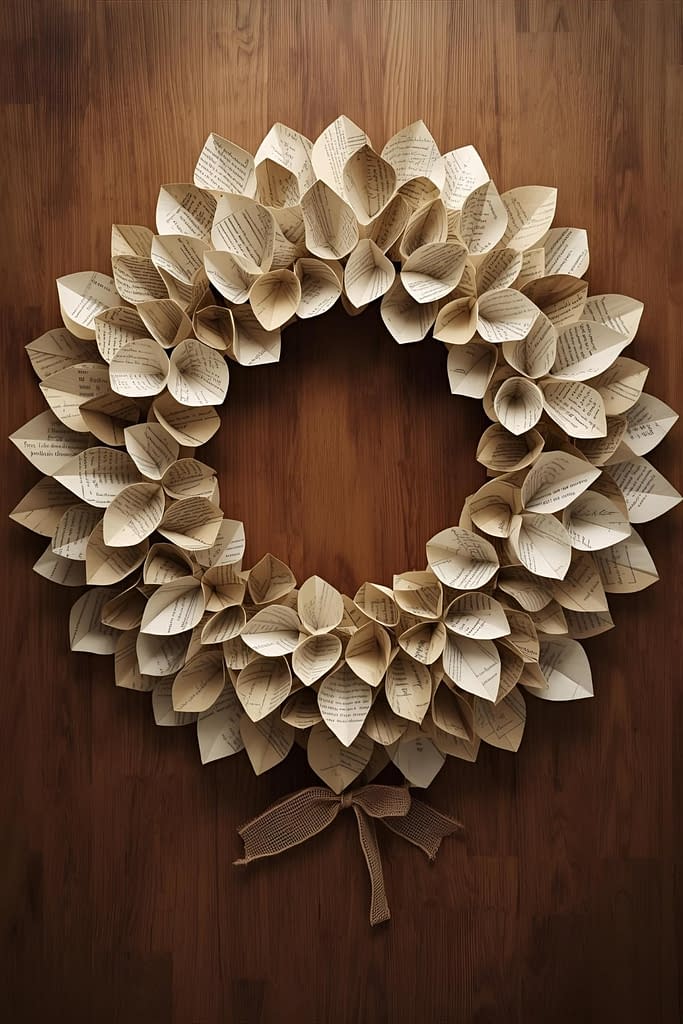
A vintage-inspired wreath perfect for farmhouse decor.
Step 1: Gather Materials
- Use old book pages, sheet music, or printed pages.
Step 2: Draw Leaves
- Sketch 60 small to medium leaves in varied shapes (maple, elm).
Step 3: Cut and Ink Edges
- Cut carefully.
- Lightly brush edges with brown or black ink for aged effect.
Step 4: Fold and Curl
- Fold along the center vein for dimension.
- Curl sides gently to create a natural look.
Step 5: Prepare Base
- Cut a 12-inch cardboard ring or use a grapevine wreath base.
Step 6: Layer and Glue
- Apply glue along the center of each leaf.
- Layer leaves closely, alternating directions for fullness.
Step 7: Finishing Touches
- Add twine or burlap bow for rustic charm.
- Hang indoors on bookshelves, doors, or above desks.
Tutorial 5: Metallic Paper Leaf Wreath
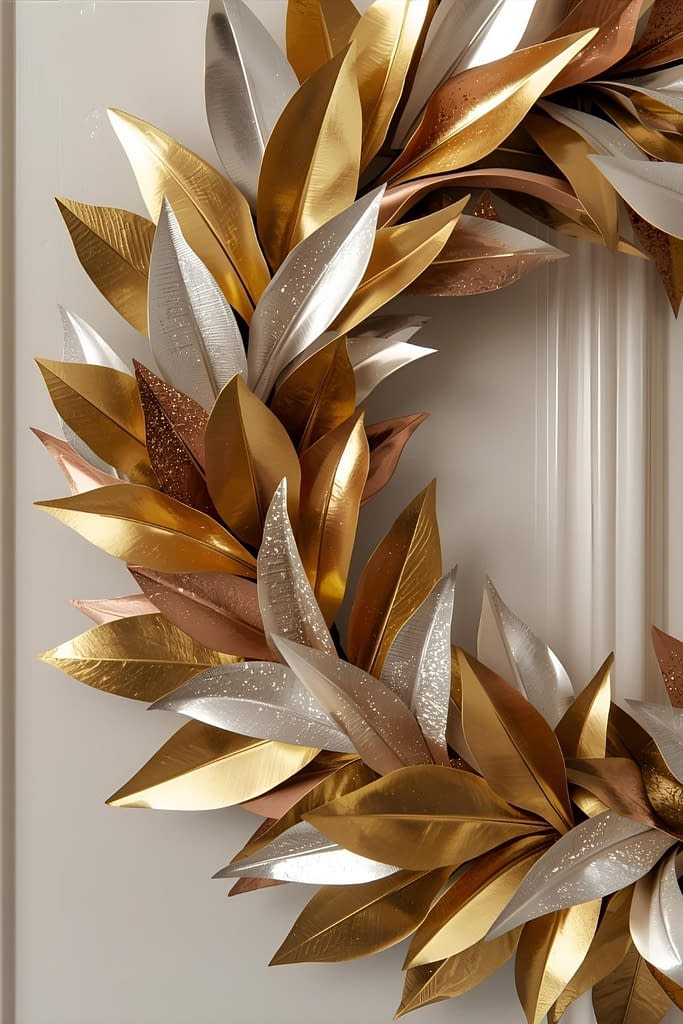
Glamorous design perfect for holidays or modern interiors.
Step 1: Choose Metallic Paper
- Select gold, silver, or copper cardstock.
- Spray paint plain paper if needed.
Step 2: Draw Leaves
- Use sharp-edged or minimalist leaf shapes.
Step 3: Cut and Shape
- Cut 30–40 leaves.
- Fold along the center vein and curl edges upward slightly.
Step 4: Prepare Base
- Use foam or cardboard ring.
- Cover with matching metallic paper for a uniform look.
Step 5: Glue Leaves
- Apply hot glue along the base of each leaf.
- Overlap slightly, alternating angles for depth.
Step 6: Add Highlights
- Optional: dust edges with glitter or metallic paint.
Step 7: Display
- Hang with satin ribbon. Works beautifully for winter, weddings, or New Year decor.
Tutorial 6: Tropical Paper Leaf Wreath
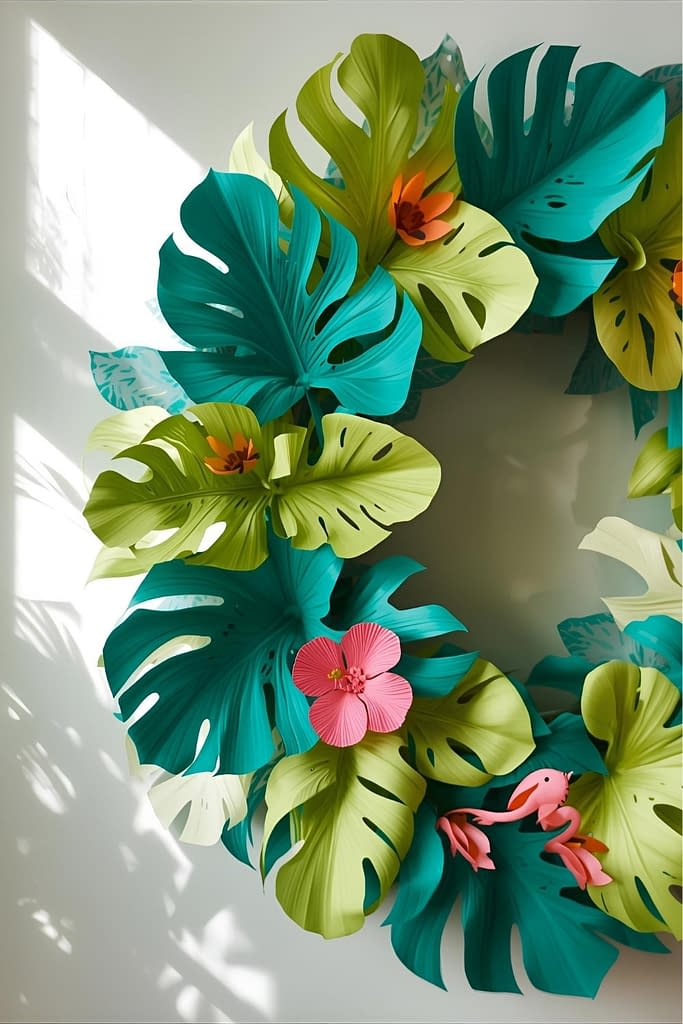
Bold, summer-inspired wreath with large, vibrant foliage.
Step 1: Select Colors
- Bright greens, teals, with touches of pink or yellow.
Step 2: Draw and Cut Leaves
- Draw large tropical leaves (monstera, banana, palm).
- Cut 25–30 large leaves carefully.
Step 3: Add Texture
- Draw veins with dark marker or score lightly for dimension.
Step 4: Prepare Base
- Use a large 14–16 inch cardboard or wire ring.
Step 5: Layer and Glue
- Glue large leaves first.
- Add smaller leaves or colorful accents on top.
- Overlap and alternate angles for fullness.
Step 6: Add Extras
- Optional: paper flowers or tropical motifs like flamingos.
Step 7: Display
- Hang outdoors for summer or indoors year-round.
Tutorial 7: Winter Snowy Paper Leaf Wreath
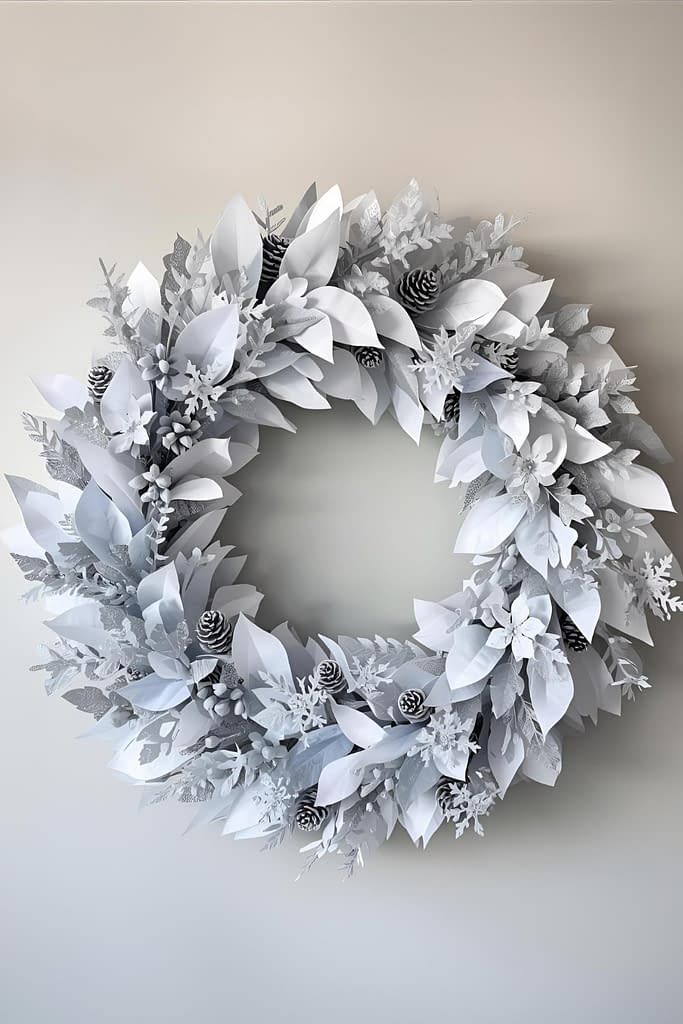
This wreath captures the calm and beauty of winter with white, silver, and icy blue tones, perfect for holiday or winter-themed decor.
Materials
- White, silver, and light blue cardstock or textured paper
- Scissors or craft knife
- Pencil for sketching
- Hot glue gun or craft glue
- Cardboard or foam wreath base (12–14 inches)
- Ribbon (white or silver) for hanging
- Optional: glitter, fake snow spray, small faux pinecones
Step 1: Choose Your Colors
- Select shades representing a winter palette: white for snow, silver for icy shimmer, and light blue for frost.
- You can also mix textured paper for snow-like effect.
Step 2: Draw Leaf Shapes
- Sketch leaves inspired by holly, pine needles, and generic oval leaves.
- Draw various sizes: small, medium, and large to create depth.
Step 3: Cut the Leaves
- Carefully cut each leaf along pencil lines.
- Use a craft knife for intricate pine needle shapes.
Step 4: Fold and Curl
- Fold each leaf slightly along the center vein to give dimension.
- For pine needles, gently curl each tip for realism.
- Optionally, sprinkle fine glitter or light frost with silver paint for icy highlights.
Step 5: Prepare the Wreath Base
- Cut a sturdy cardboard or foam ring.
- Optional: cover the ring with white or silver paper for consistency.
Step 6: Start Gluing
- Begin gluing the largest leaves to the base first, slightly overlapping edges.
- Apply glue along the bottom center of each leaf.
- Layer medium and smaller leaves on top, alternating directions for natural fullness.
Step 7: Add Winter Accents
- Glue small faux pinecones, berries, or glittered paper snowflakes among the leaves.
- Optional: lightly spray fake snow or dust with glitter for a snowy effect.
Step 8: Finish and Hang
- Attach a white or silver ribbon to the back of the wreath for hanging.
- Display on doors, above the fireplace, or in windows for a festive winter feel.
Extra Tips for Perfect Paper Leaf Wreaths
- Mix paper weights for realistic depth.
- Layer leaves in different sizes for fullness.
- Experiment with shapes and colors.
- Seal with Mod Podge for dust resistance.
- Tailor to seasons: pastels for spring, bright greens for summer, warm tones for fall, metallics for winter.
Final Thoughts
Creating paper leaf wreaths is a fun, affordable way to bring seasonal charm into your home. These 6 Easy Paper Leaf Wreath Tutorials provide everything you need—from folding and cutting to gluing and layering—to make professional-looking decorations. With these detailed instructions, you can craft wreaths that reflect your style, personality, and the season, and impress guests with handmade creativity.


