
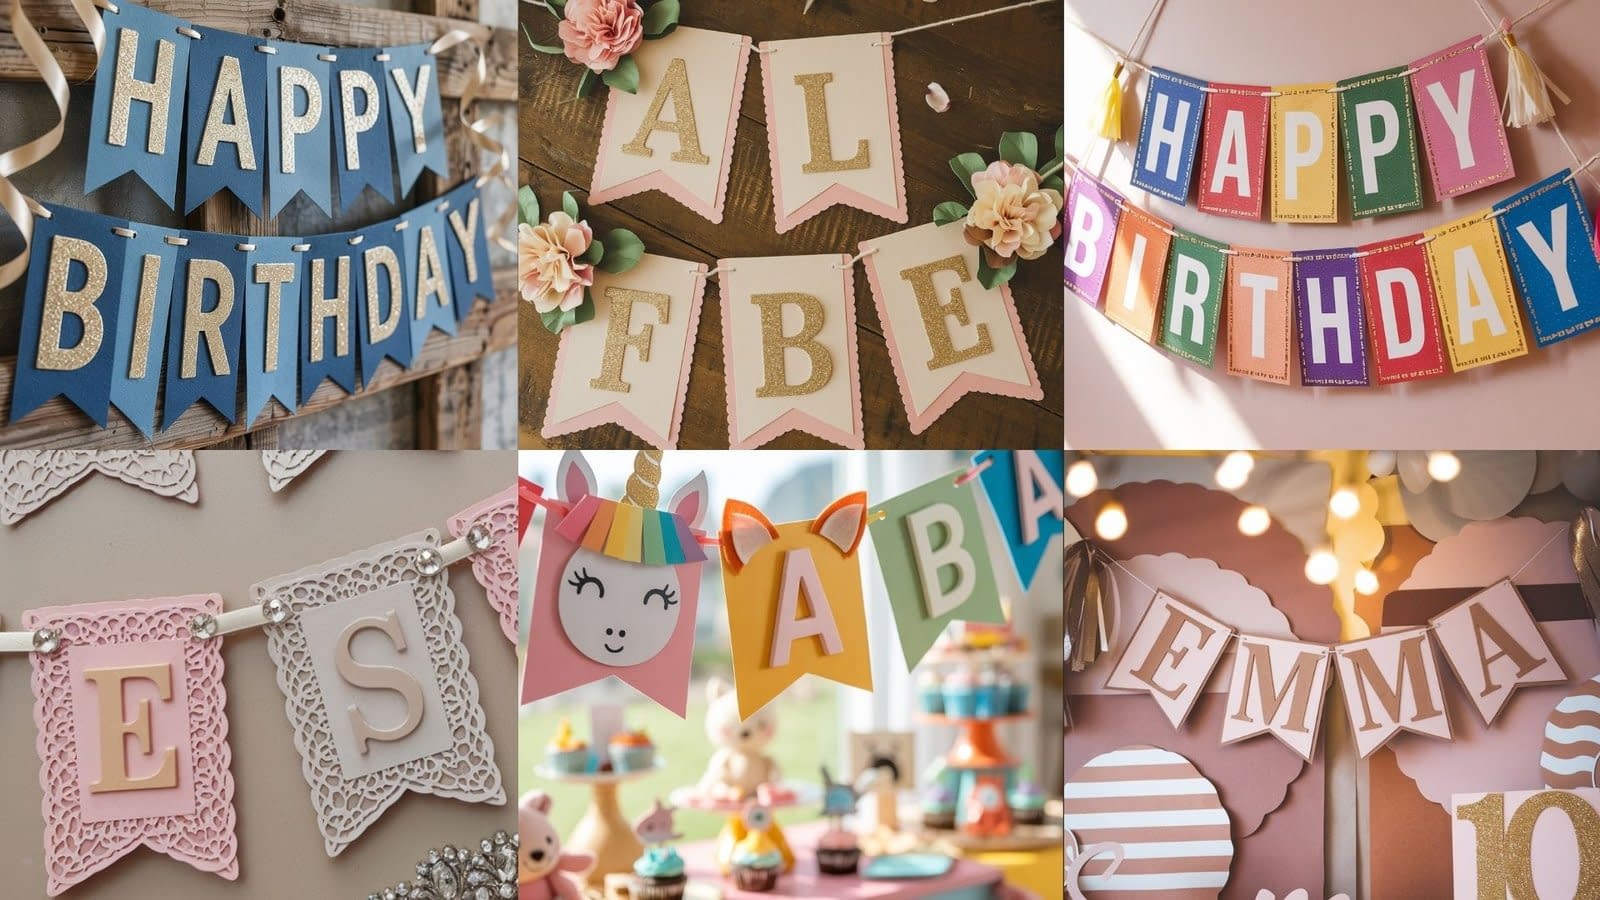
Birthday decorations don’t just set the mood—they tell a story. A banner is often the first thing guests notice when they walk into a party space, and with Cricut, you can transform that simple decoration into something personal, beautiful, and professional-looking.
Unlike store-bought banners, Cricut birthday banners can be customized with names, ages, colors, and themes. In this guide, we’ll go through 7 Cricut banner for birthdays tutorials—each one designed to be detailed, practical, and full of creative variations.
1. Classic Pennant Banner with Bold Letters
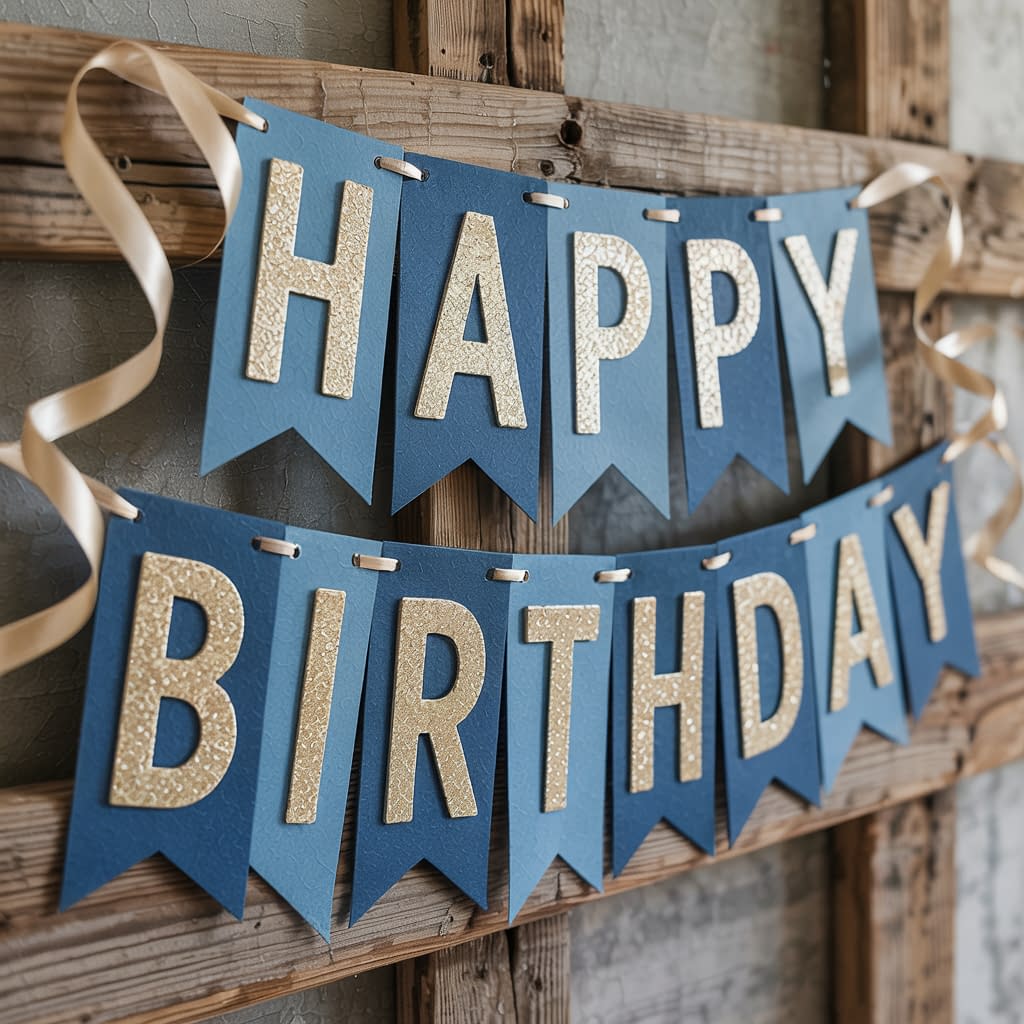
This is the most timeless Cricut birthday banner—simple pennant flags with bold letters that immediately stand out.
Materials:
- Cricut machine (Maker/Explore/Joy)
- Heavy cardstock (two colors for layering)
- Ribbon or jute twine
- Hole punch or Cricut tool set
- Double-sided tape or glue
Steps:
- Design Pennants: In Cricut Design Space, create long triangular or swallow-tail pennant shapes.
- Cut Letters: Use a bold font like “Impact” or “Varsity.” Cut each letter separately.
- Layer for Impact: Cut a backing layer slightly larger in a contrasting color for each letter.
- Assemble: Glue letters onto pennants.
- Thread Together: Punch two holes at the top of each pennant and string onto ribbon.
Beauty of this Style:
Clean, bold, and versatile—perfect for any birthday theme.
Variations:
- Use metallic cardstock for a chic adult party.
- Try rainbow pennants for kids’ birthdays.
- Add glitter to the edges for sparkle.
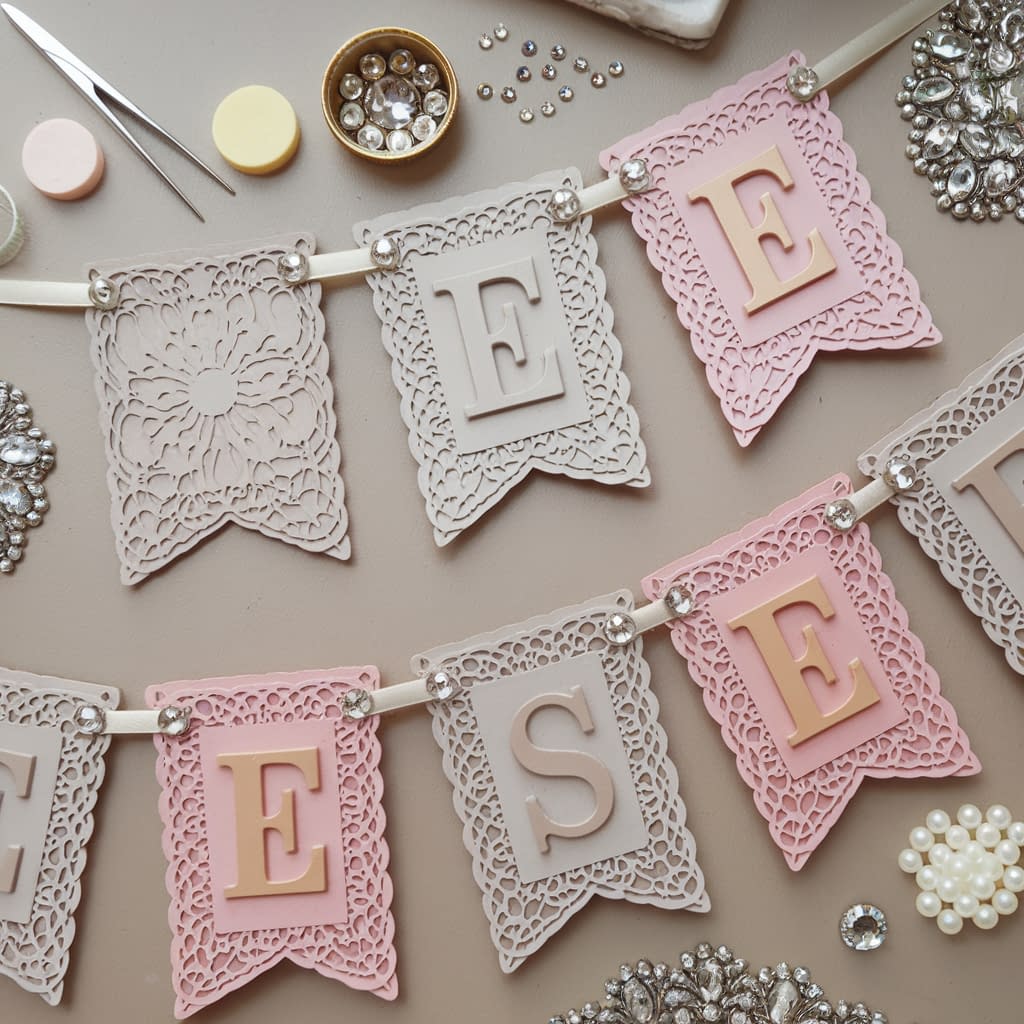
2. Elegant Scalloped Edge Banner with Florals
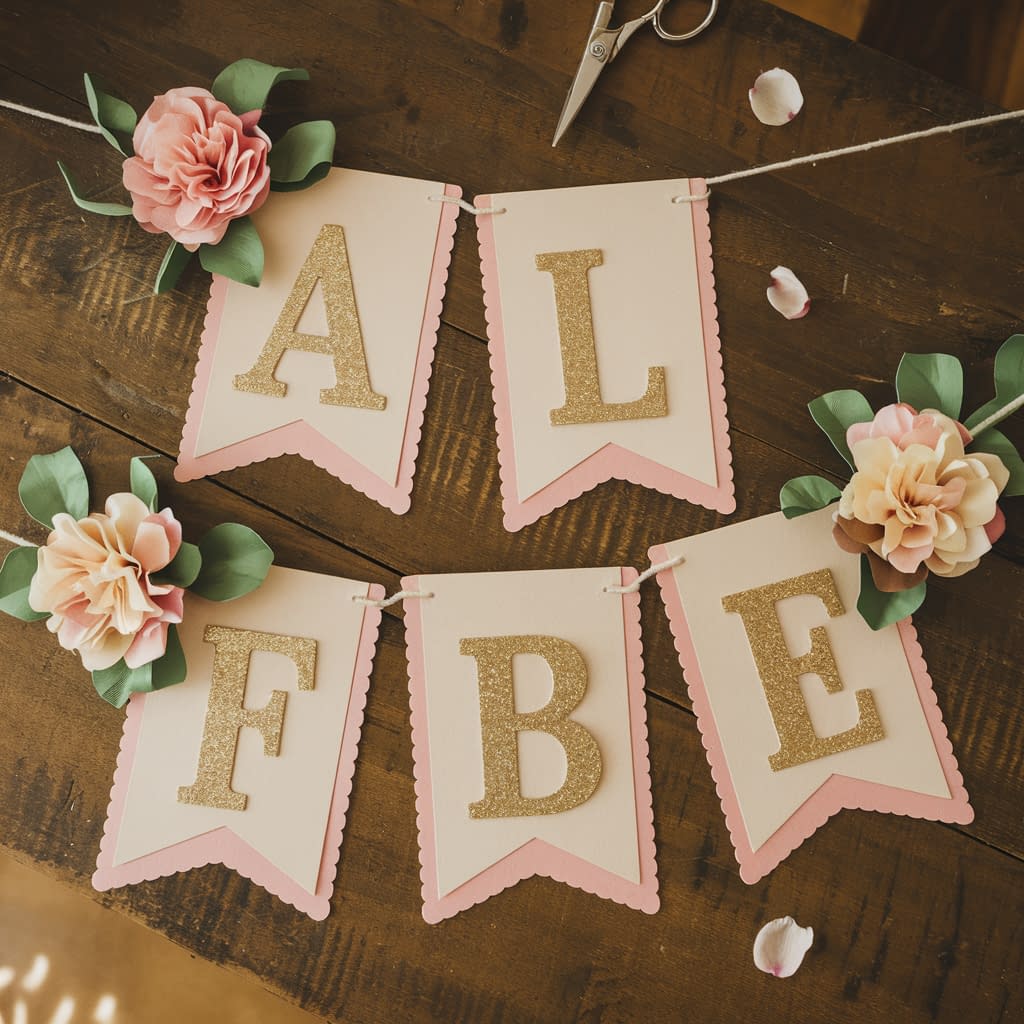
Inspired by the delicate designs in your collage, this Cricut banner feels romantic and elegant.
Materials:
- Pastel or neutral cardstock
- Cricut floral cut files or rolled paper flowers
- Hot glue gun
- Gold or glitter cardstock for accents
Steps:
- Create Scalloped Shapes: Use Cricut to cut scalloped squares or rectangles.
- Cut Letters: Use script or cursive fonts for a soft look.
- Add Florals: Cut Cricut roses or 3D flowers and attach around corners.
- Layer Details: Add glitter leaves, vines, or butterflies.
- Finish with Ribbon: String pieces together with satin ribbon.
Beauty of this Style:
Elegant, detailed, and floral—ideal for milestone birthdays or feminine themes.
Pro Tip:
Match flower colors with the party’s color palette for cohesion.
3. Playful Rainbow Block Letter Banner
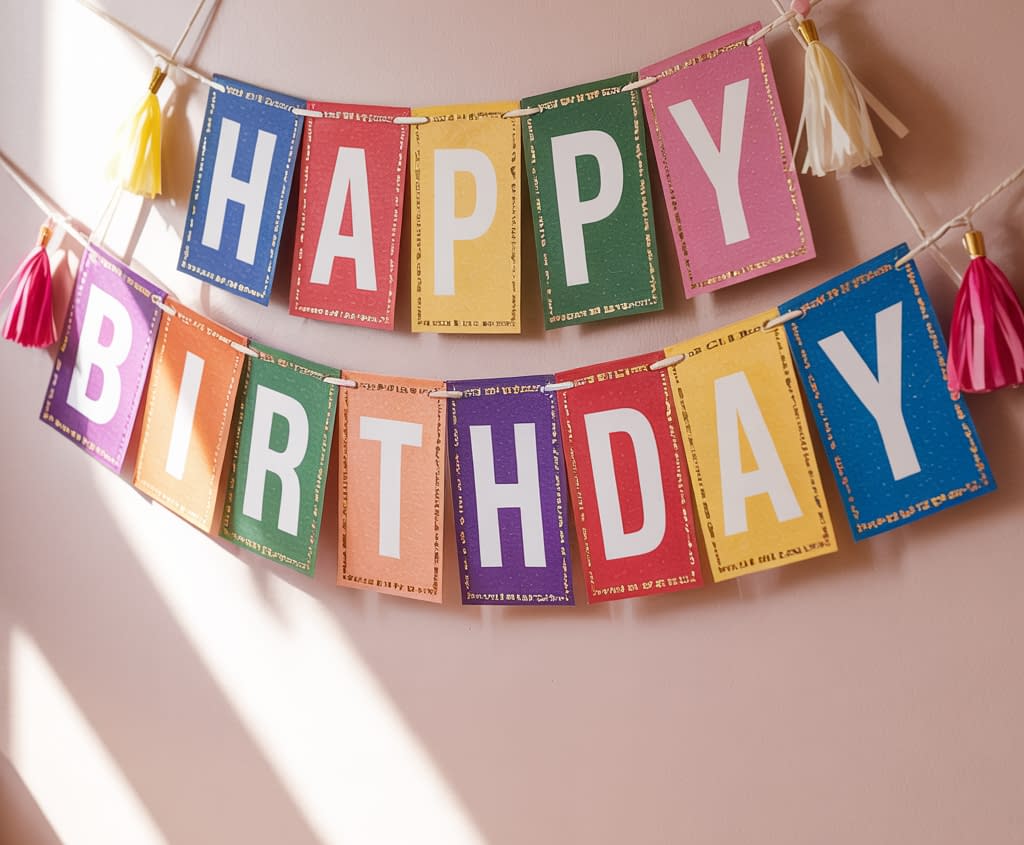
Bright, cheerful, and kid-friendly, this banner uses rainbow blocks behind bold letters.
Materials:
- Multi-colored cardstock (rainbow set)
- White cardstock for letters
- Foam adhesive squares
Steps:
- Cut Background Squares: Each letter gets a different colored square or rectangle.
- Add Border: Cut slightly larger backing squares in gold or silver.
- Cut White Letters: Bold, easy-to-read letters like Cricut Sans.
- Assemble: Mount letters on rainbow blocks using foam dots for 3D effect.
- String and Display: Arrange letters in two rows for a compact look.
Beauty of this Style:
Colorful, fun, and perfect for kids’ birthdays.
Pro Tip:
Use glitter paper for the backing to make the rainbow pop even more.
4. 3D Layered Birthday Banner
This banner uses Cricut’s precision cutting to create layered, dimensional pennants that look like handmade art.
Materials:
- 3 shades of coordinating cardstock per pennant
- Foam adhesive dots
- Embellishments like rhinestones or gems
Steps:
- Create Base Pennant: Cut solid shapes like circles, hexagons, or scallops.
- Add Middle Layer: Use intricate Cricut cut designs (mandalas, lace, or geometric patterns).
- Top Layer: Cut bold letters to place on top.
- Assemble Layers: Use foam adhesive between layers for depth.
- Decorate: Add small gems or rhinestones for sparkle.
Beauty of this Style:
Luxurious, detailed, and professional-looking.
Pro Tip:
Stick to 2–3 colors to avoid overwhelming the layered look.
5. Fabric & Felt Banner with Iron-On Vinyl
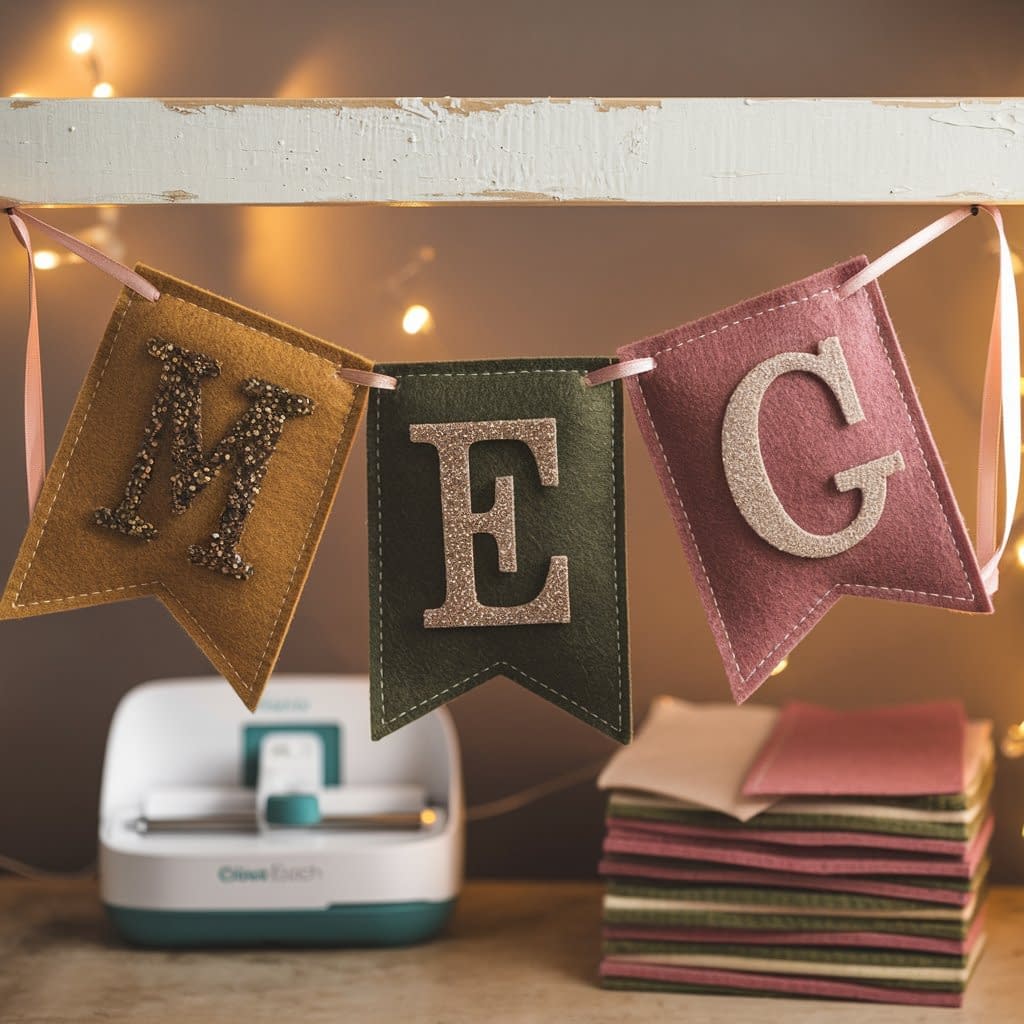
For a reusable option, a fabric or felt Cricut banner is both eco-friendly and stylish.
Materials:
- Felt or fabric pennants
- Iron-on vinyl (HTV)
- Cricut EasyPress (or iron)
- Satin ribbon
Steps:
- Cut Pennants: Cut triangles or scallops from felt or fabric.
- Cut Letters from HTV: Use bold, legible fonts.
- Apply Heat Transfer: Press letters onto fabric with EasyPress.
- Assemble: String together with ribbon.
Beauty of this Style:
Reusable, sturdy, and chic—great for families who host multiple birthdays.
Variations:
- Use burlap for a rustic look.
- Use glitter iron-on for glam parties.
6. Whimsical Animal or Character Banner
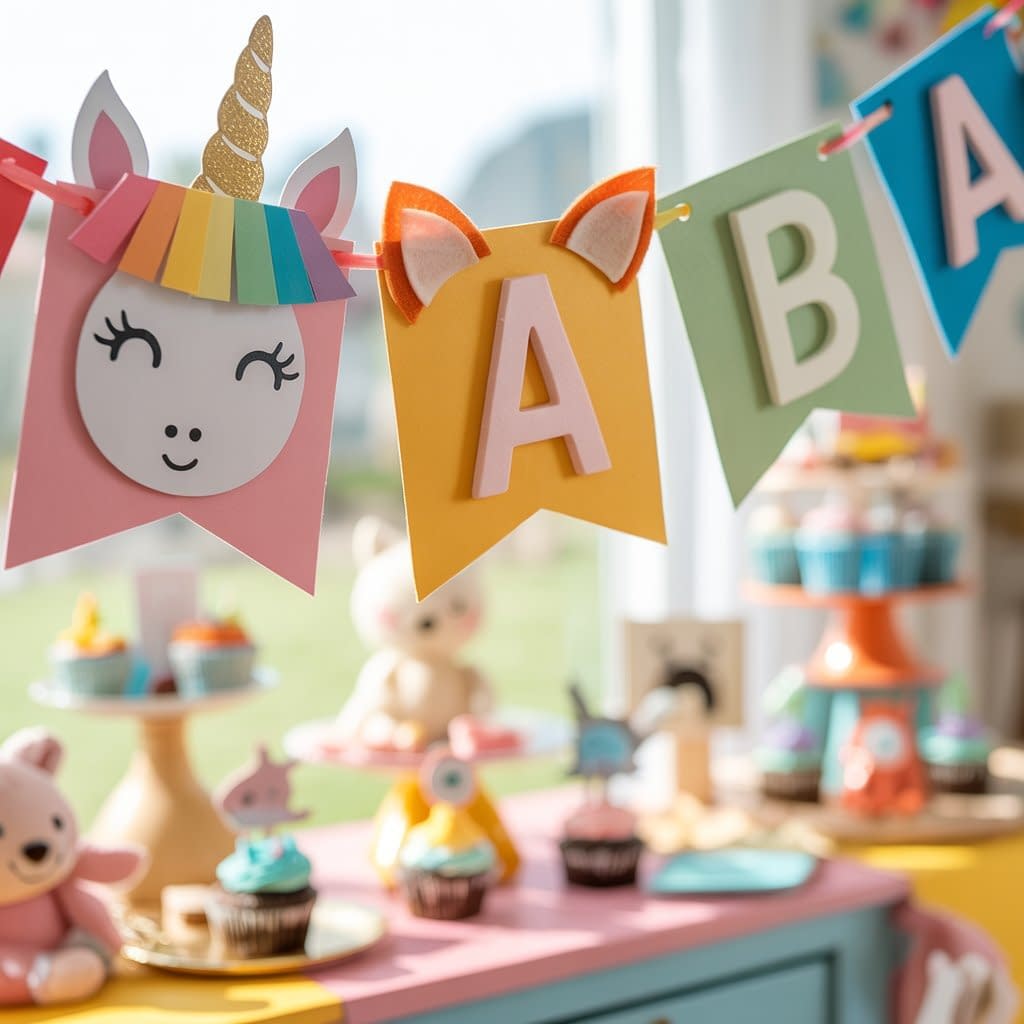
Perfect for kids, this Cricut banner incorporates animal or cartoon-inspired shapes.
Materials:
- Cardstock in themed colors (e.g., brown, pink, white for woodland animals)
- Cricut animal SVGs or clip art
- Foam adhesive for layering
Steps:
- Choose a Character: Unicorns, foxes, dinosaurs, or favorite cartoons.
- Design Pennants: Add ears, tails, or horns to letters.
- Layer Colors: For example, unicorn letters with rainbow manes.
- Assemble: Alternate letters with themed cutouts.
Beauty of this Style:
Playful, personalized, and perfect for themed birthdays.
Pro Tip:
Pair with matching cake toppers or table decor cut with Cricut for a complete party set.
7. Personalized Name & Milestone Banner
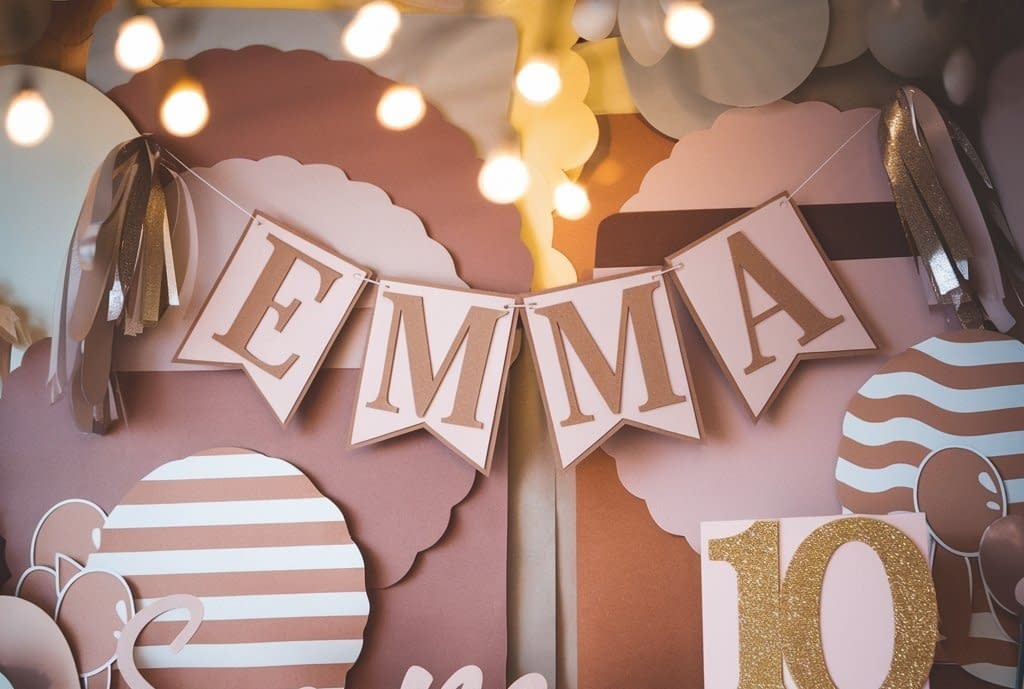
Nothing feels more special than seeing your own name on a banner. Cricut makes this easy and stunning.
Materials:
- Heavy cardstock in party colors
- Cricut fonts or uploaded custom SVG letters
- Glitter cardstock for accents
Steps:
- Create Base Shape: Use scalloped or circular backdrops.
- Cut the Name: Example: “Happy 10th Birthday Emma.”
- Add Milestone Number: Include the birthday age in bold numbers.
- Decorate: Add balloons, stars, or cupcake cutouts.
- Assemble and Hang: Make the name the centerpiece of the banner.
Beauty of this Style:
Personal, bold, and memorable—great for both kids and adults.
Pro Tip:
For long names, split the banner into two rows to avoid crowding.
Final Thoughts
With these 7 Cricut banner for birthdays tutorials, you have a wide range of styles to choose from—classic, elegant, playful, layered, reusable, themed, and personalized. Each tutorial highlights a different creative direction so your banners always feel unique.
The beauty of Cricut is its flexibility: you can mix and match these techniques, add your own flair, and adapt them for any age or theme. Whether you want a delicate floral banner or a bold rainbow statement piece, Cricut makes it possible to bring your vision to life.can be saved, reused, or adapted for future birthdays, making them both beautiful and practical.


