
Personalized mugs are one of the most thoughtful, practical, and fun DIY gifts you can make. Whether it’s for birthdays, holidays, weddings, or just to treat yourself, custom mugs always bring a smile. And the best part? With a Cricut cutting machine, you can easily transform plain mugs into professional-looking pieces with vinyl decals, Infusible Ink, or even hand-drawn designs using Cricut Pens.
The beauty of making personalized mugs with Cricut is that you don’t need to be an expert crafter to create something stunning. Even beginners can get great results with the right materials and simple step-by-step guidance. In this blog, I’ll share 6 personalized mug projects—each with clear instructions, skill levels, material lists, and creative finishing ideas. By the end, you’ll feel confident to design mugs for yourself, gifts, or even to sell in your small crafting business.
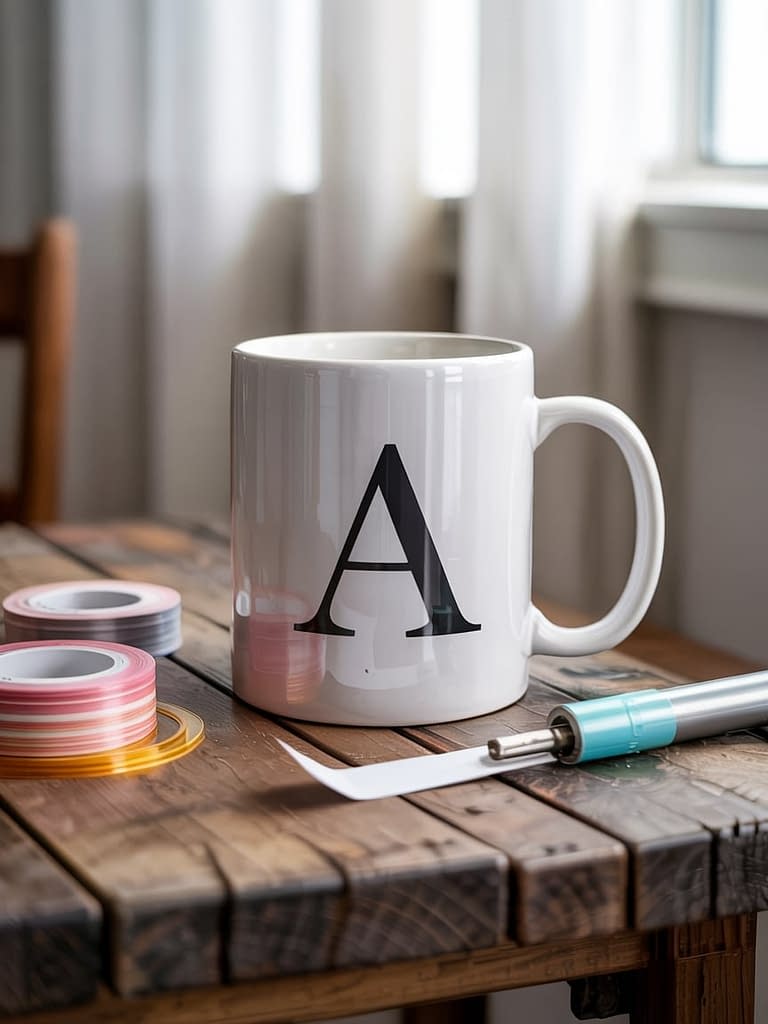
1. Name Initial Monogram Mug
Skill Level: Beginner
Perfect for: Everyday use, birthday gifts, office mugs
Materials Needed:
- Cricut cutting machine (Joy, Explore, or Maker)
- Permanent vinyl (color of your choice)
- Transfer tape
- Standard grip cutting mat
- Weeding tool
- Blank ceramic mug
- Scraper tool
Instructions:
- Design in Cricut Design Space – Open a new canvas and choose a bold monogram font. Type in the initial you want (example: “A” for Amanda). You can also add decorative flourishes or a circle background.
- Cut the Vinyl – Place permanent vinyl shiny side up on the mat. Set the Cricut to “Vinyl” and let it cut your design.
- Weed the Design – Remove excess vinyl around the letter, leaving only your monogram.
- Apply Transfer Tape – Place transfer tape on top of the vinyl, burnish with a scraper tool to ensure it sticks.
- Place on Mug – Position your vinyl design on the mug. Smooth out bubbles and carefully peel off transfer tape.
- Cure the Vinyl – Let the mug sit for at least 24 hours before washing or using.
Pro Tip: Hand wash only for longer-lasting results.
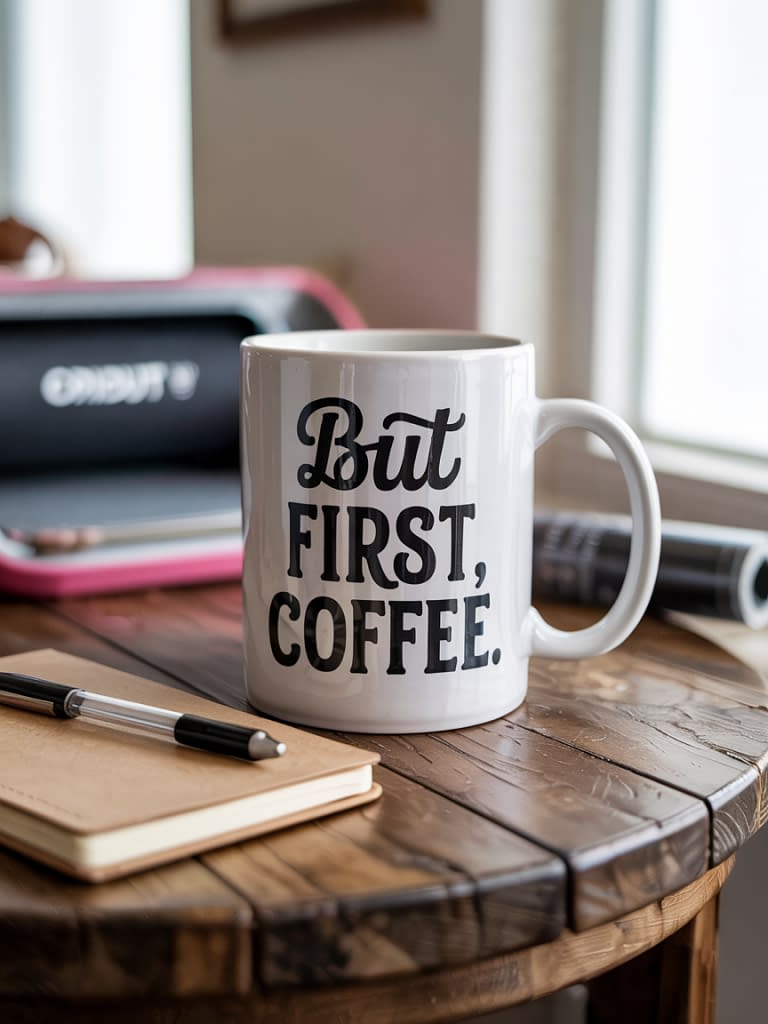
2. Funny Quote Mug
Skill Level: Beginner–Intermediate
Perfect for: Coffee lovers, office coworkers, gag gifts
Materials Needed:
- Cricut machine
- Permanent vinyl (black or contrasting colors)
- Transfer tape
- Weeding tool
- Ceramic mug
Instructions:
- Pick a Quote – In Cricut Design Space, choose a fun quote like “But first, coffee” or “Mom fuel.”
- Adjust Font Style – Play with bold fonts for keywords and script fonts for emphasis.
- Cut & Weed – Cut on permanent vinyl, then weed carefully, especially around small lettering.
- Apply Transfer Tape – Place your text design onto the mug using transfer tape.
- Seal – Optional: Use a dishwasher-safe Mod Podge to seal the vinyl for extra durability.
Pro Tip: Keep designs under 3” high for mugs, so they don’t warp around curves.
3. Photo Transfer Mug with Infusible Ink

Skill Level: Intermediate
Perfect for: Personalized gifts, anniversaries, family keepsakes
Materials Needed:
- Cricut machine
- Cricut Infusible Ink transfer sheets
- Cricut Mug Press (or convection oven)
- Heat-resistant tape
- White sublimation blank mug
Instructions:
- Upload Your Photo – Convert your photo into a high-contrast black-and-white (for best results) in Design Space.
- Print on Infusible Ink Sheet – Mirror your image and cut it on Infusible Ink transfer sheet.
- Weed the Design – Remove excess sheet, leaving only your photo.
- Wrap & Tape – Place the design ink-side down onto the mug and secure with heat-resistant tape.
- Heat Press – Place mug into Cricut Mug Press until the timer finishes.
- Reveal Design – Let the mug cool before peeling back the sheet.
Pro Tip: Always use sublimation mugs for Infusible Ink—regular mugs won’t work.
4. Holiday-Themed Mug

Skill Level: Beginner–Intermediate
Perfect for: Seasonal gifts, festive home decor
Materials Needed:
- Cricut machine
- Permanent vinyl (red, green, gold, orange, black)
- Transfer tape
- Ceramic mug
Instructions:
- Pick a Holiday Design – Browse Cricut Design Space for ready-to-make designs.
- Cut the Design – Load the vinyl color of choice and cut.
- Layer Colors – If your design uses multiple colors, cut each separately and layer them on the mug using transfer tape.
- Apply to Mug – Smooth carefully to avoid wrinkles.
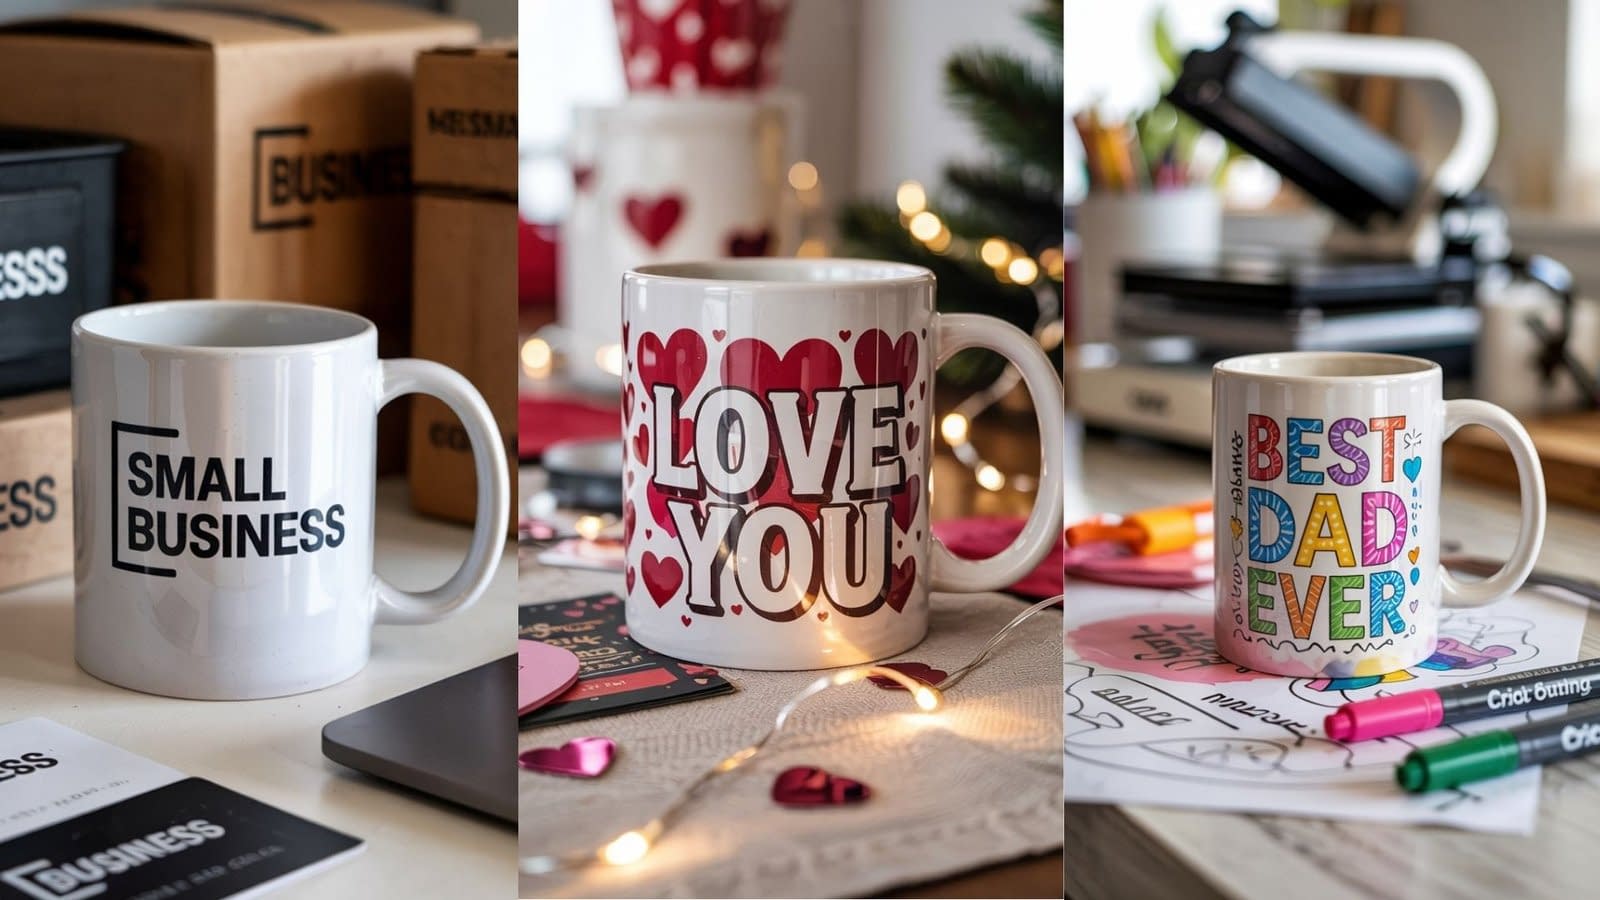
- Finishing Touch – Add names or short phrases like “Love You” text for Valentine’s Day.
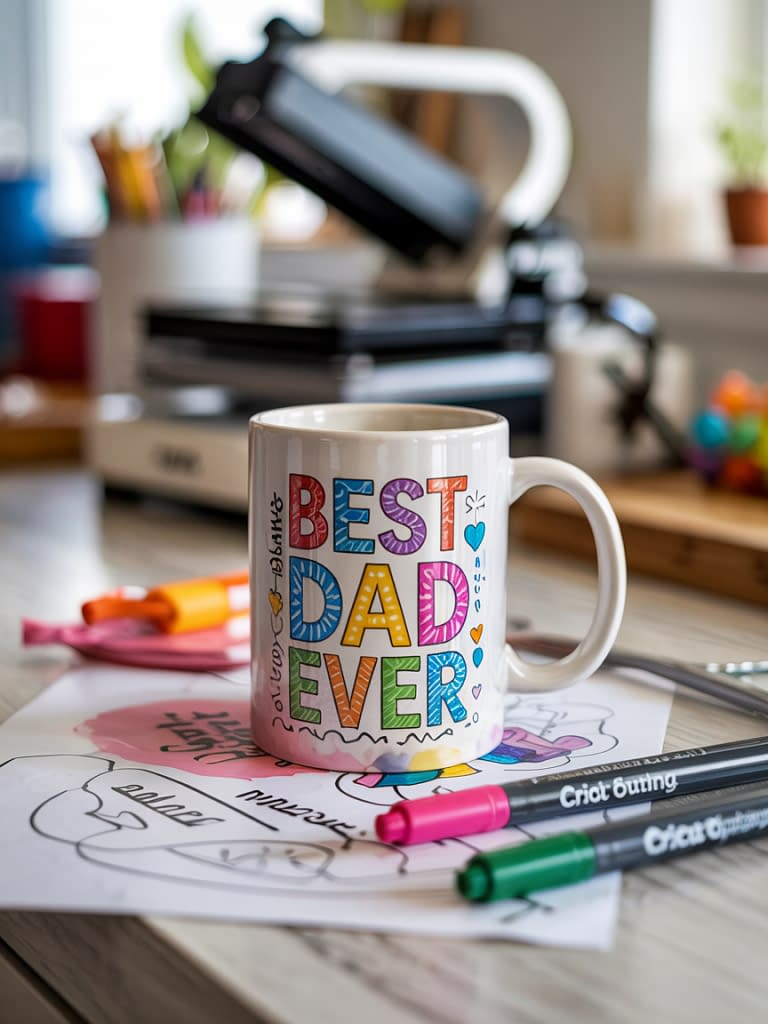
5. Handwritten Mug with Cricut Pens
Skill Level: Beginner
Perfect for: Kids’ drawings, handwritten messages, teacher gifts
Materials Needed:
- Cricut machine with pen adapter
- Cricut Infusible Ink pens
- Laser copy paper
- Heat-resistant tape
- Cricut Mug Press
- Sublimation blank mug
Instructions:
- Write or Draw – Use Cricut Pens to draw directly on laser copy paper. You can freehand messages like “Best Dad Ever” or let kids doodle.
- Secure on Mug – Wrap the paper around the mug, ink side facing the mug, and tape securely.
- Heat Press – Insert into Cricut Mug Press until it beeps.
- Cool & Reveal – Once cooled, peel off paper to reveal your handwritten design transferred permanently.
Pro Tip: This makes adorable keepsakes with kids’ handwriting or art.
6. Business Logo Mug

Skill Level: Intermediate
Perfect for: Branding, client gifts, small business merchandise
Materials Needed:
- Cricut machine
- Permanent vinyl or Infusible Ink (depending on durability)
- Transfer tape
- Heat-resistant tape (if using Infusible Ink)
- Mug press (for Infusible Ink option)
- Ceramic or sublimation mug
Instructions:
- Upload Logo – Import your business logo into Cricut Design Space and adjust to fit a mug (about 3.5” wide).
- Choose Material – For long-lasting professional results, use Infusible Ink with a sublimation mug. For quick projects, permanent vinyl works too.
- Cut & Weed – Cut the design and carefully weed small details.
- Apply or Press – Apply vinyl with transfer tape OR press Infusible Ink sheet with Cricut Mug Press.
- Finishing – Package mugs in branded boxes for a professional touch.
Pro Tip: Logo mugs make excellent giveaways at events and pop-up shops.
Conclusion
Making personalized mugs with Cricut is not only fun but also incredibly rewarding. From simple monogram mugs to custom photo gifts, there’s a project here for every occasion and every skill level. These six mug ideas are beginner-friendly but still produce results that look polished and professional. Whether you’re crafting for yourself, surprising a loved one, or even selling custom mugs as part of your small business, Cricut makes it possible to create high-quality designs with ease.


