
Paper stars are timeless decorations that bring charm and creativity into any space. Whether you’re decorating for the holidays, adding a touch of whimsy to your home, or looking for a thoughtful handmade gift, folded paper stars are a perfect choice. With just paper and a few folding techniques, you can transform simple sheets into dazzling works of art.
In this guide, we’ll cover five unique folded paper stars, ranging from simple beginner-friendly designs to more intricate options for experienced crafters. Each star comes with detailed instructions, tips, and ideas for styling and personalization.
1. Puffy Lucky Paper Stars

These small, puffy stars (sometimes called “wishing stars”) are not only cute but also fun to make in bulk. They’re often given as gifts, filled in jars, or used as colorful table décor.
Materials:
- Colored paper strips (about 10–12 inches long, ½ inch wide)
- Scissors
Step-by-Step Instructions:
- Prepare the strip:
- Cut a strip of paper, making sure it’s long enough (around 10 inches) and narrow.
- You can buy pre-cut origami star strips, but making them yourself gives you freedom with size and color.
- Make the pentagon base:
- Take one end of the strip and tie a flat knot (almost like tying the first step of a shoelace).
- Pull the knot gently so it lies flat, forming a small pentagon. This will be the base of your star.
- Tuck the short tail behind the pentagon so it’s hidden.
- Wrap the strip:
- Take the long end of the strip and start wrapping it around the pentagon.
- Each fold should follow the shape of the pentagon naturally — don’t force it.
- Continue wrapping until you have just a tiny tail left.
- Tuck the tail:
- Slip the tail into one of the folds to lock everything in place.
- Smooth it down so the pentagon looks neat.
- Form the star:
- Place the pentagon flat on the table.
- Use your thumbnail or finger to gently press in the center of each flat edge.
- As you pinch, the sides puff up and the star takes shape.
Extra Tips:
- Paper choice: Use thinner paper for easier folding and puffing. Glossy or metallic strips add extra shine.
- Wishing stars: Some people write a wish or message on the strip before folding. Collect them in a jar for a thoughtful gift.
- Size variation: Longer strips make bigger stars; shorter strips make smaller ones.
Best Uses:
- Fill jars as gifts.
- Scatter across tables for parties.
- Glue onto cards or gift wraps for decoration.
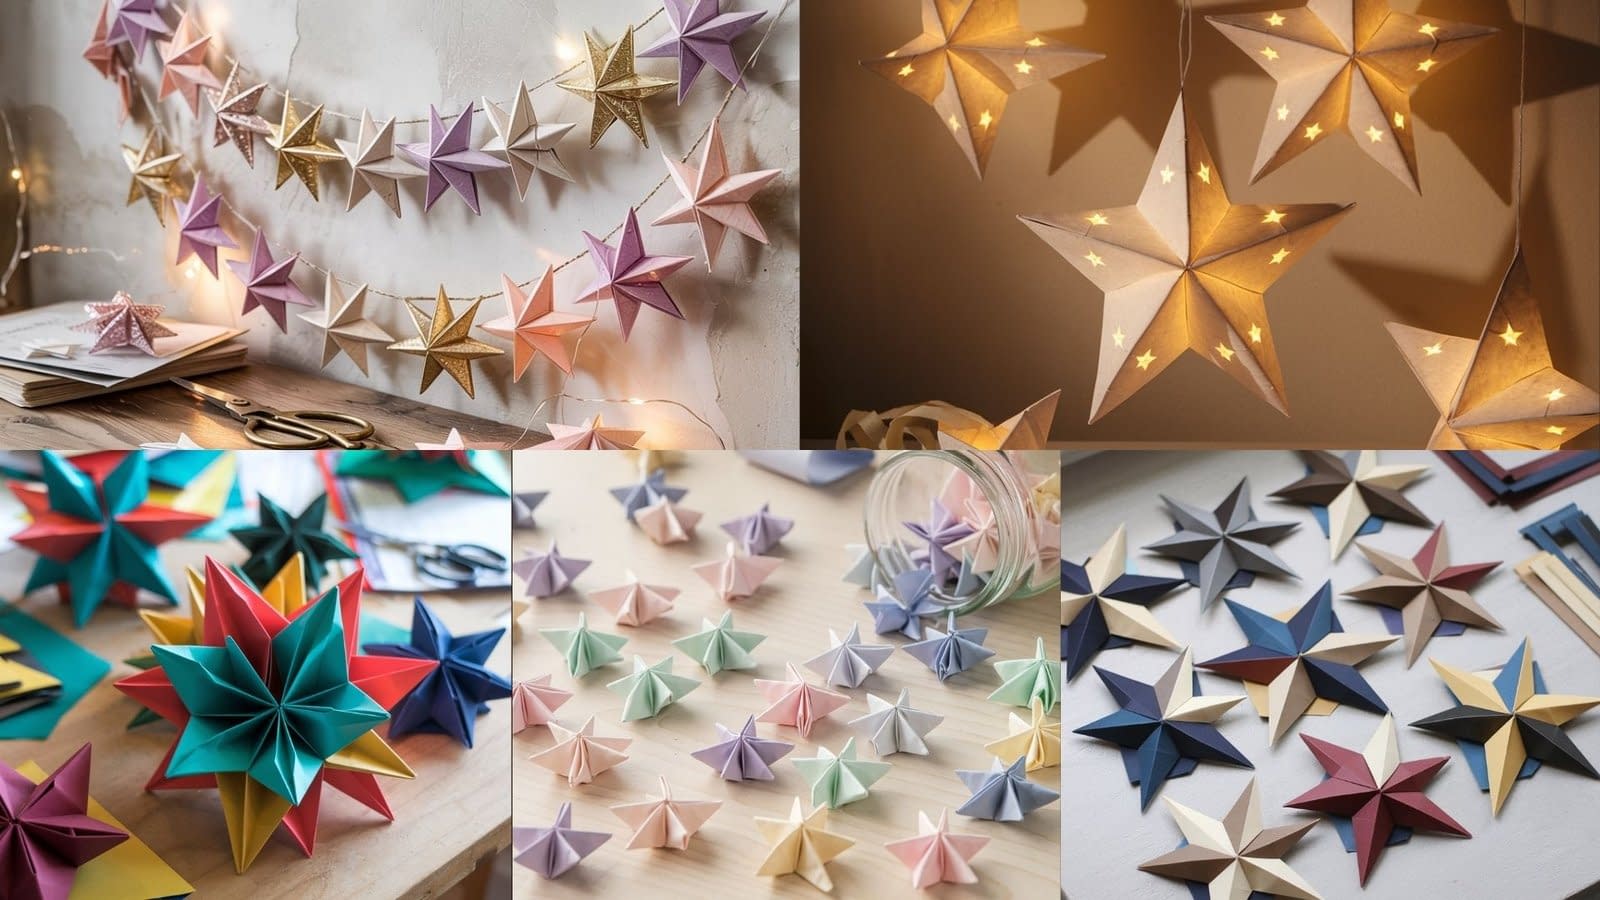
2. Accordion-Fold Hanging Stars
These folded stars look stunning when hung as ornaments or used as wall décor. Their layered, fan-like folds give them a festive look.
Materials:
- Rectangular paper sheets (use patterned, solid, or even recycled paper)
- Scissors
- Glue stick or double-sided tape
- String or twine for hanging
Step-by-Step Instructions:
- Prepare your paper:
- Cut 4 rectangles of paper, all the same size. Standard size is about 6 inches by 3 inches, but you can adjust based on how big you want your star.
- Fold accordion-style:
- Take one rectangle and fold it like a fan: fold one edge forward about ½ inch, then flip and fold the opposite way.
- Keep folding back and forth until the entire strip is pleated.
- Repeat with the other three rectangles.
- Fold in half:
- Fold each accordion in half to create a “V” shape.
- Press the center crease firmly so it holds its shape.
- Glue sections:
- Apply glue to the inside edges of each folded accordion.
- Stick them together, one by one, until you have a circular star shape.
- Hold the glued sections with clips until they’re dry.
- Attach string:
- Before the glue dries completely, tuck a small piece of string or twine into one of the folds at the top.
- Once dry, the string will hold securely for hanging.
Extra Tips:
- Paper choice: Wrapping paper, recycled magazines, or even newspaper create interesting designs.
- Make it 3D: Instead of 4 pieces, try 6–8 sections for a fuller star.
- Layering: Use two different colors and alternate them for a striped look.
Best Uses:
- Hanging ornaments for Christmas or birthdays.
- Large wall stars for backdrops at parties.
- Window decorations that catch light.
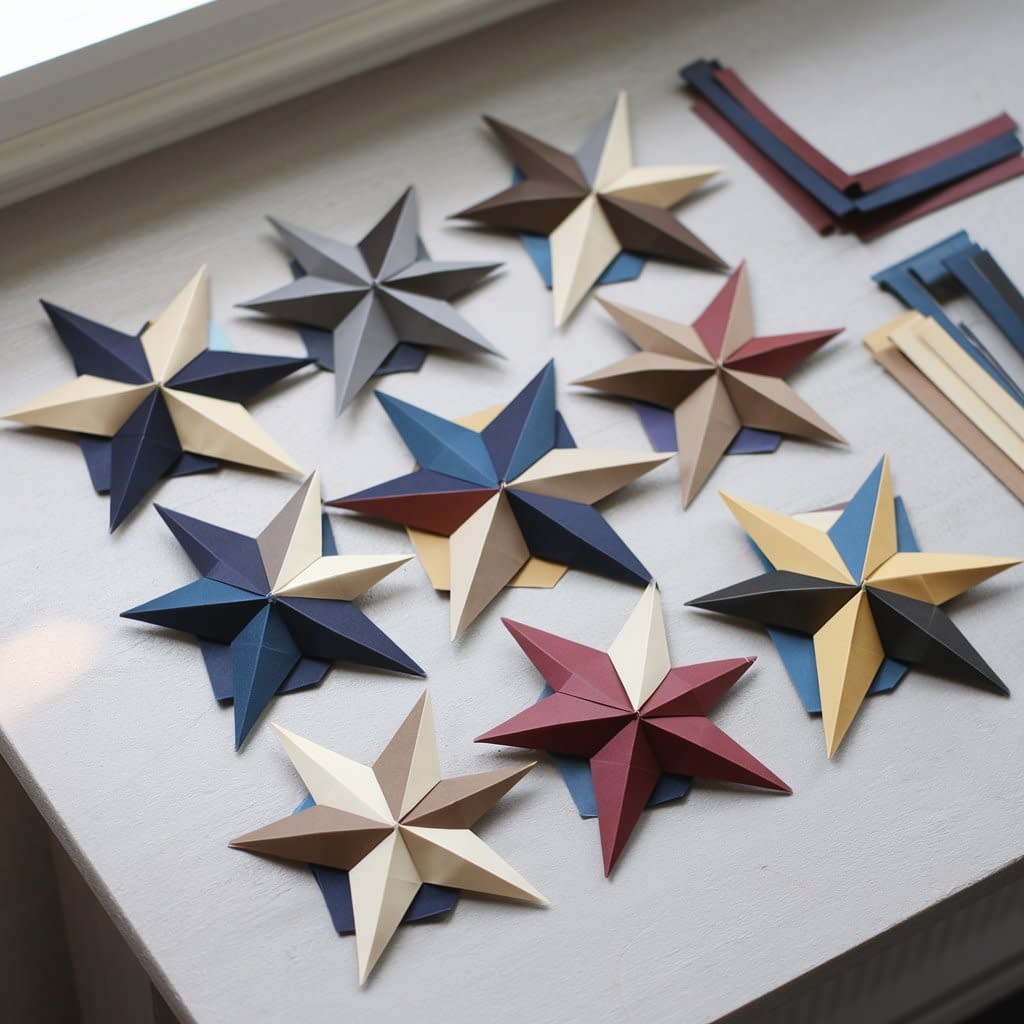
3. 3D Pointed Origami Star

These stars stand out because of their sharp, pointed 3D effect. They look elegant in plain white, but you can also use metallic paper for a festive finish.
Materials:
- Square origami paper (6×6 inches works well)
- Bone folder or ruler (optional for crisp folds)
Step-by-Step Instructions:
- Fold diagonally:
- Start with a square sheet of paper. Fold it diagonally in both directions, then unfold.
- You should now have an “X” crease across the square.
- Form base folds:
- Fold each corner of the square to meet in the center. This creates a smaller diamond shape.
- Press down firmly so all folds are sharp.
- Shape the points:
- Starting with one flap, fold it outward so its tip extends beyond the edge of the diamond.
- Repeat with all flaps — this creates the star’s pointed arms.
- Make it 3D:
- Carefully pinch the center of the star and push it slightly inward.
- The points should naturally rise, giving a dimensional look.
- Final touches:
- Adjust folds if needed to balance the points.
- For a sturdier finish, press with a bone folder along the edges.
Extra Tips:
- Paper choice: Use gold, silver, or glitter paper for holiday decorations.
- Size: Small ones make great gift toppers; large ones look beautiful as hanging décor.
- Precision: Crisp folds are the secret to symmetrical points.
Best Uses:
- Modern minimalist decorations.
- Christmas tree ornaments.
- Party wall accents.
4. Classic 5-Point Origami Star
This is the most iconic star shape and a must-know for origami enthusiasts. Its clean look makes it versatile for many uses.
Materials:
- Square sheet of origami paper
Step-by-Step Instructions:
- Fold diagonally:
- Start with a square paper. Fold diagonally into a triangle.
- Fold again into a smaller triangle.
- Mark the center:
- Unfold to see the crease lines. These help guide your folds.
- Fold corners inward:
- Take one corner and fold it toward the center point.
- Repeat with all corners so the paper looks like a smaller square or star base.
- Form points:
- From each folded flap, fold outward at an angle to create sharp points.
- Overlap slightly so the points meet neatly.
- Secure and flatten:
- Tuck in extra edges to lock the folds.
- Flatten the star gently with your hands.
Extra Tips:
- Color contrast: Use double-sided origami paper for a two-toned star.
- Practice first: It may take a few tries to align all five points evenly.
- Embellish: Add a bead or gem at the center.
Best Uses:
- Gift toppers.
- Scrapbook decorations.
- Hanging garlands.
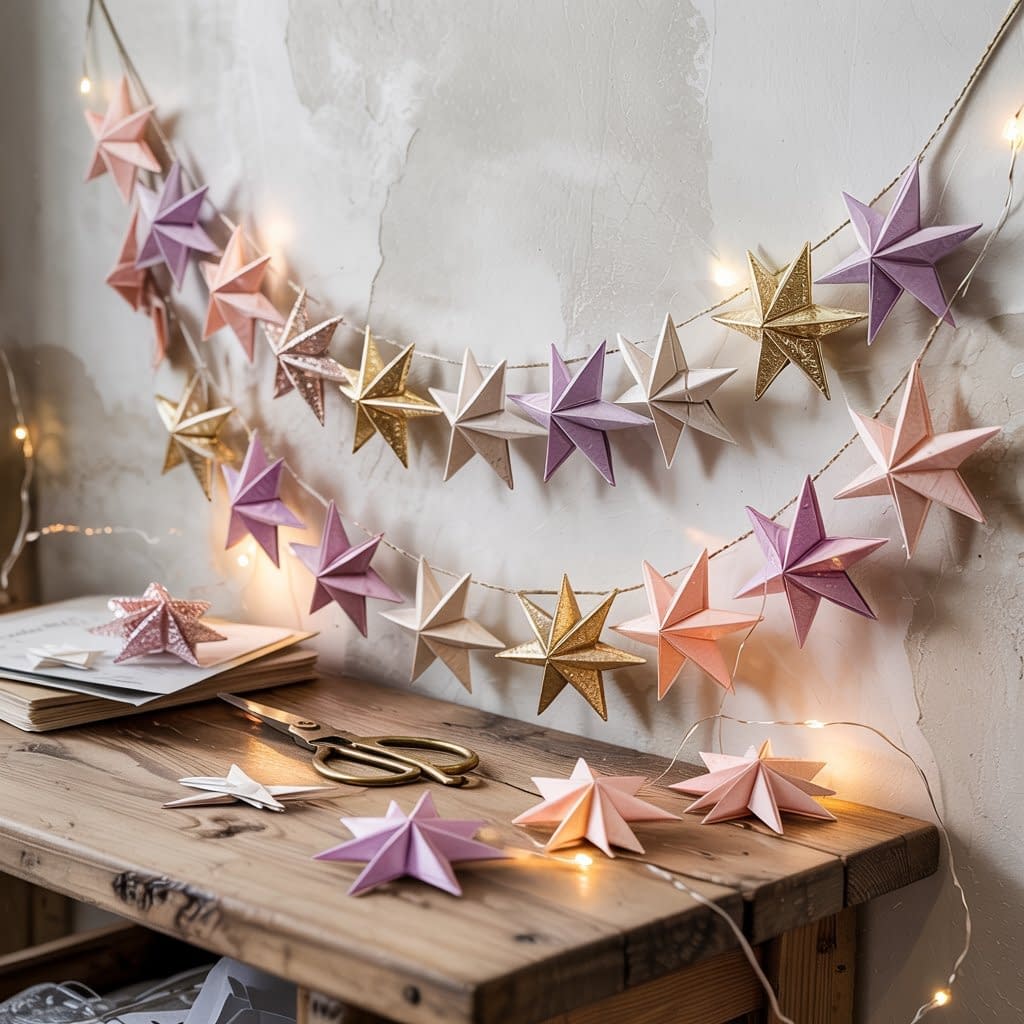
5. Layered Color Origami Star
This star is a combination of multiple folded stars stacked on top of each other. The layered design adds texture and depth, making it look professional.
Materials:
- Several sheets of origami paper in different colors
- Glue stick
Step-by-Step Instructions:
- Make the base stars:
- Fold 3–5 stars using the classic origami star method (tutorial 4).
- Vary the sizes: one large, one medium, and one or two smaller.
- Arrange the layers:
- Place the largest star at the bottom as the base.
- Position the medium star slightly rotated on top, so its points don’t align perfectly.
- Continue stacking the smaller stars, rotating each slightly for a layered effect.
- Glue the layers:
- Apply glue sparingly in the center of each star.
- Press gently to attach, making sure the layers don’t shift.
- Add a centerpiece:
- Place a bead, button, or sequin in the middle to hide glued areas and enhance the look.
Extra Tips:
- Rainbow effect: Use one color for each layer to achieve a rainbow star like in the photo.
- Textured look: Combine metallic and matte papers for contrast.
- Framing: Mount the layered star on cardstock and frame it as wall art.
Best Uses:
- Handmade cards.
- Decorative wall pieces.
- Gifts with a personalized touch.
Variations and Personalization Ideas
Folded paper stars can easily be customized to match any occasion:
- Materials: Try vellum, old maps, book pages, or sheet music.
- Colors: Use monochrome for modern décor or bright colors for festive celebrations.
- Textures: Experiment with textured cardstock or metallic foils.
- Embellishments: Add glitter, sequins, or beads to elevate the design.
- Size Adjustments: Create tiny stars for jewelry or oversized ones for wall art.
Troubleshooting Common Mistakes
Even with simple designs, paper folding can sometimes be tricky. Here’s how to fix common issues:
- Uneven Points: Make sure all folds are sharp and precise by using a bone folder or ruler edge.
- Paper Tearing: Use thinner paper for complex folds; avoid over-creasing.
- Loose Glue Joints: Use clips to hold glued sections until dry.
- Asymmetry: Always measure and cut paper carefully before starting.
Final Thoughts
Folded paper stars are more than just crafts—they’re small pieces of art that combine tradition, creativity, and personal expression. By mastering these 5 folded paper stars, you can decorate your home, create meaningful gifts, and enjoy the calming process of paper folding.
Whether you prefer the simplicity of the lucky star, the boldness of the accordion star, or the elegance of the layered origami star, there’s a design for every mood and occasion. With a little patience and imagination, paper stars can transform everyday spaces into something magical.


