
Handmade crafts have a special charm, especially when they combine creativity with everyday utility. One such project that has gained popularity among both beginners and seasoned crafters is DIY Felt Animal Keychains. These tiny accessories are not only adorable but also highly customizable, making them perfect gifts, personal keepsakes, or even small items to sell at craft fairs.
In this blog post, you’ll learn five full tutorials to create DIY felt animal keychains from start to finish. Each tutorial will walk you through materials, templates, cutting, stitching, and finishing touches. By the end, you’ll have a collection of unique, colorful, and durable keychains that reflect your personal style.
Whether you’re completely new to felt crafts or looking for fresh project ideas, these tutorials provide all the details you need to succeed.
Why Choose Felt for Keychains?
Before diving into the tutorials, let’s look at why felt is one of the best materials for this type of project:
- Easy to work with: Felt doesn’t fray, which means no hemming is required.
- Affordable: High-quality felt sheets are inexpensive and widely available.
- Durable: When stitched properly, felt can withstand everyday use.
- Variety: Felt comes in an array of colors, allowing endless creative possibilities.
- Beginner-friendly: Simple cuts and basic stitches are enough to create professional-looking results.
Essential Materials for DIY Felt Animal Keychains
No matter which animal design you choose, the basic toolkit remains the same:
- Felt sheets in various colors (wool or acrylic felt)
- Embroidery thread in matching or contrasting colors
- Needles (sharp embroidery needles work best)
- Scissors (preferably small, sharp ones for precise cutting)
- Stuffing (polyester fiberfill or cotton)
- Keychain rings and jump rings
- Fabric glue (optional, for attaching small details)
- Paper templates (drawn or printed patterns of animals)
- Pins or clips to hold felt pieces in place
5 Full Tutorials for DIY Felt Animal Keychains
Now let’s explore five complete tutorials, each featuring a different animal design.
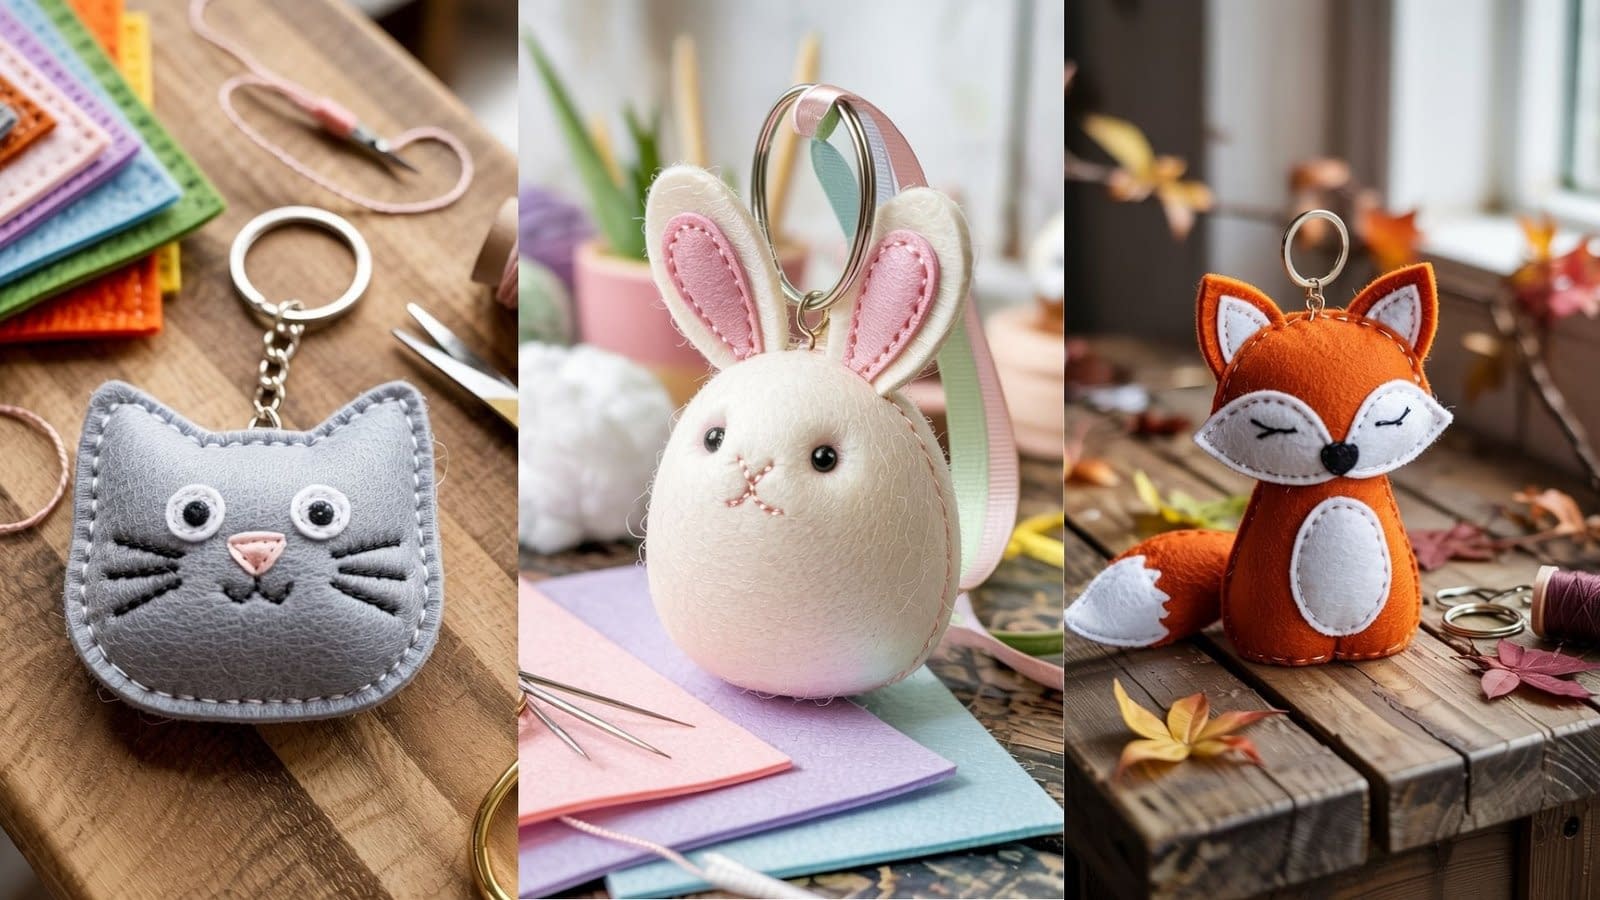
Tutorial 1: Felt Cat Keychain
Perfect for: Cat lovers who enjoy simple but expressive designs.
Step 1: Prepare Your Template
Draw or print a simple cat outline with rounded ears and a slightly oval face. Cut the template and pin it to your felt.
Step 2: Cut Felt Pieces
- Two identical cat face shapes from gray or black felt.
- Small white felt circles for eyes.
- Tiny pink triangle for the nose.
- Black felt whiskers (optional).
Step 3: Assemble the Face
Stitch the eyes, nose, and whiskers onto the front piece using small running stitches. For eyes, add black thread pupils.
Step 4: Stitch and Stuff
Place the two cat face pieces together. Using blanket stitch, sew around the edges, leaving a small gap. Add stuffing to give the face a slightly puffy look, then close the gap.
Step 5: Attach the Keyring
Sew a small felt strip loop at the top, slide in a jump ring, and attach the keychain ring.
Your DIY Felt Cat Keychain is complete—a charming accessory that works well in different color variations.
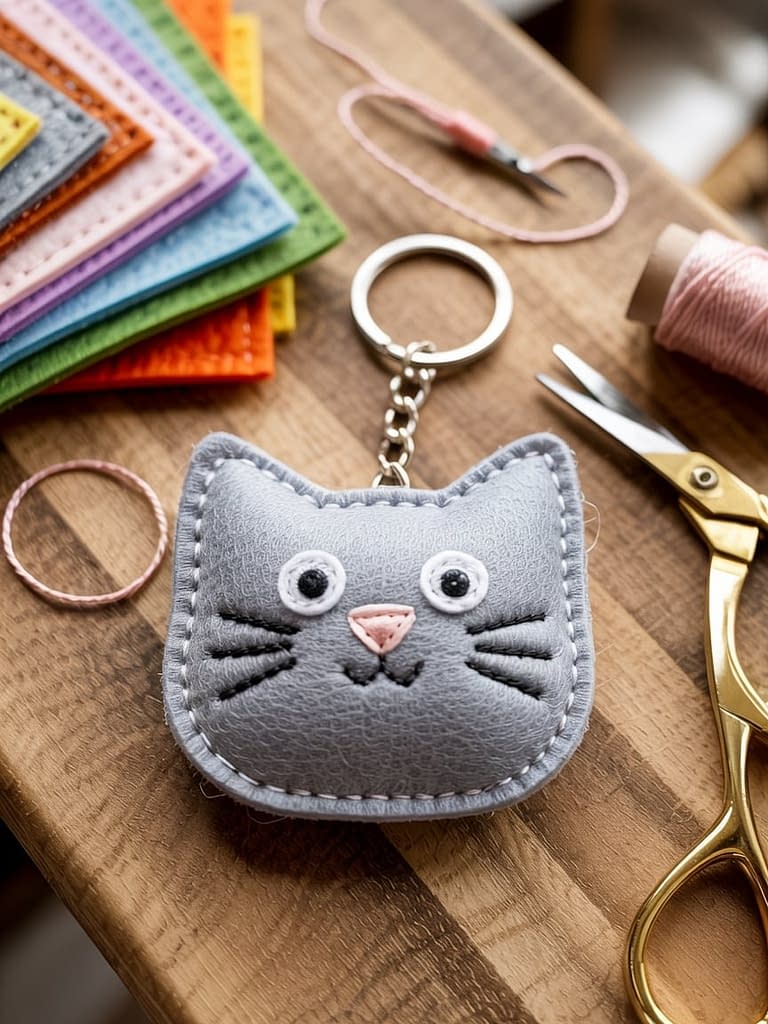
Tutorial 2: Felt Owl Keychain
Perfect for: Beginners who want to practice layering felt shapes.
Step 1: Cut Felt Pieces
- Two owl body shapes in brown felt.
- Belly oval in cream felt.
- Large white felt circles for eyes.
- Small black felt circles for pupils.
- Orange felt triangle for the beak.
- Tiny wings in a darker brown.
Step 2: Decorate the Front
Sew the cream belly onto the owl body front piece. Add the eyes and beak with small stitches. Place the wings slightly outward for a playful look.
Step 3: Stitch the Body
Place the back and front together. Blanket stitch around, leaving the top open. Add a bit of stuffing to plump up the owl.
Step 4: Attach the Keyring
Sew a loop on top with a felt strip and secure your keychain ring.
Your DIY Felt Owl Keychain will look whimsical and charming—great as a gift for children or teachers.
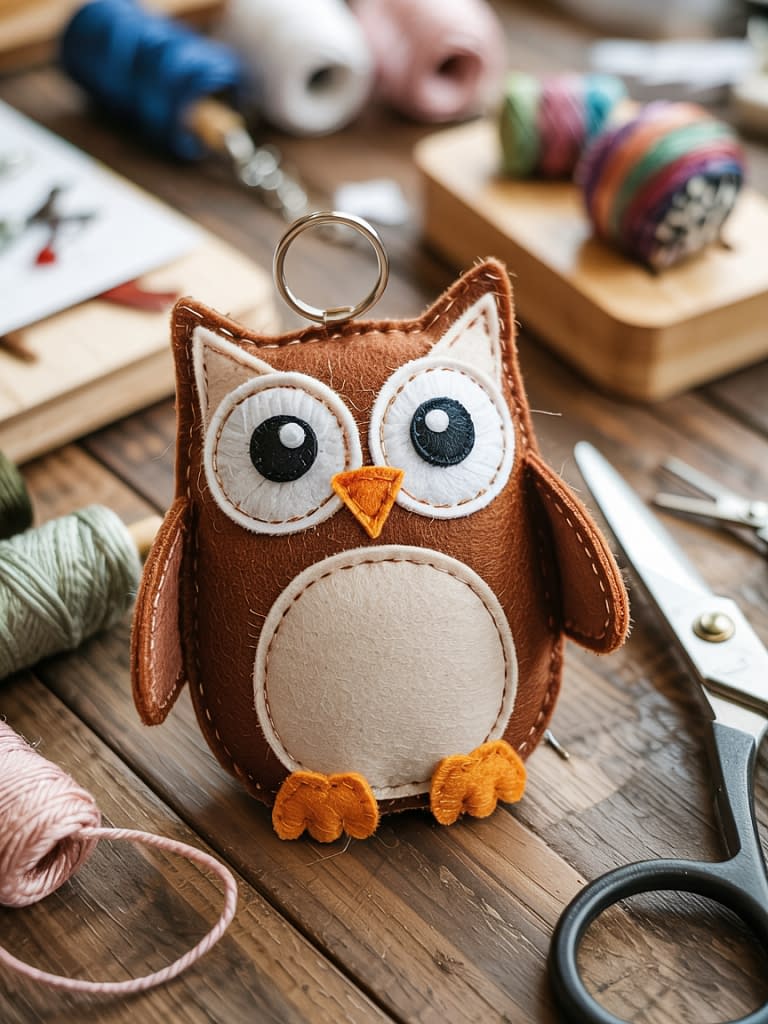
Tutorial 3: Felt Bunny Keychain
Perfect for: Seasonal crafts like Easter or gifts for kids.
Step 1: Cut Felt Shapes
- Two bunny body pieces in white or pastel felt.
- Inner ears in pink.
- Small round tail in white.
Step 2: Add Details
Sew the inner pink ears onto the front body. Stitch on two black bead eyes and a small pink triangle nose.
Step 3: Assemble and Stuff
Sew the two body pieces together with a blanket stitch, leaving the bottom open. Add a small amount of stuffing, then stitch closed. Attach the round felt tail at the back.
Step 4: Attach the Keyring
Use a loop of felt or ribbon at the top to secure the keyring.
Your DIY Felt Bunny Keychain is ready, and you can personalize it with different pastel colors or even tiny bows.
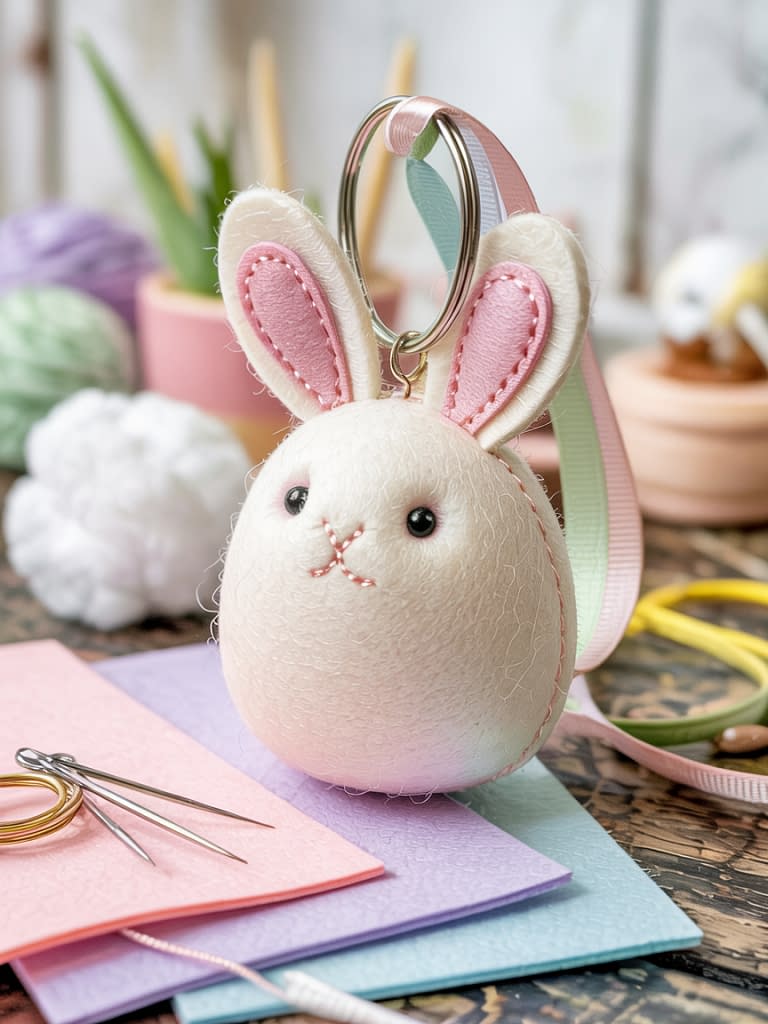
Tutorial 4: Felt Fox Keychain
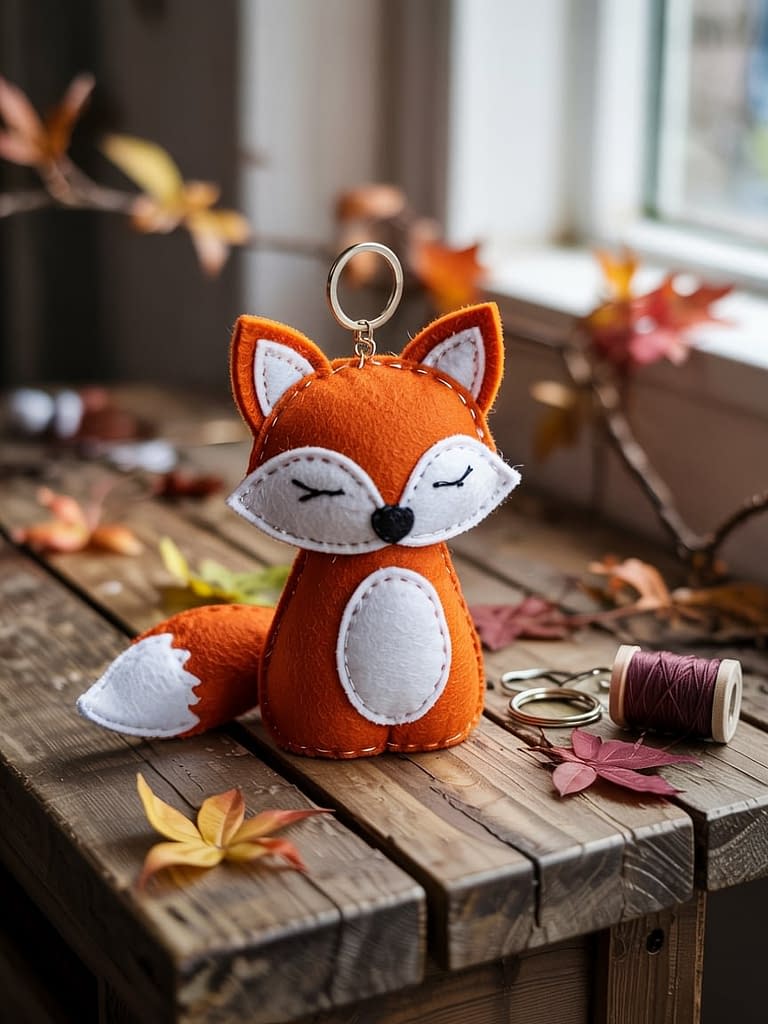
Perfect for: Crafters who like vibrant designs with bold colors.
Step 1: Cut Felt Pieces
- Two fox body shapes in orange felt.
- White felt for face mask and belly.
- Black felt for ear tips and nose.
Step 2: Assemble the Front
Stitch the white face mask onto the front body piece. Add small black beads or thread eyes. Sew the nose in place.
Step 3: Join and Stuff
Stitch the front and back pieces together with blanket stitch, adding stuffing as you go.
Step 4: Attach the Keyring
Sew a loop of orange felt at the top, and attach the keychain ring.
Your DIY Felt Fox Keychain is ready—its striking colors make it a standout accessory.
Tutorial 5: Felt Panda Keychain
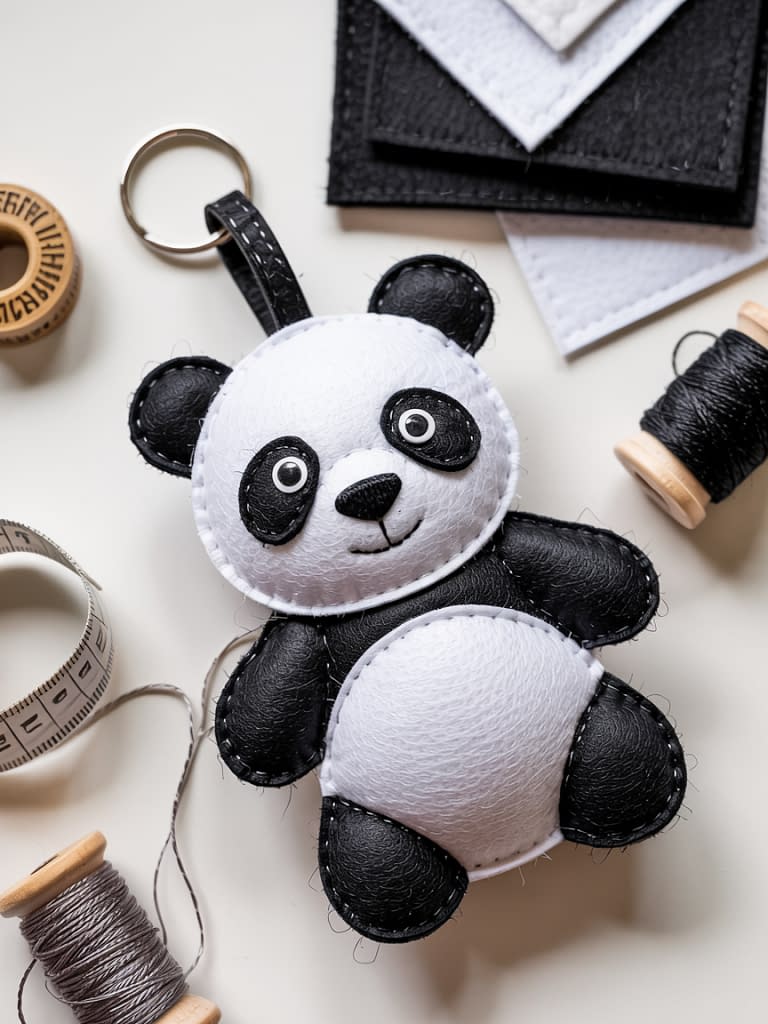
Perfect for: Those who want to create an instantly recognizable animal design.
Step 1: Cut Felt Shapes
- Two panda body shapes in white felt.
- Black felt patches for eyes, ears, and arms.
- Small black oval for the nose.
Step 2: Add Facial Details
Stitch the black eye patches onto the face. Add small white felt circles inside the patches for eyes. Sew on the nose and mouth.
Step 3: Assemble and Stuff
Sew the two body shapes together with a blanket stitch, add stuffing, and close the stitch. Attach arms on each side if desired.
Step 4: Attach the Keyring
Sew a black felt loop on top and add the keychain ring.
Your DIY Felt Panda Keychain is complete—adorable, soft, and perfect for gifting.
Additional Tips for Success
- Use contrasting thread for a playful look, or matching thread for a clean finish.
- Start small: Begin with simple designs before moving to intricate details.
- Keep stuffing light: Overstuffing can distort shapes.
- Customize: Add bows, beads, or tiny accessories to make your keychains unique.
- Durability: Double-knot stitches to ensure the keychain withstands daily use.
Variations and Creative Ideas
Once you’ve mastered these tutorials, you can expand your collection:
- Other animals: Try bears, dogs, whales, or even unicorns.
- Personalized letters: Add initials on the animal’s belly for a custom gift.
- Seasonal themes: Reindeer for Christmas, chicks for Easter, bats for Halloween.
- Mix materials: Use sequins, felt glitter sheets, or embroidery for added flair.
How to Use or Gift DIY Felt Animal Keychains
- Personal accessories: Add them to keys, backpacks, or pouches.
- Party favors: Perfect for birthdays, baby showers, or kids’ parties.
- Gifts: A thoughtful handmade touch for friends and family.
- Craft fairs or Etsy shops: Sell them as part of a handmade collection.
Final Thoughts
Creating DIY Felt Animal Keychains is not just a fun and relaxing activity—it’s also a way to make meaningful, personalized items that people will cherish. With these five full tutorials, you now have the skills to create cats, owls, bunnies, foxes, and pandas, each with its unique charm.


