
Creating a notebook cover may seem like a small detail, but when you use a Cricut machine, the entire experience becomes a form of personal expression. Whether you journal daily, keep track of tasks, take academic notes, or simply enjoy stationery, a custom DIY Cricut Notebook Cover can instantly turn an ordinary notebook into something far more special.
This guide explores five complete notebook cover ideas. Each project is designed to be distinct in style and technique so that you can choose the one that matches your personality, purpose, or aesthetic preference. From layered floral cardstock to faux leather wraps, minimalist vinyl overlays, laminated illustrated covers, and multi-layered SVG scenes, these projects offer a full range of creative approaches.
The tutorial is intentionally long, detailed, and structured. Every project includes exact instructions for:
- Measuring your notebook
- Designing in Cricut Design Space
- Cutting shapes correctly
- Folding and scoring lines
- Using glue precisely
- Attaching and aligning all parts
By the end, you will be able to craft a professional-quality DIY Cricut Notebook Cover using clear steps and thoughtful techniques.
Supplies You Will Need
Before diving into the five projects, prepare the necessary materials. Some supplies overlap across projects, but each project includes its own special materials as well.
- Cricut machine (Maker, Explore, or Joy)
- LightGrip, StandardGrip, or StrongGrip mat depending on material
- Fine-point blade
- Scoring stylus or scoring wheel
- Cardstock (65 lb, 80 lb, or 110 lb)
- Patterned cardstock sheets
- Permanent or removable vinyl sheets
- Faux leather sheets
- Printable cardstock for print-then-cut
- Laminating sheets or adhesive laminate
- Glue stick, double-sided tape, or tacky glue
- Ruler
- Pencil or fabric marker
- Bone folder or flat-edged tool for folding
- Tweezers for handling small cuts
- Transfer tape for vinyl
- Clear contact paper (optional lamination alternative)
- Hole punch, elastic bands, ribbon, or decorative accessories if needed
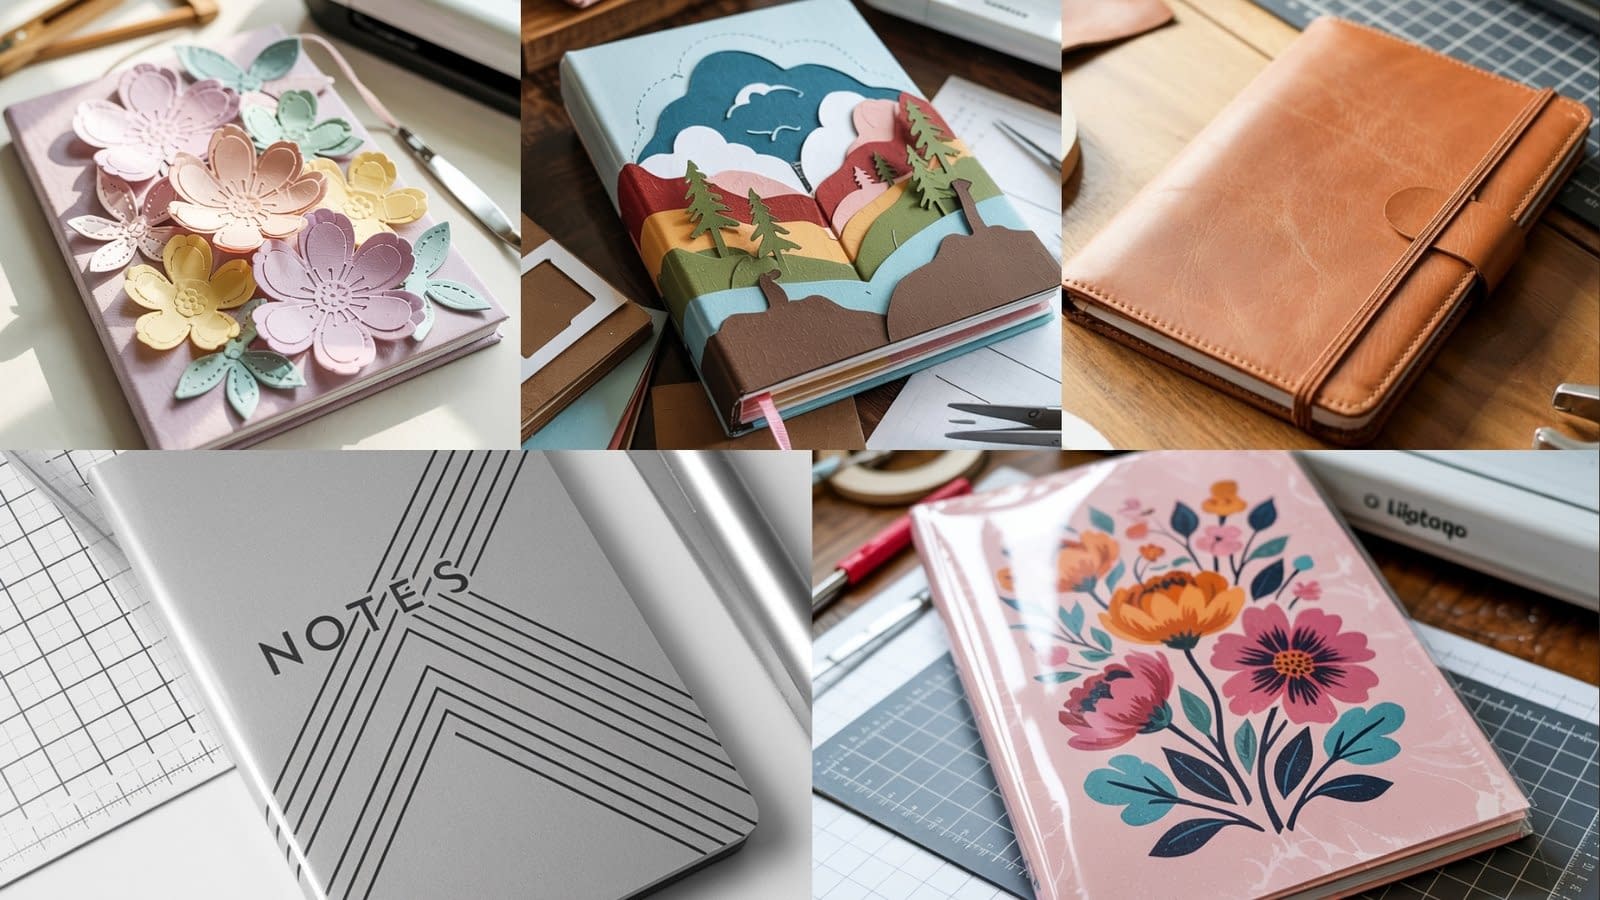
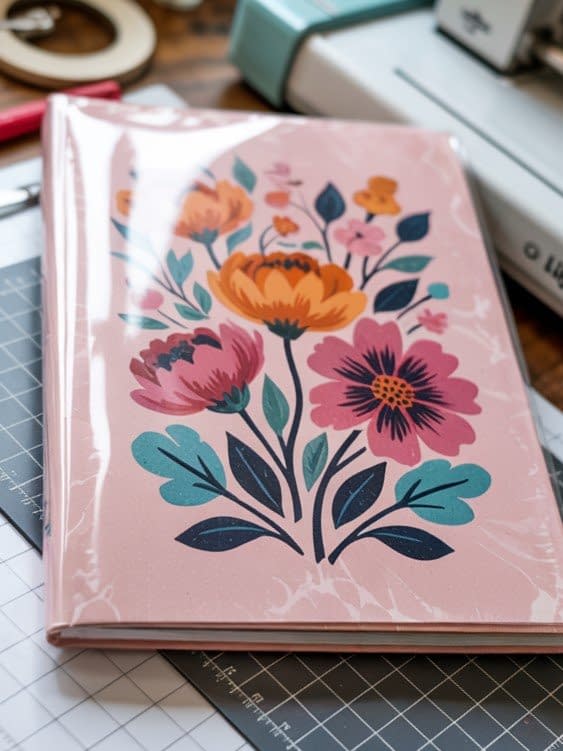
Project 1: Layered Floral Cardstock Notebook Cover
This project uses layered cardstock to create a dimensional floral design. It is perfect for journals, personal diaries, and aesthetic stationery.
Materials for This Project
- Solid cardstock for the base cover
- Patterned cardstock for floral cutouts
- Glue stick or tacky craft glue
- LightGrip mat
- Scoring stylus
- Optional laminate sheet for extra durability
Step 1: Measure Your Notebook
Start by measuring the front and back covers individually. Then measure the spine. To achieve a fully wrapped notebook cover, add 0.5 inches on each side of your final measurement.
For example:
- Notebook cover: 6 x 8 inches
- Spine: 1 inch
- Extra wrapping edges: 0.5 inch on each side
Your cut size becomes:
- Total width = 6 + 1 + 6 + 1 extra inch for folds = 14 inches
- Total height = 8 + 1 extra inch for top/bottom folds = 9 inches
Record these numbers carefully.
Step 2: Designing the Base Cover
- Open Cricut Design Space.
- Add a rectangle and adjust it using the measurements you recorded.
- Add score lines where the spine is located.
- Add additional score lines along the outer edges if you want to fold the flaps inward.
Step 3: Cutting the Floral Layers
- Search for floral cut files or upload your own SVG designs.
- Resize them so they fit nicely on the notebook cover.
- Load your patterned cardstock onto the LightGrip mat.
- Cut at a standard cardstock setting.
- Lift the cut pieces carefully to avoid bending delicate shapes.
Step 4: Assembling the Floral Layers
- Lay the base cover flat on your workspace.
- Arrange the floral pieces until the design feels balanced.
- Apply a small amount of glue to the back of each piece.
Avoid spreading glue to the edges; leave the edges unglued so they slightly lift, creating a three-dimensional look. - Press each piece gently and hold for a few seconds.
- Continue layering flowers and leaves until your design is complete.
Step 5: Folding and Finishing
- Place a ruler directly over each scored line.
- Fold inward slowly along the spine first.
- Use a bone folder to smooth and sharpen the fold.
- Fold the outer flaps inward.
- Apply glue along the inside of each flap and press firmly.
- If you want the cover to last longer, laminate the outside surface.
- Once dry, attach the cover to your notebook using glue or double-sided tape.
This creates a sturdy and elegant DIY Cricut Notebook Cover with a soft, layered appearance.
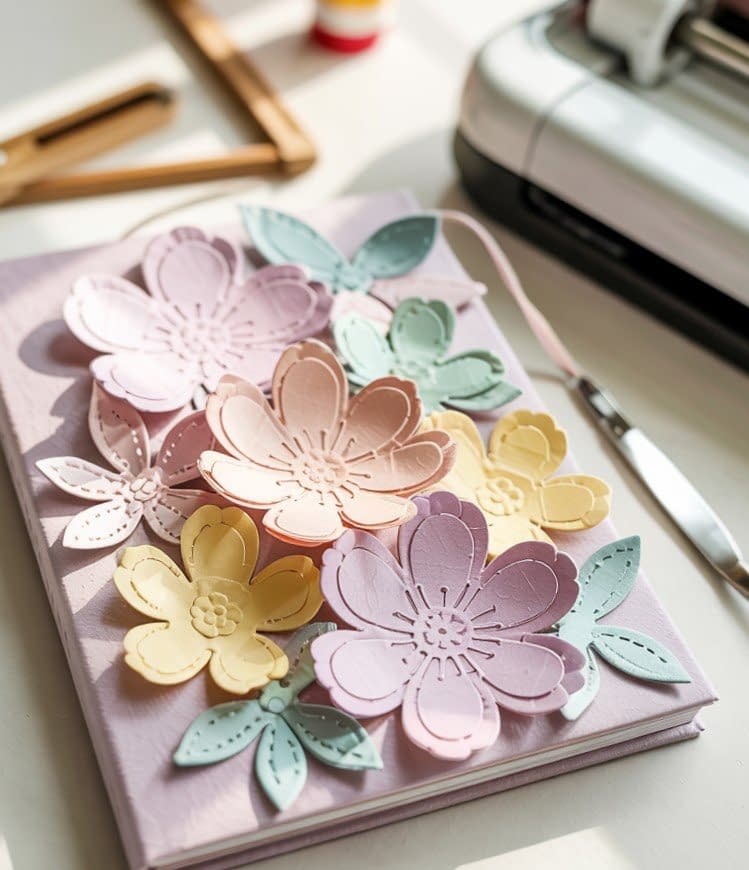
Project 2: Minimalist Vinyl Overlay Notebook Cover
This project is perfect for clean, modern aesthetics. It is simple but polished, ideal for planners, study notebooks, or professional note-taking.
Materials
- Cardstock or plastic notebook cover
- Vinyl (permanent or removable)
- Transfer tape
- Scraper tool
Step 1: Create a Minimalist Design
Minimalist designs typically include simple lines, clean geometric shapes, or single words like:
- Notes
- Ideas
- Planning
- Journal
You can add a small line illustration or minimalist icon to match your notebook’s theme.
Step 2: Cutting the Vinyl
- Place the vinyl on the StandardGrip mat with the colored side facing upward.
- Select vinyl as the material setting.
- After cutting, weed out the excess vinyl slowly.
For thin lines, peel gently to avoid stretching or tearing.
Step 3: Applying Vinyl on the Notebook
- Cut a piece of transfer tape slightly larger than your vinyl design.
- Apply it on top and smooth it with a scraper.
- Lift the design off the backing.
- Position it carefully at the center of your notebook cover.
- Press down and smooth with the scraper.
- Peel the transfer tape back at a sharp angle.
The result is a crisp, professional-looking DIY Cricut Notebook Cover with a modern finish.
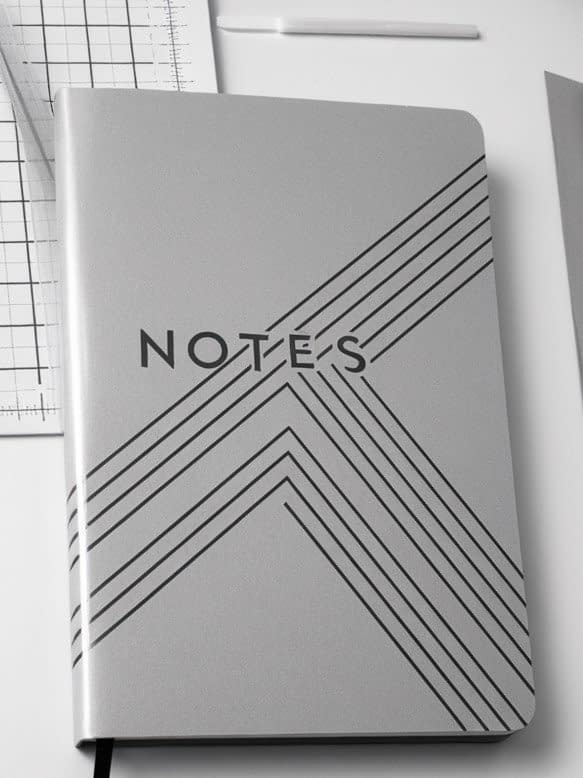
Project 3: Faux Leather Wrap Notebook Cover
This design gives your notebook a high-end, durable, and elegant finish. Faux leather works beautifully with a Cricut machine and lasts for years.
Materials
- Faux leather sheet
- StrongGrip mat
- Masking tape
- Fabric or fine-point blade (depending on thickness)
- Elastic band or ribbon
- Hole punch
Step 1: Measure and Design the Wrap
A wrap-style notebook cover includes extra width so the flap can overlap the notebook front.
- Measure the notebook height and width.
- Add about 2 to 3 inches to the total width for the wrap-over flap.
- In Cricut Design Space, draw a large rectangle using your dimensions.
- Add small slit lines if you want to insert an elastic band closure.
Step 2: Cutting the Faux Leather
- Place the faux leather facedown on the StrongGrip mat.
- Use masking tape around the edges to secure it.
- Select the appropriate material setting based on your leather thickness.
- Cut slowly to avoid jagged edges.
Step 3: Adding a Closure
If using elastic:
- Punch small holes on the wrap side.
- Thread a piece of elastic through the hole and create a knot inside to hold it.
If using ribbon:
- Glue or stitch the ribbon onto the inside of the leather near the spine.
- Make sure the ribbon length is enough to tie securely when wrapped.
Step 4: Attaching the Notebook
- Apply glue to the front and back of your notebook cover.
- Place the notebook onto the faux leather cutout.
- Press down firmly and smooth the surface to remove any air pockets.
- Let everything dry fully before using the cover.
This results in a premium-quality DIY Cricut Notebook Cover with a soft, elegant feel.
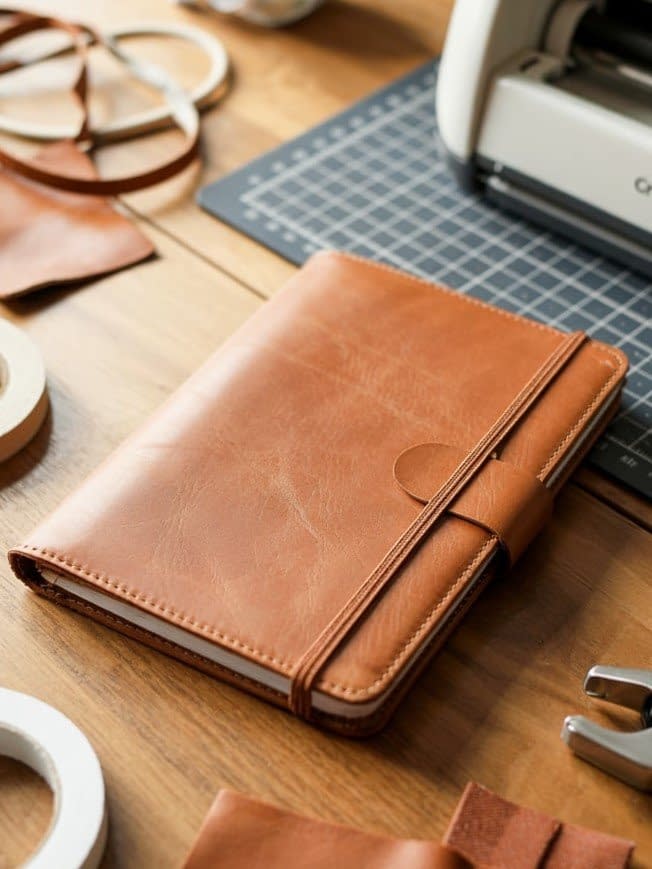
Project 4: Laminated Illustrated Cover
This project is perfect if you enjoy artwork, printed graphics, or themed illustrations. The laminated surface adds protection and makes the notebook long-lasting.
Materials
- Printable cardstock
- Printer
- Laminating pouch and laminator, or adhesive laminate
- Glue or double-sided tape
- Scoring stylus
Step 1: Design Your Illustrated Cover
- Choose or create an illustration.
- Upload it to Cricut Design Space and set it as a Print Then Cut image.
- Adjust the size based on your notebook dimensions.
- Add score lines if you want folding flaps.
Step 2: Print and Cut
- Print the design on high-quality cardstock.
- Place it on a LightGrip mat.
- Allow Cricut to scan and cut precisely.
Step 3: Lamination
If using a laminator:
- Place the printed cover inside a laminating pouch.
- Run it through the laminator once.
- Trim edges if needed.
If using adhesive laminate:
- Peel the laminate backing slowly from one corner.
- Press it onto the illustration gradually to prevent air bubbles.
- Smooth with a ruler.
Step 4: Folding and Assembly
- Fold along the score lines carefully.
- Reinforce folds with a bone folder.
- Apply glue or tape along the flaps.
- Wrap the laminated cover around the notebook and secure tightly.
The result is a custom illustrated DIY Cricut Notebook Cover that is water-resistant and durable.
Project 5: Layered SVG Scene Notebook Cover
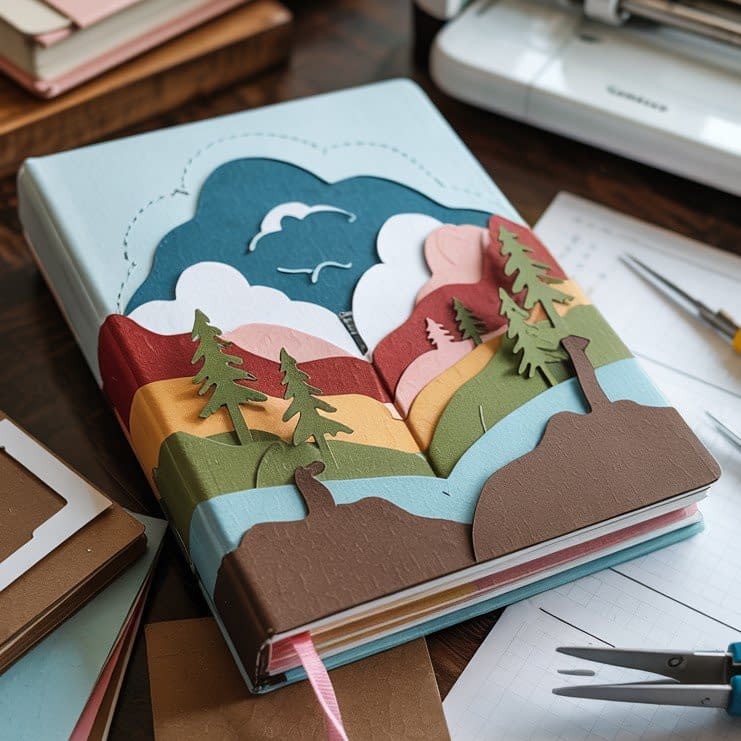
This is the most artistic and visually impressive project. Layered SVG scenes create depth and dimension using multiple cardstock layers stacked together.
Materials
- Multiple sheets of colored cardstock
- Glue
- LightGrip mat
- Tweezers
Step 1: Choose a Layered SVG Scene
Choose designs such as:
- Forest landscapes
- City skylines
- Mountain scenes
- Book-themed dioramas
These SVGs typically include several layers, each cut from a different color.
Step 2: Cutting the Layers
- Upload the file to Cricut Design Space.
- Separate the layers by color.
- Cut each color sheet individually.
- Keep the layers organized to avoid mixing them up.
Step 3: Building the Layered Scene
- Start with the background layer on your workspace.
- Apply glue only on areas with solid contact.
- Place the second layer on top and align edges carefully.
- Continue stacking layers, one by one.
- Use tweezers for small or delicate details.
- Let the entire piece dry completely.
Step 4: Attach the Scene to the Cover
- Cut a base cover using solid cardstock.
- Glue the layered scene to the front center.
- Press down gently and let it dry.
- Optional: Laminate the cover to protect the details.
This notebook cover becomes a miniature work of art with dimensional layering.
Tips for Creating the Perfect Cricut Notebook Cover
Use the Appropriate Mat
- LightGrip for cardstock
- StandardGrip for vinyl
- StrongGrip for faux leather
Keep Blades Clean
Material fibers can dull blades quickly. A quick dip in aluminum foil helps sharpen slightly and clear debris.
Use Minimal Glue
Too much glue can warp paper or cause wrinkles. Always apply a thin, even layer and press lightly.
Make Clean Folds
Use a bone folder to create straight, crisp folds along score lines.
Test Cut New Materials
Always perform a test cut on a small shape before cutting large pieces.
Conclusion
Crafting your own DIY Cricut Notebook Cover is both enjoyable and practical. Each of the five projects in this guide offers its own set of techniques, materials, and creative opportunities. Whether you choose a minimalist vinyl style, a layered cardstock floral design, a stylish faux leather wrap, a laminated illustration, or a multi-layered SVG scene, your notebook will transform into something personal and unique.
These five ideas are versatile and customizable, making them perfect for personal use, thoughtful gifts, classroom tools, or even craft shop inventory. With careful measuring, precise cutting, thoughtful gluing, and clean folding, you can create notebooks that feel professionally made yet distinctly handcrafted.


