
Knitting your first scarf is one of the most rewarding ways to begin your knitting journey. Scarves are simple, versatile projects that help you practice basic stitches while creating something warm, cozy, and practical. If you’re new to knitting, a scarf is the perfect project because it doesn’t require shaping or complex techniques—you just knit row after row until you have the length you want.
In this guide, I’ll walk you through 5 easy beginner knit scarf patterns. Each pattern comes with a detailed list of materials, step-by-step instructions, and helpful notes to make sure you don’t feel lost at any stage. Even if you’ve never held knitting needles before, by the end of these tutorials, you’ll be able to make a beautiful handmade scarf you can wear proudly or gift to someone special.
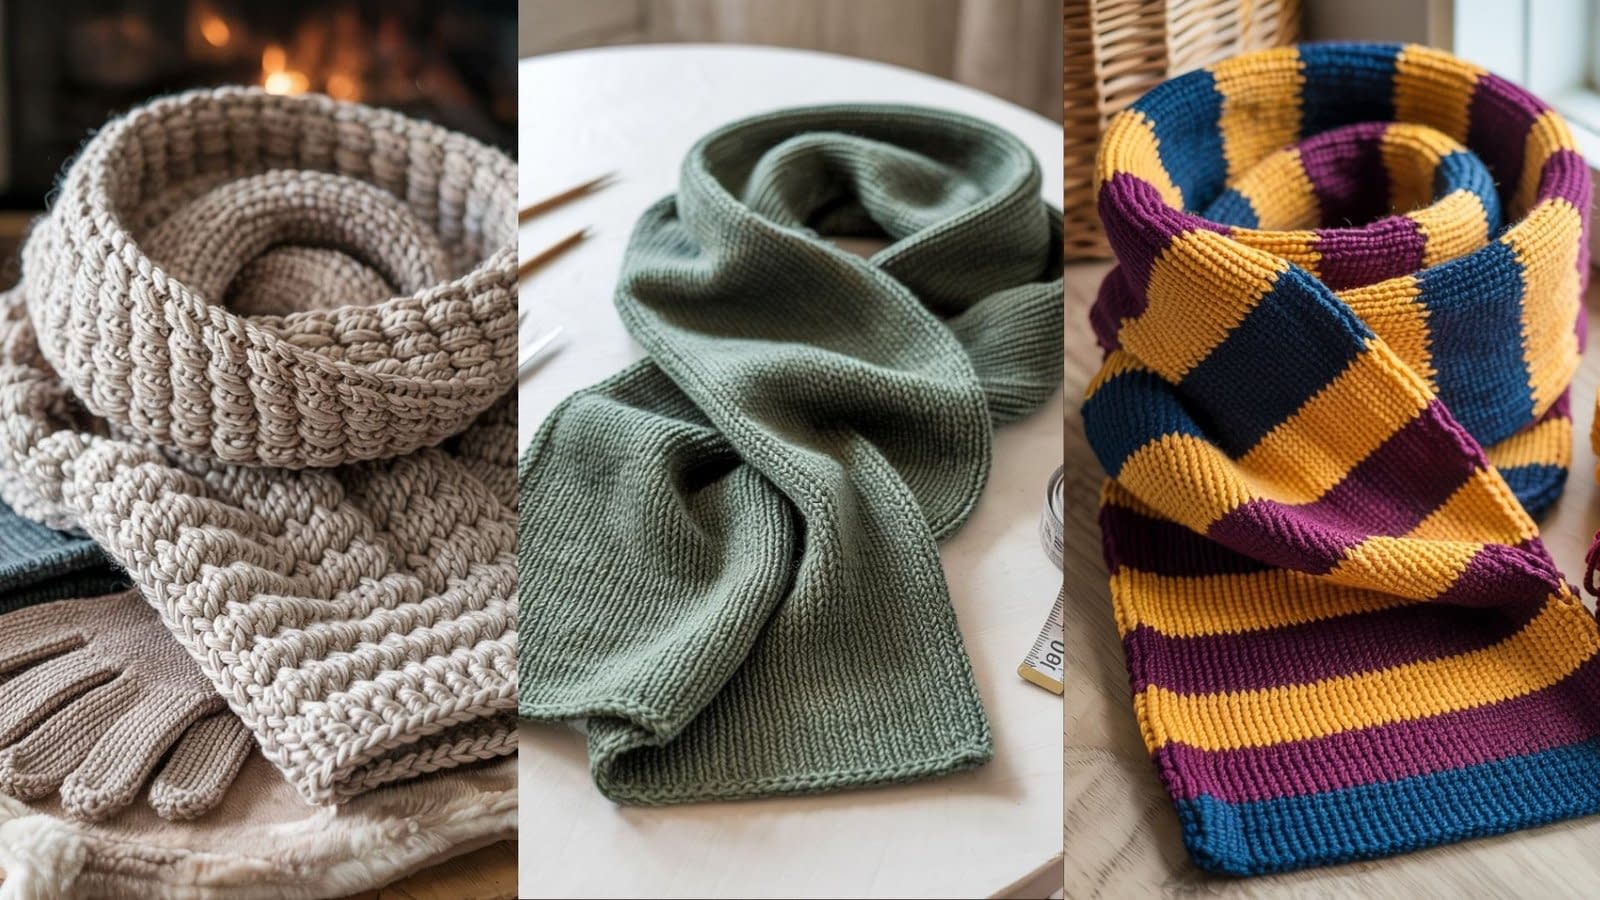
1. Garter Stitch Scarf (The Ultimate Beginner’s Pattern)

Skill Level: Absolute Beginner (first knitting project)
Finished Size: About 7″ wide × 60″ long (adjustable)
Materials
- Worsted weight (#4) yarn, about 300–400 yards (choose soft wool or acrylic blend)
- US size 8 (5.0 mm) knitting needles
- Yarn needle for weaving in ends
- Scissors
- Measuring tape
Notes
- This scarf uses only the knit stitch. Every row is knitted, which creates a squishy fabric with visible ridges called garter stitch.
- Garter stitch lies flat (doesn’t curl), making it ideal for beginners.
- To keep edges neat, try slipping the first stitch of every row knitwise (optional).
Instructions — Step by Step
Step 1: Cast On
- Using the long-tail cast-on, cast on 30 stitches. This makes a medium-width scarf.
- If you want it wider, cast on 35–40 stitches; narrower, try 20–25 stitches.
Step 2: Begin Knitting Rows
- Row 1: Knit every stitch across the row.
- Row 2: Turn your work, knit every stitch across.
- Repeat this process—knit every row—until the scarf measures your desired length.
Step 3: Keep Your Edges Neat
- Tip: If edges look bumpy, slip the first stitch of each row knitwise with yarn in back, then knit the rest of the row.
Step 4: Measure Your Scarf
- Continue knitting until your scarf reaches about 60 inches (5 feet).
- Hold it up against yourself or a friend to test the length.
Step 5: Bind Off
- Knit 2 stitches.
- Pass the first stitch over the second and off the needle.
- Knit 1 more, pass the previous stitch over.
- Continue until 1 stitch remains. Cut yarn, pull through.
Step 6: Finishing Touches
- Weave in loose yarn ends using your yarn needle.
- Block lightly by laying flat and spritzing with water for even tension.
Optional Variations
- Switch yarn colors every 20 rows for stripes.
- Add fringe to each end by cutting 6″ yarn pieces and knotting them.
2. Ribbed Knit Scarf (Stretchy & Textured)

Skill Level: Beginner
Finished Size: About 7″ wide × 60″ long
Materials
- Worsted or aran weight yarn, 350–450 yards
- US size 8 (5.0 mm) needles
- Yarn needle & scissors
Notes
- Ribbing is made by alternating knit and purl stitches.
- This creates vertical “ribs” that are stretchy and reversible.
- Perfect for scarves because it looks good on both sides.
Instructions — Step by Step
Step 1: Cast On
- Cast on 32 stitches. (Make sure it’s a multiple of 4 for K2, P2 ribbing.)
Step 2: Work in Ribbing Pattern
- Row 1: K2, P2 across the row.
- Row 2: Repeat K2, P2 across.
- Continue repeating this exact row for the entire scarf.
Step 3: Keep the Pattern Consistent
- Always knit the knit stitches (the smooth “V” shape) and purl the purl stitches (the bump).
- This helps you avoid mistakes when putting your knitting down.
Step 4: Knit Until Desired Length
- Continue the ribbing pattern until the scarf measures 60 inches long.
- Hold it up—ribbing stretches, so don’t worry if it looks narrower on the needles.
Step 5: Bind Off in Pattern
- To finish neatly, bind off while following the rib pattern:
- Knit the knit stitches, purl the purl stitches as you bind off.
Step 6: Finishing Touches
- Weave in all loose ends.
- Block if needed to even out tension, though ribbing naturally lies flat.
Optional Variations
- Try K1, P1 ribbing for a tighter look.
- Use two colors and alternate every 10 rows for striped ribbing.
3. Seed Stitch Scarf (Textured & Stylish)

Skill Level: Beginner–Intermediate
Finished Size: About 7″ wide × 65″ long
Materials
- Worsted or chunky yarn, 400–500 yards
- US size 9 (5.5 mm) needles
- Yarn needle & scissors
Notes
- Seed stitch alternates knit and purl stitches, row by row.
- Creates a beautiful bumpy texture that looks the same on both sides.
- Takes more focus than garter stitch but is very beginner-friendly.
Instructions — Step by Step
Step 1: Cast On
- Cast on 31 stitches (an odd number is required for seed stitch).
Step 2: Establish Seed Stitch
- Row 1: K1, P1 across, ending with K1.
- Row 2: Begin with P1, then K1, P1 across.
Step 3: Recognize the Pattern
- Always knit the opposite of what you see:
- If the stitch below looks like a knit “V,” purl it.
- If it looks like a purl bump, knit it.
Step 4: Continue Stitching
- Repeat rows 1 and 2 until the scarf measures about 65 inches long.
Step 5: Bind Off in Pattern
- Bind off following the same seed stitch sequence for a polished edge.
Step 6: Finishing Touches
- Weave in yarn ends carefully.
- Block lightly to smooth the texture.
Optional Variations
- Make wider scarves by casting on more stitches (odd number only).
- Use variegated yarn for a beautiful textured look.
4. Chunky Knit Scarf (Quick & Cozy)

Skill Level: Absolute Beginner
Finished Size: About 8″ wide × 55″ long
Materials
- Super bulky (#6) yarn, about 200–250 yards
- US size 13 (9.0 mm) knitting needles
- Yarn needle & scissors
Notes
- Super bulky yarn knits up fast—perfect for last-minute gifts.
- Garter stitch with chunky yarn makes a bold, squishy fabric.
Instructions — Step by Step
Step 1: Cast On
- Cast on 18 stitches for a wide, cozy scarf.
Step 2: Knit Every Row
- Row 1: Knit across.
- Row 2: Knit across again.
- Continue knitting every row in garter stitch.
Step 3: Monitor the Length
- Knit until the scarf measures 55 inches or desired length.
Step 4: Bind Off
- Knit bind off across all stitches.
Step 5: Finishing Touches
- Weave in loose yarn ends with a yarn needle.
- Because chunky yarn can stretch, avoid heavy blocking.
Optional Variations
- Add fringe to each end for extra coziness.
- Use a blend of two yarns together for a marled effect.
5. Striped Beginner Scarf (Play with Color)

Skill Level: Beginner
Finished Size: About 7″ wide × 65″ long
Materials
- Worsted weight yarn in 2–3 colors (about 350–450 yards total)
- US size 8 (5.0 mm) knitting needles
- Yarn needle & scissors
Notes
- Teaches beginners how to change yarn colors.
- Stripes add fun visual interest without complicating the stitches.
Instructions — Step by Step
Step 1: Cast On
- Cast on 30 stitches.
Step 2: Knit in First Color
- Rows 1–20: Knit every stitch using Color A.
Step 3: Switch to Next Color
- Drop Color A, leaving a 6″ tail.
- Join Color B by knitting with the new yarn.
- Rows 21–40: Knit every stitch with Color B.
Step 4: Add More Stripes
- Switch to Color C (or return to A) after 20 rows.
- Continue alternating colors every 20 rows until scarf measures 65 inches.
Step 5: Bind Off
- Knit bind off with your last color choice.
Step 6: Weave in Ends Neatly
- Use a yarn needle to tuck tails inside the edge.
- Tip: Always change colors at the start of a new row for clean stripes.
Optional Variations
- Make wide bold stripes or thin narrow stripes.
- Use gradient yarn for self-striping effects.
Conclusion
Knitting a scarf is one of the easiest and most satisfying projects for beginners. Each of these 5 patterns teaches you something new—whether it’s the simple comfort of garter stitch, the stretch of ribbing, the texture of seed stitch, the speed of chunky yarn, or the fun of color stripes.
By completing these scarves, you’ll gain confidence in reading patterns, practicing tension, switching colors, and finishing your projects neatly. Plus, you’ll have five cozy scarves to wear, gift, or show off as proof of your new knitting skills.


