
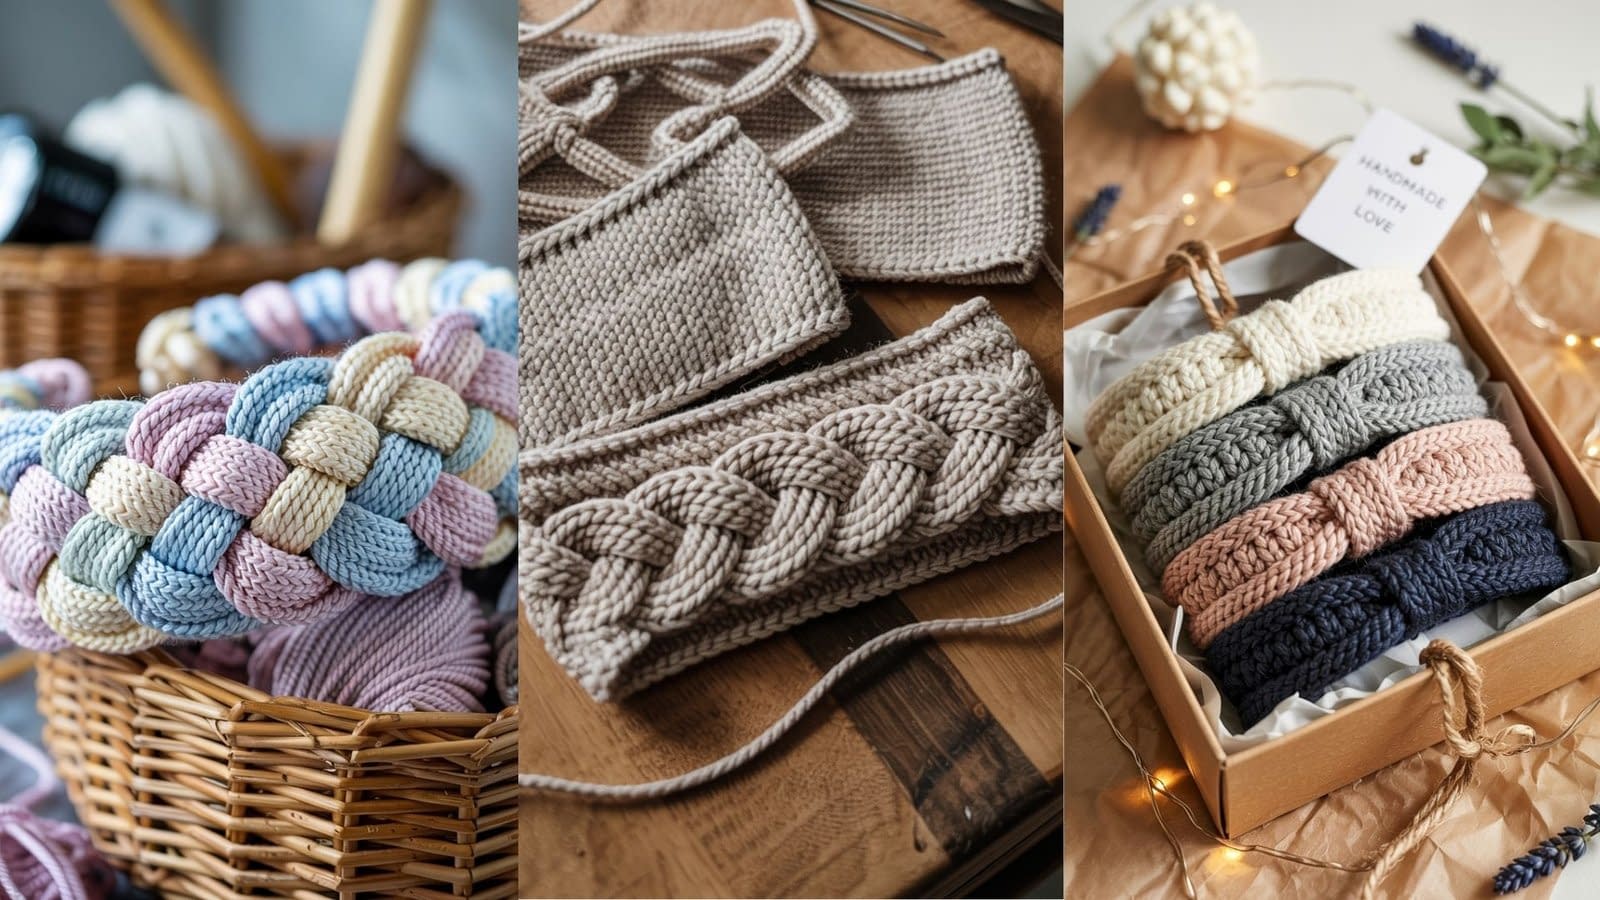
Headbands are one of the most versatile accessories you can knit. Whether you want something cozy for winter, lightweight for summer, or simply a stylish piece to keep your hair in place, knit headbands are quick, practical, and endlessly customizable.
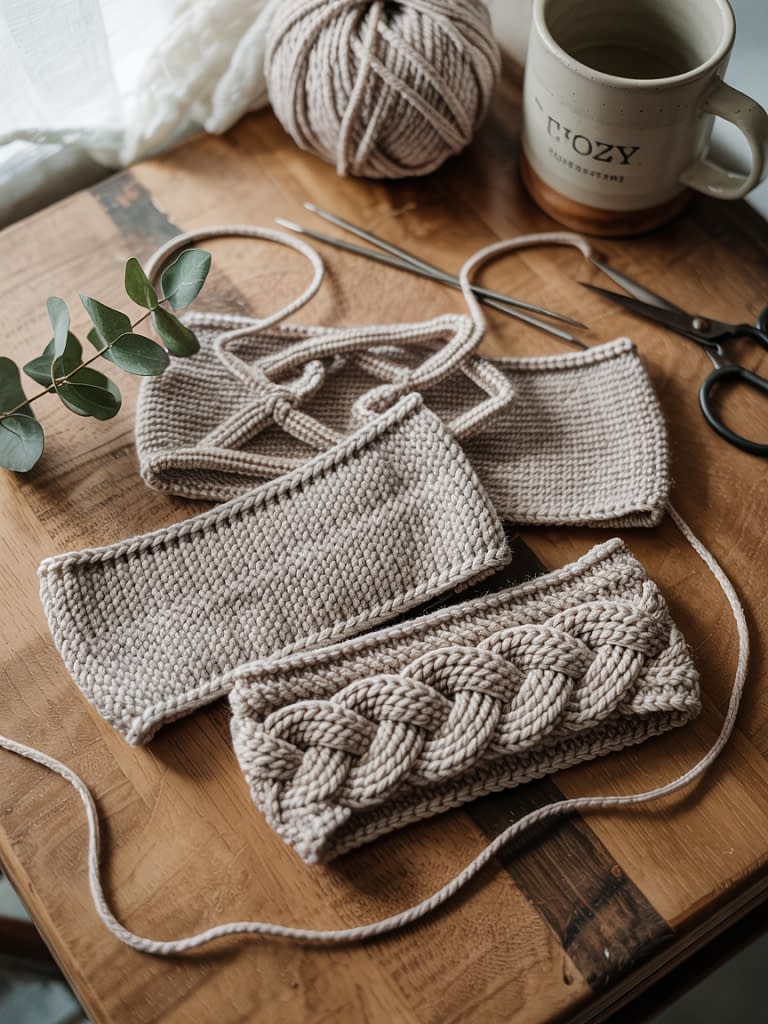
This tutorial walks you through 4 easy knit headband patterns, each with step-by-step instructions, clear material lists, and customization ideas. From a simple garter stitch band to a textured cable design, you’ll find a project here that matches your skill level and personal style.
Pattern 1: Classic Garter Stitch Headband (Beginner-Friendly)
Materials
- Worsted weight yarn (cotton or acrylic blend recommended) – approx. 50 g
- US size 8 (5 mm) knitting needles
- Yarn needle for weaving in ends
- Scissors
Gauge
16 stitches and 24 rows = 4 inches in garter stitch
Finished Size
Width: 2.5 inches
Length: 18–20 inches (to fit average adult head circumference, stretches slightly)
Pattern Overview
This is the easiest knit headband you’ll ever make — perfect for beginners. Worked flat in garter stitch (knit every row), the fabric is stretchy, soft, and has a timeless handmade charm.
Step-by-Step Instructions
- Cast On: Cast on 12 stitches.
- Body: Knit every row until your work measures about 18 inches long (or length needed to fit your head snugly).
- Bind Off: Bind off all stitches loosely.
- Seam: Bring both short ends together and sew using mattress stitch or whip stitch.
- Finishing Touches: Weave in all yarn ends neatly.
Customization Ideas
- Add a decorative button where the seam joins.
- Use variegated yarn for a colorful striped effect.
- Knit wider (cast on 16–20 stitches) for a chunky winter headband.
Pattern 2: Twisted Rib Headband (Beginner to Intermediate)
Materials
- DK weight yarn – approx. 60 g
- US size 6 (4 mm) knitting needles
- Yarn needle, scissors
Gauge
22 stitches and 30 rows = 4 inches in 2×2 rib stitch
Finished Size
Width: 3 inches
Length: 18–19 inches
Pattern Overview
This ribbed headband features a stylish twist detail in the center. The stretchy ribbing makes it a great fit for all head sizes, while the twist adds an elevated look with minimal effort.
Step-by-Step Instructions
- Cast On: Cast on 20 stitches.
- Rib Pattern: Work in 2×2 rib (knit 2, purl 2) across all rows until the piece measures 18 inches.
- Create the Twist:
- Bind off, leaving a long tail.
- Fold the strip in half lengthwise, overlapping the ends in a crisscross (like an X).
- Sew the edges together through all layers.
- Finishing: Turn the seam inside — the twist will sit beautifully at the front.
Customization Ideas
- Use chunky yarn for a bold, cozy version.
- Add a metallic yarn strand alongside the main yarn for a shimmery look.
- Adjust the width by casting on fewer (narrow band) or more stitches (extra wide).
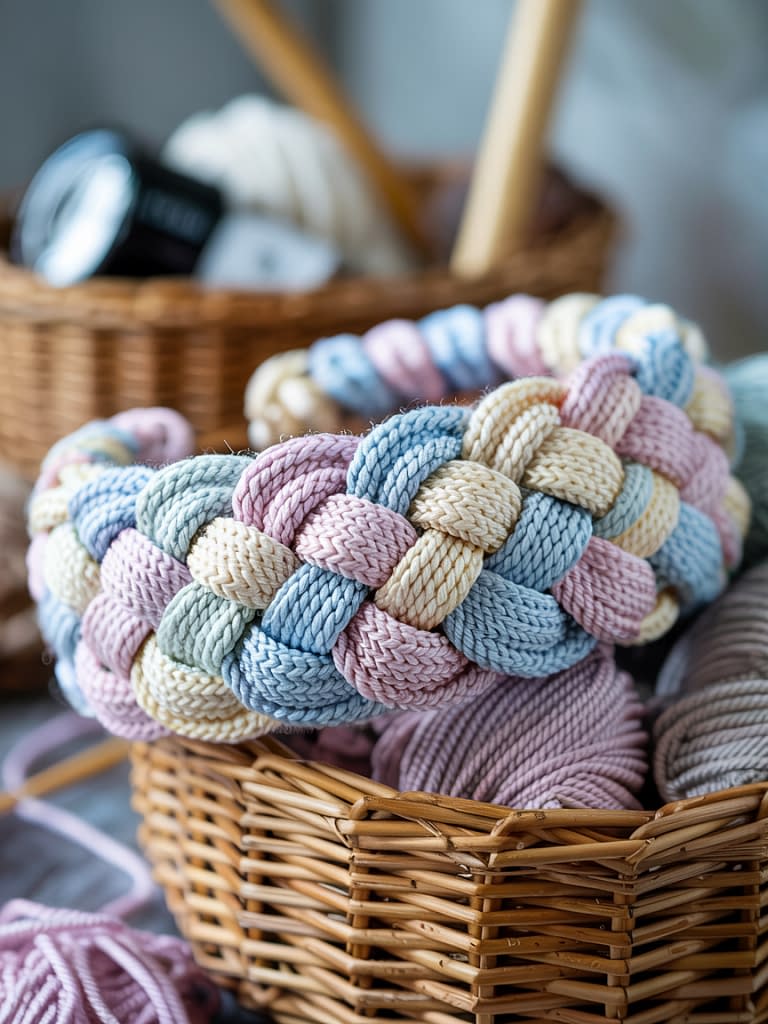
Pattern 3: Braided Knit Headband (Intermediate)
Materials
- Bulky weight yarn – approx. 70 g
- US size 10 (6 mm) knitting needles
- Yarn needle, scissors
Gauge
14 stitches and 20 rows = 4 inches in stockinette stitch
Finished Size
Width: 3.5 inches
Length: 18 inches
Pattern Overview
This pattern mimics the look of a braid by knitting three separate strips and then braiding them together. It’s fun, trendy, and perfect for knitters who want something beyond the basics.
Step-by-Step Instructions
- Cast On Strips:
- Cast on 8 stitches. Work in stockinette stitch (knit 1 row, purl 1 row) until piece measures 18 inches. Bind off.
- Repeat for a total of 3 strips.
- Braid: Lay the three strips side by side and braid them loosely until the end.
- Secure Ends: Sew the three strips together at both ends to hold the braid.
- Join: Sew ends together to form a loop.
Customization Ideas
- Make it multicolored by knitting each strip in a different shade.
- Use garter stitch instead of stockinette for a squishier texture.
- Add beads or charms to the braid for a boho look.
Pattern 4: Cable Knit Headband (Intermediate to Advanced)
Materials
- Aran weight yarn – approx. 80 g
- US size 8 (5 mm) knitting needles
- Cable needle
- Yarn needle, scissors
Gauge
18 stitches and 26 rows = 4 inches in cable pattern
Finished Size
Width: 4 inches
Length: 18 inches
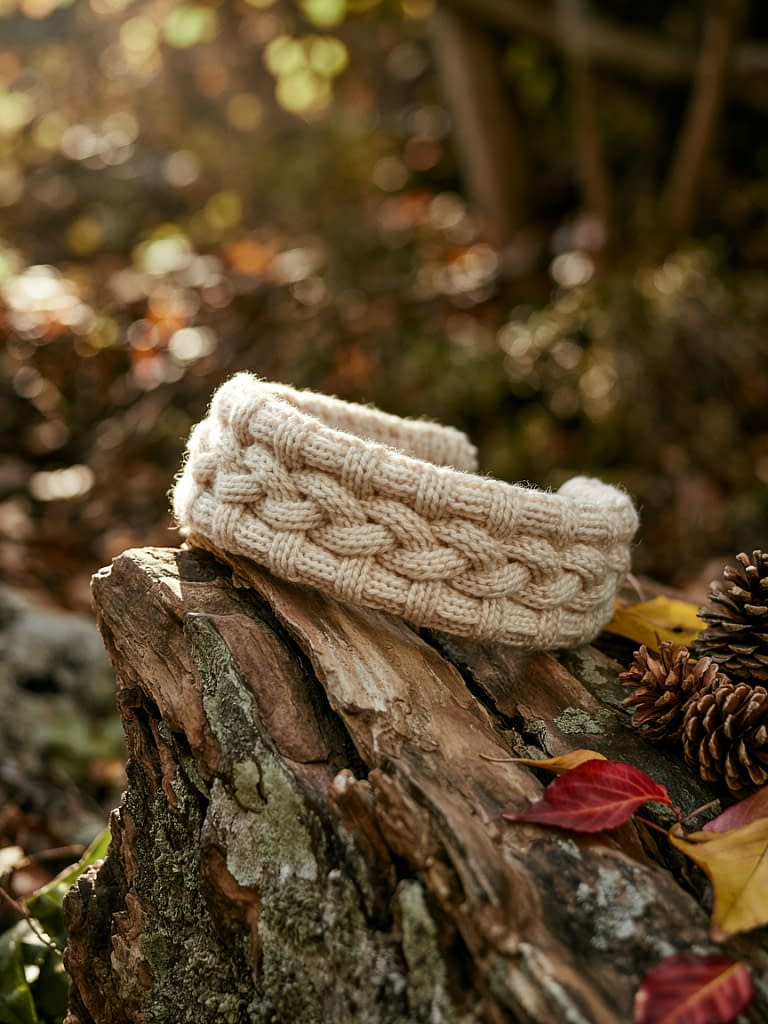
Pattern Overview
This cable knit headband is cozy, elegant, and looks far more complicated than it actually is. The cables provide warmth and style, making this a go-to accessory for fall and winter.
Step-by-Step Instructions
- Cast On: Cast on 24 stitches.
- Set Up Rows: Work 2 rows in 2×2 rib.
- Cable Pattern:
- Row 1: K6, P2, K8, P2, K6.
- Row 2: P6, K2, P8, K2, P6.
- Row 3: Repeat Row 1.
- Row 4: Repeat Row 2.
- Row 5: Slip 3 stitches onto cable needle, hold in front, knit next 3, then knit stitches from cable needle. Continue pattern across.
- Rows 6–8: Repeat Rows 2–4.
- Repeat Rows 1–8 until headband reaches 18 inches.
- Bind Off & Seam: Bind off in pattern. Sew ends together.
Customization Ideas
- Knit in chunky yarn for a wide, statement piece.
- Add buttons instead of sewing ends to make it adjustable.
- Experiment with different cable patterns (honeycomb, rope, lattice).
Final Thoughts
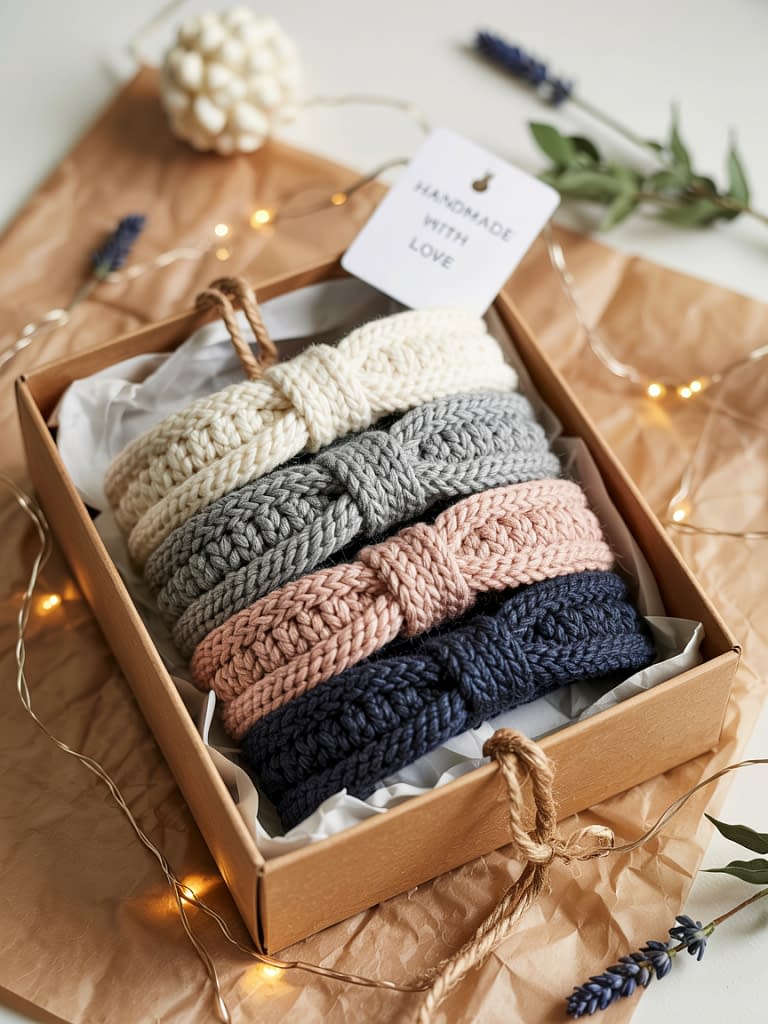
These 4 easy knit headband tutorials are perfect stash-busting projects, ideal for practicing stitches, and wonderful handmade gifts. Each design offers a unique style:
- The Classic Garter Stitch for simplicity.
- The Twisted Rib for elegance.
- The Braided Headband for playful creativity.
- The Cable Knit for cozy sophistication.
Whether you’re a beginner or an advanced knitter, these patterns will help you expand your skills while creating practical, stylish accessories.


