
When you’re learning to knit, starting with small, useful projects is the best way to gain confidence. Dishcloths are perfect for beginners: they’re quick to make, practical, and allow you to practice essential stitches without feeling overwhelmed. Plus, knit dishcloths are eco-friendly, durable, and add a handmade touch to your kitchen or bathroom.
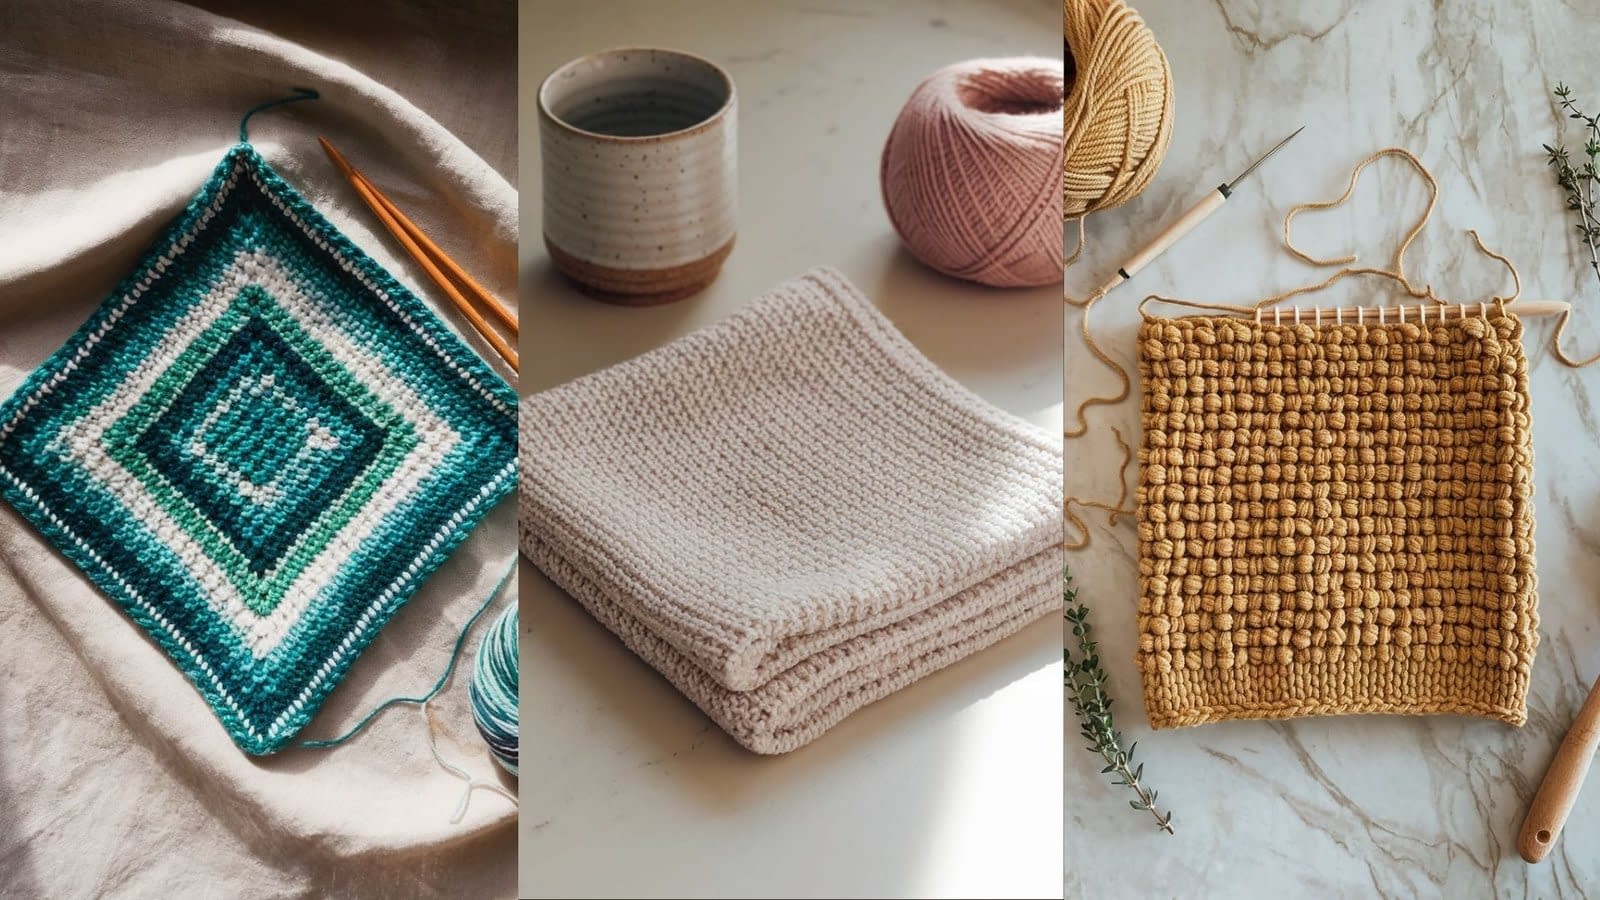
In this post, I’ll guide you through 4 beginner-friendly knit dishcloth patterns, each explained with skill level, size, materials, notes, and step-by-step instructions. Whether you’re brand-new or already know the basics, these patterns will help you practice knitting while making something beautiful and functional.
1. Garter Stitch Knit Dishcloth

Skill Level: Beginner (great first project)
Finished Size: About 8″ × 8″ (adjustable by cast-on stitches)
Materials:
- Worsted weight cotton yarn (#4)
- Knitting needles: US size 7 (4.5 mm) or US size 8 (5 mm)
- Yarn needle for weaving in ends
- Scissors
Notes:
This pattern uses only the knit stitch—no purling, no complicated shaping. Because every row is knit, the fabric lays flat, has a squishy texture, and works beautifully for scrubbing dishes or wiping counters.
Instructions (Step by Step):
- Cast On: Cast on 35 stitches (you can adjust this for a larger or smaller cloth—just stick to an odd number for symmetry).
- Rows 1–All: Knit every stitch of every row. Continue until the piece measures roughly 8″ long (or the same length as the width for a square shape).
- Bind Off: When the dishcloth is square, bind off all stitches loosely to avoid curling edges.
- Finishing: Weave in loose ends using a tapestry needle. Trim the yarn neatly.
Tips & Variations:
- For a striped dishcloth, switch yarn colors every 10 rows.
- If you want a smaller cloth, cast on fewer stitches (e.g., 25 stitches).
- Cotton yarn is essential—acrylic doesn’t absorb water well.
2. Stockinette Stitch Dishcloth with Garter Border
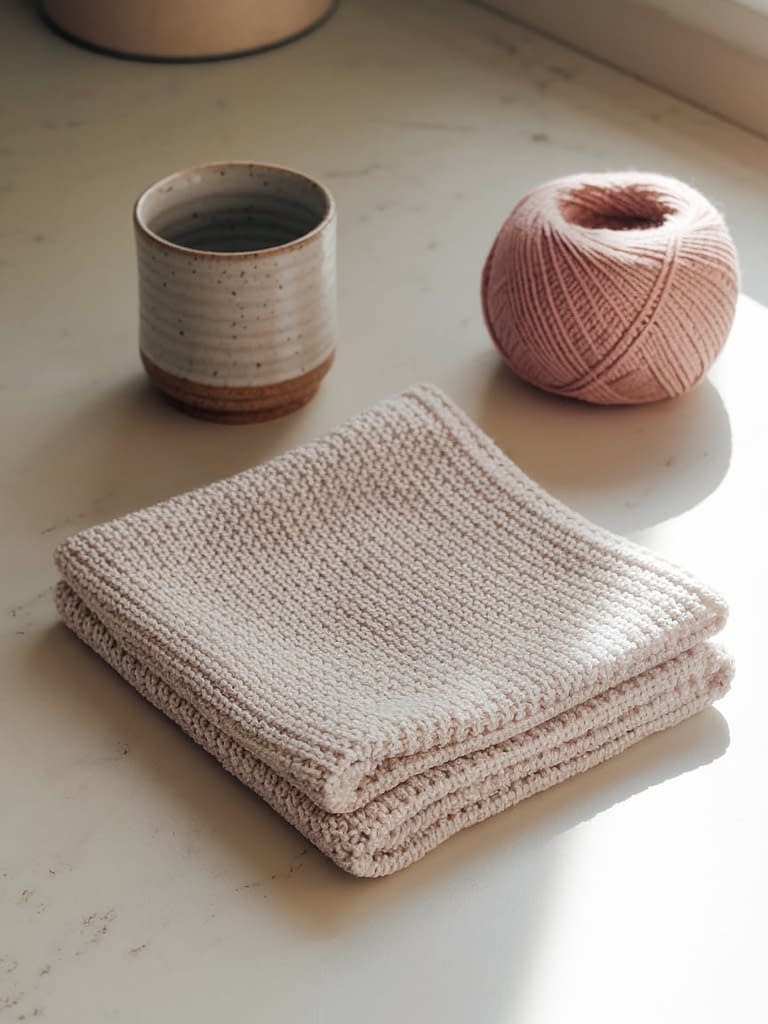
Skill Level: Beginner (knit + purl practice)
Finished Size: About 9″ × 9″
Materials:
- Worsted weight cotton yarn (#4)
- Knitting needles: US size 7–8
- Yarn needle, scissors
Notes:
This dishcloth teaches you how to combine knit and purl stitches. Stockinette stitch tends to curl, but a garter stitch border keeps it flat and gives the edges a neat finish.
Instructions (Step by Step):
- Cast On: Cast on 40 stitches.
- Bottom Border (Rows 1–4): Knit all stitches. This makes a garter stitch border.
- Main Body (Row 5 onward):
- Row 5: Knit 4 (border), purl 32, knit 4 (border).
- Row 6: Knit across all stitches.
- Repeat Rows 5–6 until the piece measures about 9″ long.
- Top Border (Last 4 Rows): Knit every stitch.
- Bind Off: Bind off in knit stitch and weave in all ends.
Tips & Variations:
- You can make a smaller border (3 stitches on each side) for a lighter frame.
- Use self-striping yarn for easy color changes.
- If you want a rectangular cloth, knit until the length is shorter than the width.
3. Seed Stitch Dishcloth
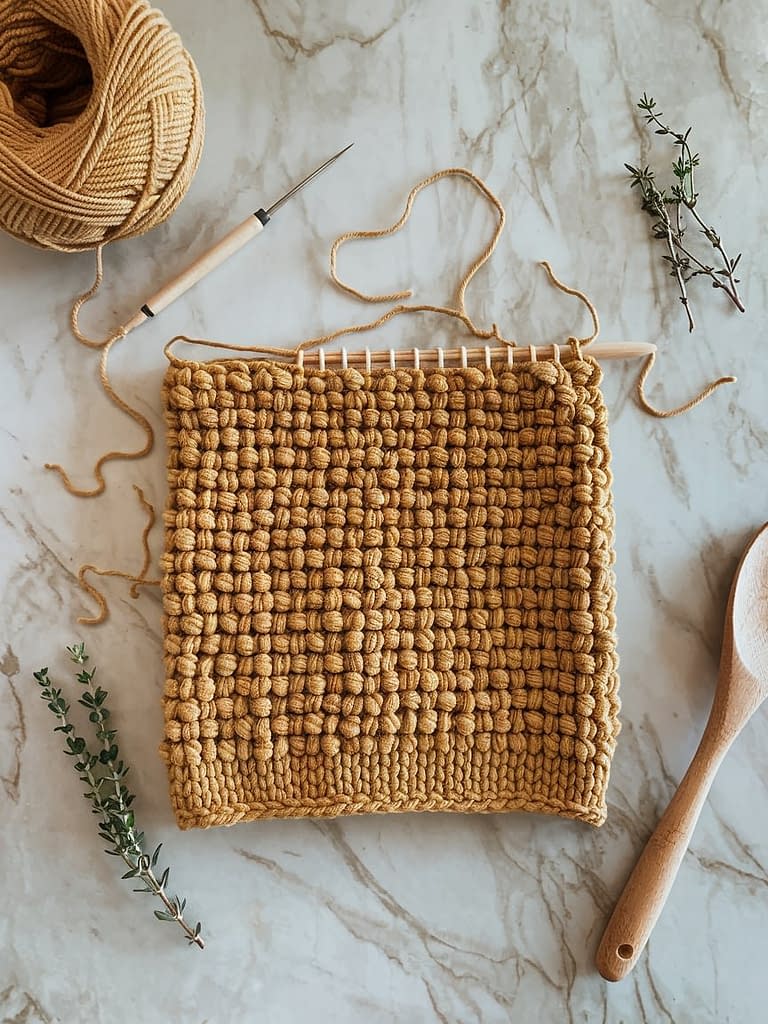
Skill Level: Beginner–Intermediate (requires careful stitch attention)
Finished Size: About 8.5″ × 8.5″
Materials:
- Worsted weight cotton yarn (#4)
- Knitting needles: US size 8
- Scissors and yarn needle
Notes:
Seed stitch is created by alternating knit and purl stitches across rows. It gives a textured, bumpy surface that’s perfect for scrubbing. The key is to always “knit the purls and purl the knits” from the row below.
Instructions (Step by Step):
- Cast On: Cast on 37 stitches (an odd number keeps the pattern consistent).
- Row 1: Knit 1, Purl 1 across the row, ending with Knit 1.
- Row 2: Purl 1, Knit 1 across the row, ending with Purl 1.
- Continue Pattern: Repeat Rows 1–2 until the piece is a square.
- Bind Off: Bind off in pattern—knit the stitches that appear as knits, purl the stitches that appear as purls.
- Finishing: Weave in ends and trim neatly.
Tips & Variations:
- If you accidentally knit two stitches the same in a row, the texture will shift. Keep track carefully.
- For a thicker cloth, use bulky cotton yarn and larger needles.
- Add a garter stitch border (3 stitches on each side) to frame the texture.
4. Diagonal (Bias) Knit Dishcloth
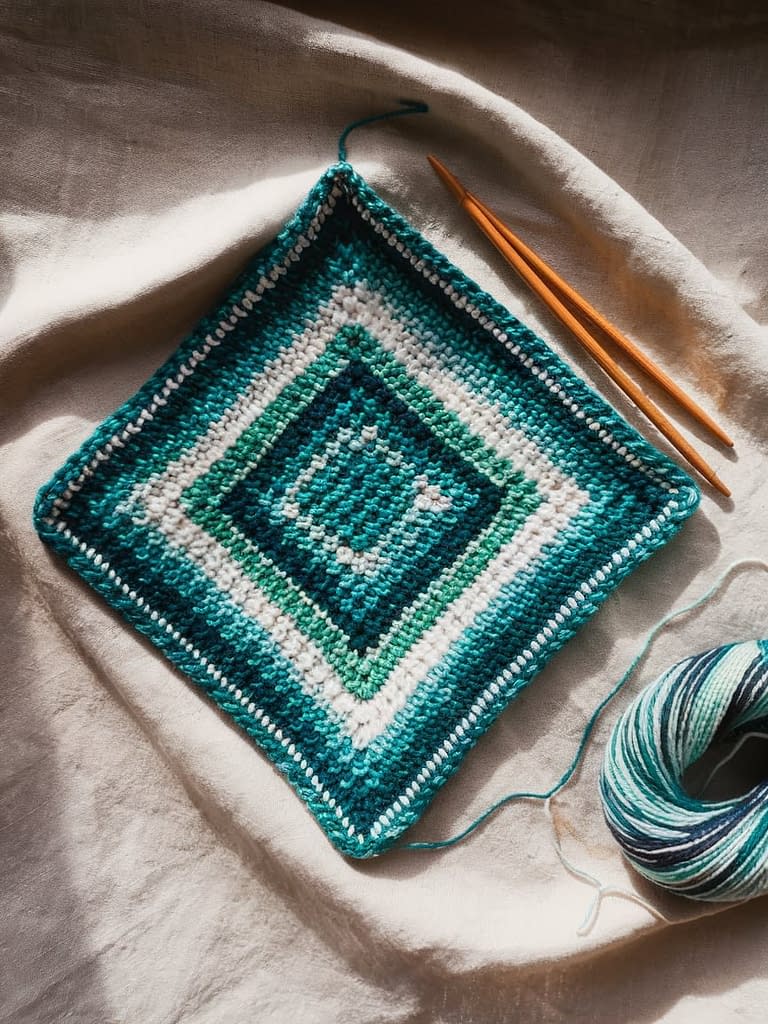
Skill Level: Beginner–Intermediate
Finished Size: About 9″ × 9″ (diamond-shaped)
Materials:
- Worsted weight cotton yarn (#4)
- Knitting needles: US size 7–8
- Yarn needle, scissors
Notes:
This dishcloth is knit diagonally, beginning with a few stitches and increasing outward before decreasing back down. It creates a diamond shape and is a favorite “classic” knit dishcloth pattern.
Instructions (Step by Step):
- Cast On: Cast on 4 stitches.
- Increase Section:
- Row 1: Knit.
- Row 2: K2, yarn over (yo), knit to end.
- Repeat Row 2 until you have 44 stitches (or until the piece reaches desired width).
- Decrease Section:
- Next Row: K1, K2tog, yo, K2tog, knit to end.
- Repeat this row until 4 stitches remain.
- Bind Off: Bind off all stitches.
- Finishing: Weave in yarn ends neatly.
Tips & Variations:
- Want a larger diamond? Increase until you reach 50–55 stitches before beginning decreases.
- Add a decorative stripe by changing yarn color halfway through.
- This design looks great in solid, variegated, or speckled yarns.
Conclusion
Dishcloths are the ideal beginner knitting project: they’re small, quick, and useful. By making these four patterns—garter stitch, stockinette with garter border, seed stitch, and diagonal bias—you’ll practice all the essential skills every knitter needs: casting on, knitting, purling, binding off, and shaping.
The best part is that each dishcloth can be customized with different yarns, sizes, and colors. They also make thoughtful handmade gifts or eco-friendly replacements for paper towels and sponges.


