
There’s something timeless and personal about receiving a handwritten letter or card inside a carefully crafted envelope. In a world dominated by digital communication, paper envelopes stand out as thoughtful, creative, and charming tokens. Whether you’re preparing for a wedding, sending a thank-you note, or simply adding flair to your crafting projects, handmade envelopes bring a special touch that store-bought ones can’t match.
This 3 Paper Envelope Tutorial is designed to take you through the process of creating three distinct styles of envelopes using simple tools and paper. You don’t need advanced crafting skills—just a bit of patience and creativity. By the end, you’ll not only know how to make three envelope styles but also understand how to customize them with your own designs, patterns, and decorations.
Materials You’ll Need
For this 3 Paper Envelope Tutorial, you don’t need fancy tools. Here’s a complete list:
- Decorative paper (scrapbook paper, craft paper, or cardstock)
- Plain A4 printer paper (for simple envelopes)
- Scissors or a paper trimmer
- Ruler and pencil
- Glue stick or double-sided tape
- Bone folder (optional, for crisp folds)
- Corner rounder or craft punches (optional)
- Decorative stickers, washi tape, or stamps (for embellishment)
The 3 Paper Envelope Tutorial
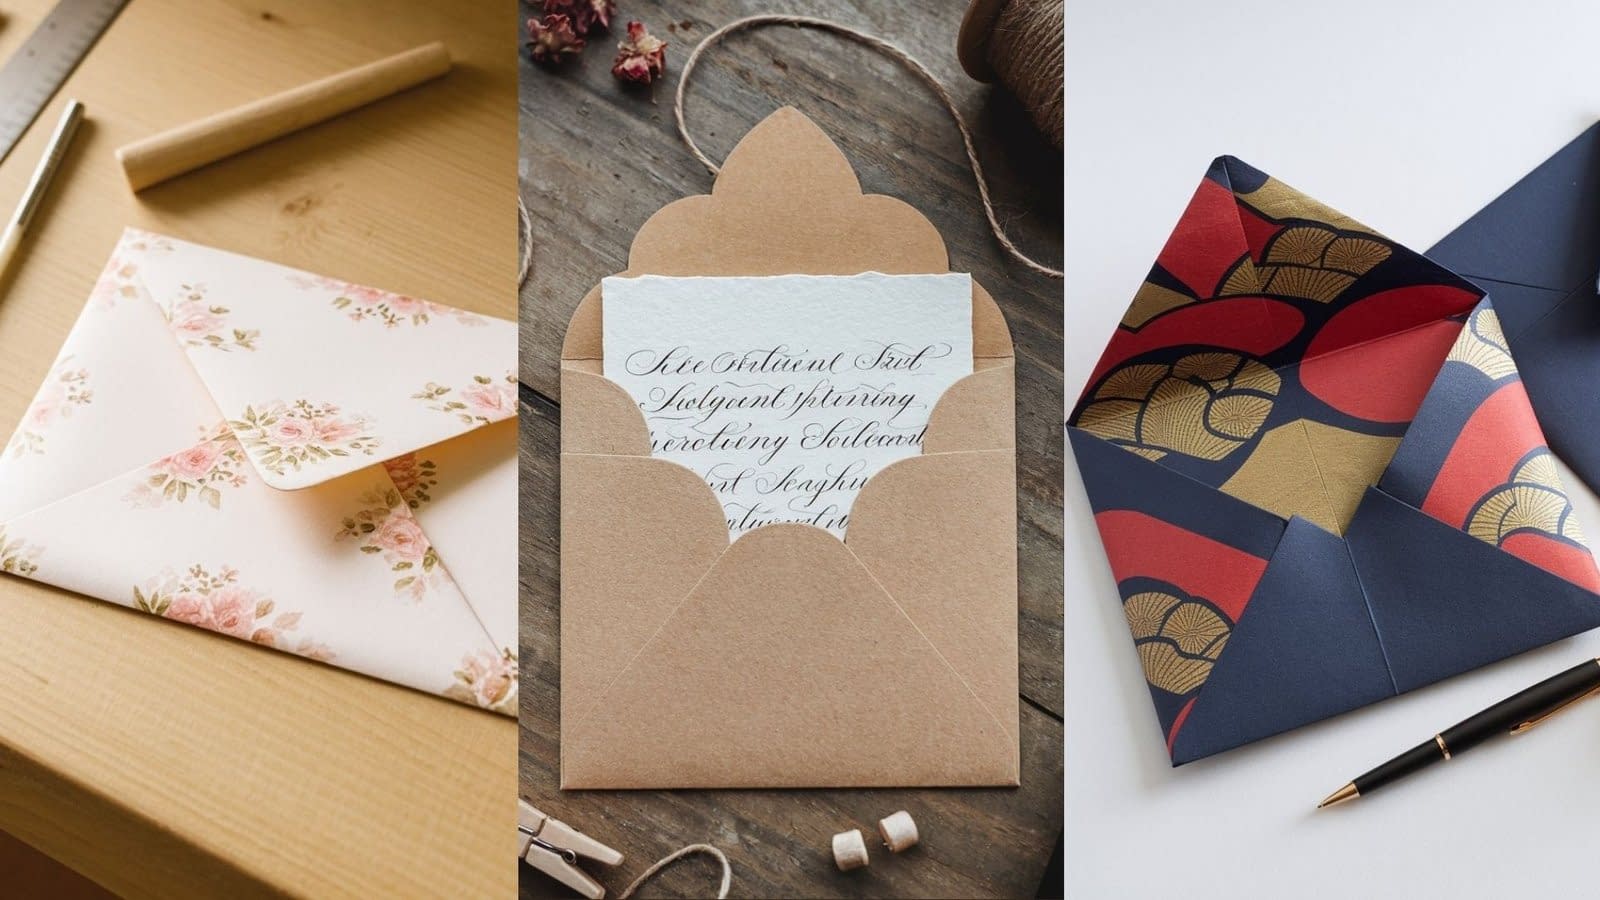
Now, let’s get into the heart of this guide: how to make three different types of paper envelopes. Each envelope style has its own charm and usefulness, and I’ll walk you through them step by step.
1. The Classic Square-Flap Envelope

This is the most common type of envelope you’ll find—it’s perfect for cards, invitations, or handwritten letters.
Step-by-Step Instructions
- Choose your paper
Select a square piece of decorative paper. For a standard envelope, start with 8×8 inches. - Position the paper
Place the paper in a diamond orientation (like a diamond, not a square). - Fold the bottom corner up
Bring the bottom corner toward the center, leaving enough room at the top for the flap to fold down. - Fold the side corners
Bring the left and right corners to the center, slightly overlapping each other. Secure with glue or double-sided tape. - Fold the top corner down
Fold the top flap down to close the envelope. - Seal
You can leave it open for later use, or seal it with glue, a sticker, or wax seal.
Customization Ideas
- Use patterned scrapbook paper for a stylish envelope.
- Add lace paper or vellum overlays for an elegant touch.
- Decorate the flap with washi tape or a metallic pen.
2. The Pocket-Style Envelope
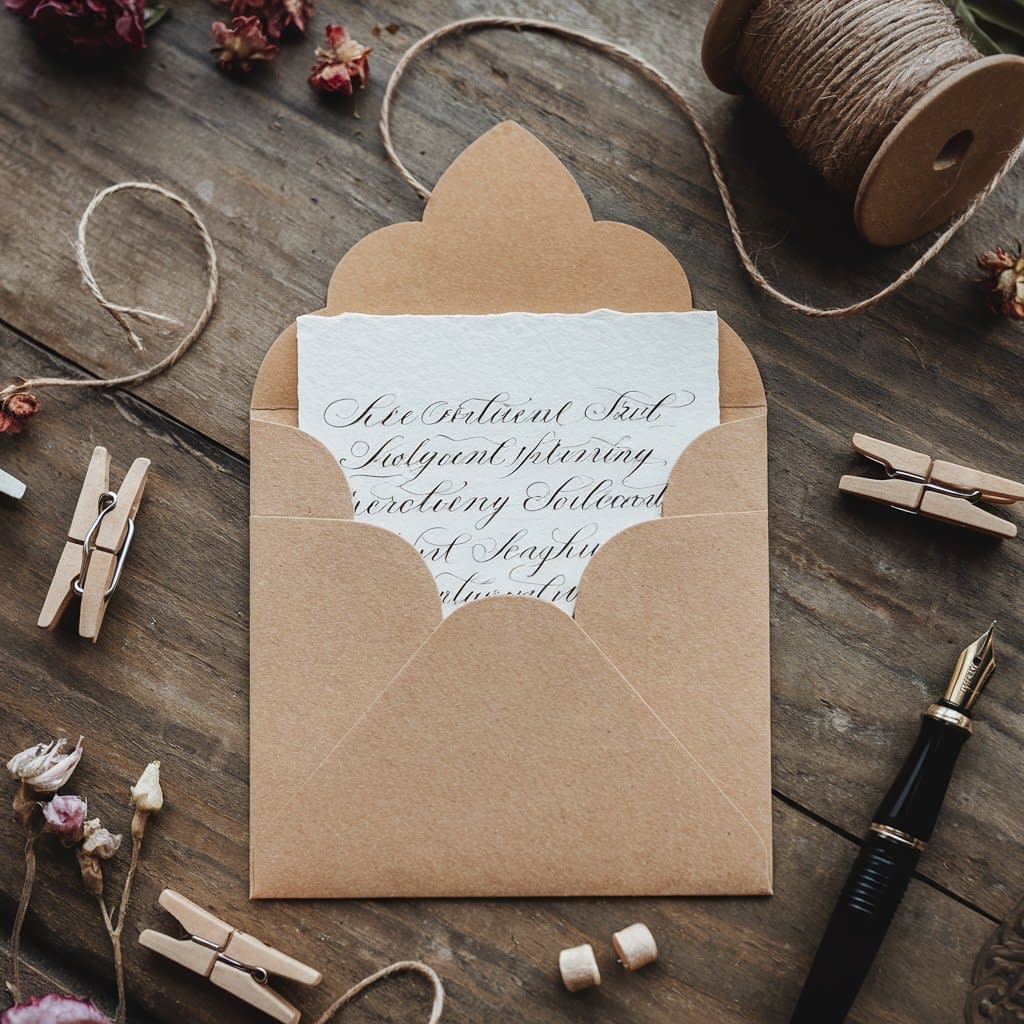
This envelope is designed more like a sleeve or pocket. It’s great for storing small notes, gift cards, or even money for special occasions.
Step-by-Step Instructions
- Cut the paper
Use a rectangular sheet, 8.5×11 inches works well. - Fold the paper
Fold the paper in half horizontally. - Create the pocket
Apply glue or tape along the side and bottom edges, leaving the top open. - Trim and shape
If desired, trim the top edge into a curve or scallop shape using scissors or punches. - Seal and decorate
Leave it open for easy insertion of cards or money. Add stickers, twine, or labels for flair.
Customization Ideas
- Line the inside with contrasting colored paper for a two-toned effect.
- Use kraft paper for a rustic pocket envelope.
- Add calligraphy or hand lettering on the outside for personalization.
3. Origami Folded Envelope
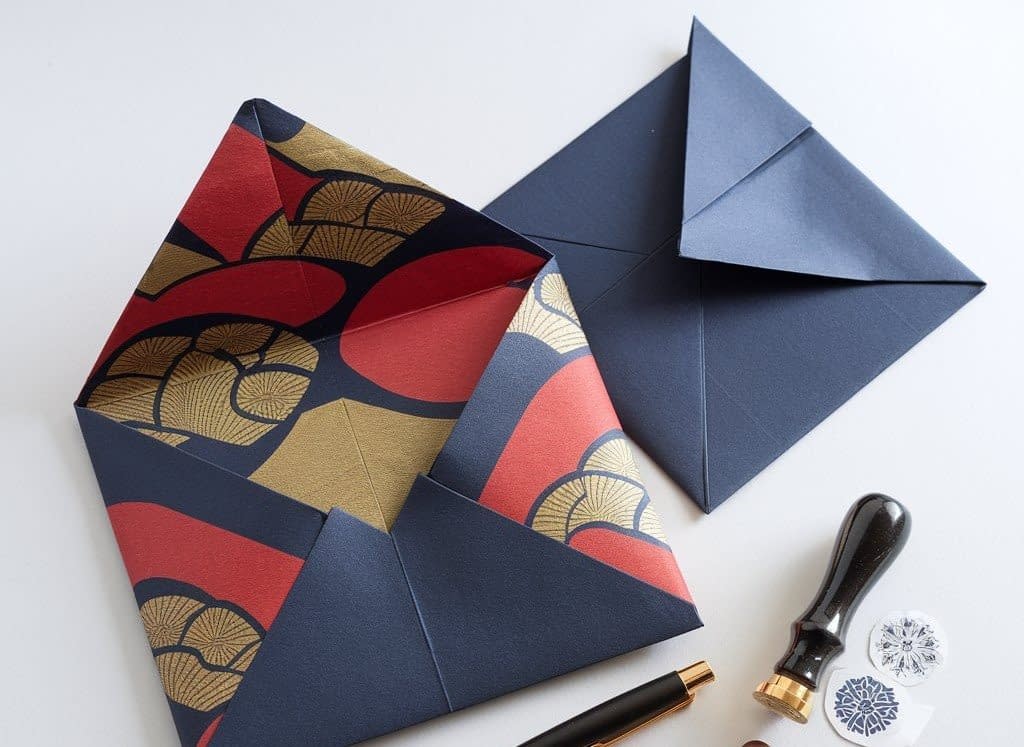
This style requires no glue—just strategic folds. It’s minimal, chic, and practical for short notes or letters.
Step-by-Step Instructions
- Start with a square sheet
Choose a 9×9 inch piece of paper for a medium-sized envelope. - Fold diagonally
Fold the square diagonally to create a triangle. - Bring corners up
Take the left and right corners of the triangle and fold them upward so they overlap slightly at the center. - Fold down the top flap
Take the top corner of the triangle and fold it downward to create the closing flap. - Tuck and secure
Tuck the top flap into the pocket created by the folds, or secure with a sticker.
Customization Ideas
- Use origami paper with bold prints for a Japanese-inspired look.
- Stamp the outside with small designs for a minimalist finish.
- Add a wax seal for a traditional touch.
Tips for Perfect Paper Envelopes
- Measure carefully: Use a ruler to ensure even folds.
- Score folds: A bone folder creates sharp, clean edges.
- Use strong adhesive: If gluing, make sure the envelope won’t come apart when handled.
- Match size to content: Always measure the card or letter first to avoid mismatched sizes.
- Experiment with paper types: Try vellum, kraft, recycled, or patterned paper for unique results.
Creative Variations
One of the best parts of this 3 Paper Envelope Tutorial is that it can be endlessly customized. Here are some creative variations:
- Mini envelopes: Perfect for gift tags, advent calendars, or scrapbooking.
- Transparent envelopes: Use vellum or tracing paper for a modern, see-through look.
- Layered envelopes: Add an extra flap or lining inside with decorative paper.
- Themed designs: Create holiday-specific envelopes with festive paper and embellishments.
When to Use Handmade Envelopes
Handmade envelopes can elevate almost any occasion. Some ideas include:
- Wedding invitations and save-the-dates
- Birthday cards and anniversary notes
- Thank-you cards and holiday greetings
- Gift cards or money envelopes
- Scrapbooking projects and journals
Troubleshooting Common Issues
- Envelope doesn’t close properly: The folds may not be even—refold using a ruler as a guide.
- Paper tearing at folds: Use slightly thicker paper or fold gently to avoid stress on the edges.
- Glue warping the paper: Apply glue sparingly or switch to double-sided tape for a cleaner look.
- Envelope too small/large: Measure your card or note before cutting the paper.
Conclusion
This 3 Paper Envelope Tutorial shows how easy it is to create beautiful, functional, and unique envelopes at home. From the classic square-flap to the pocket-style and origami folded design, each envelope adds its own personality to your messages and gifts.
With just a little time and creativity, you can transform simple sheets of paper into stunning envelopes that make any occasion feel extra special. Whether you’re crafting for personal use, gifting, or even considering starting a small stationery business, handmade envelopes are both practical and artistic.


