
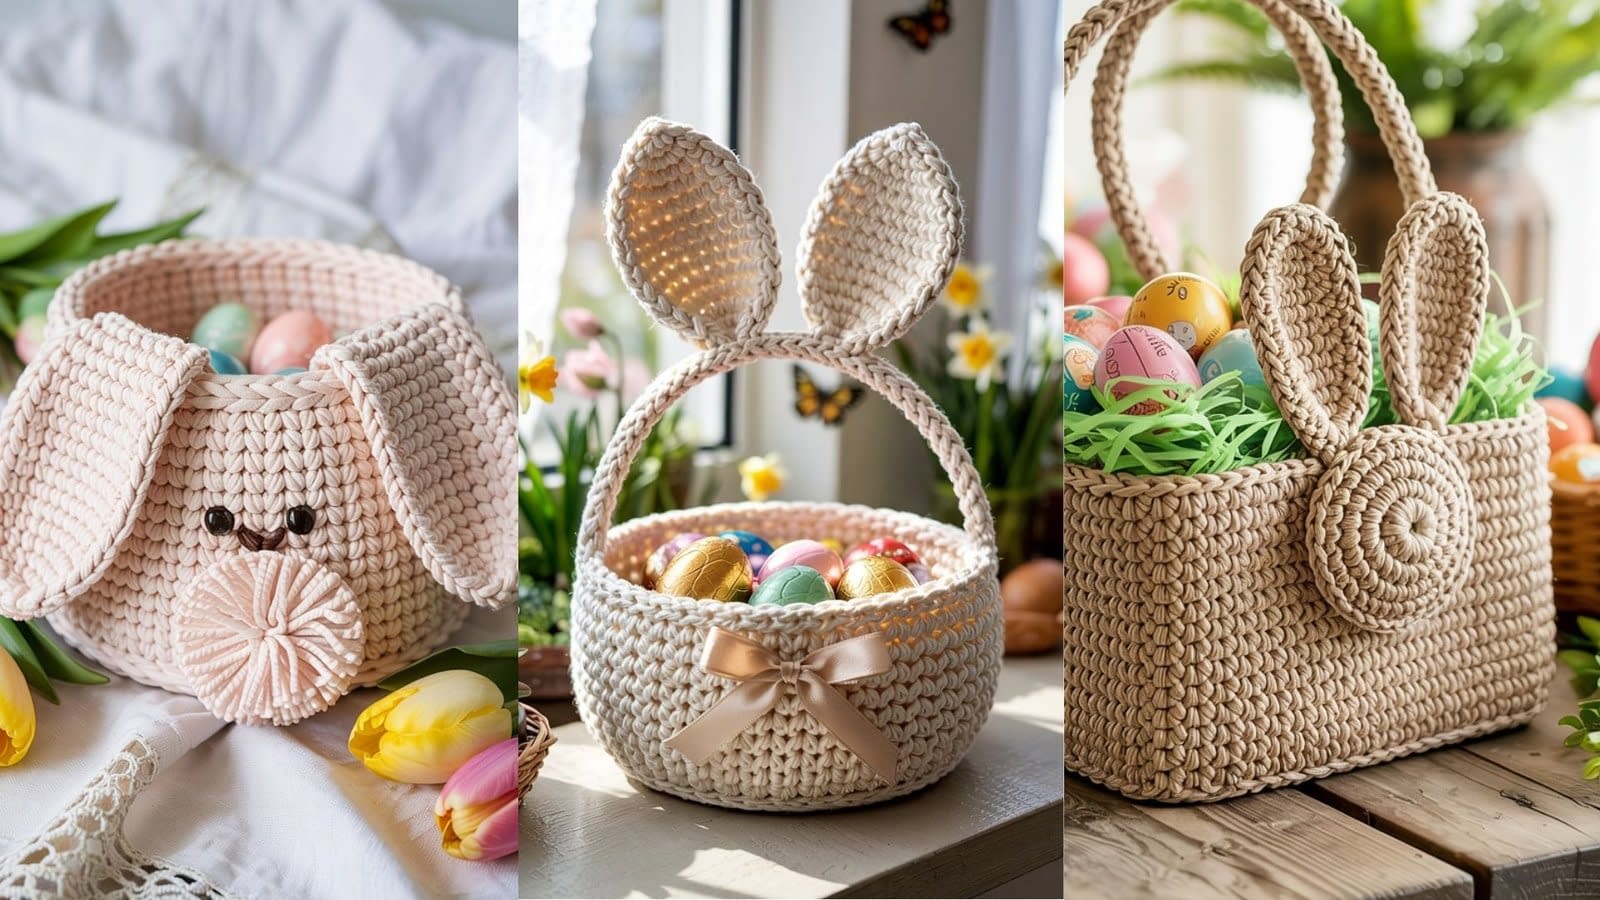
Spring is in the air, and what better way to celebrate Easter than with a handmade crochet bunny basket? These baskets aren’t just fun for egg hunts — they also make charming holiday décor, sweet gift wrap, and keepsakes that can be used year after year.
In this tutorial, you’ll find three unique Easter Bunny Basket patterns, each with its own style and personality:
- Classic Bunny Basket – a simple and sturdy design perfect for beginners.
- Floppy-Eared Bunny Basket – a whimsical and soft basket with extra cuteness.
- Mini Bunny Favor Basket – a tiny basket ideal for party favors or table settings.
Let’s hop right in!
Pattern 1: Classic Bunny Basket
Skill Level: Beginner
Materials
- Worsted-weight cotton yarn in pastel colors (white, pink, yellow, mint, or lavender)
- Crochet hook size H/5.0mm
- Safety eyes (or black yarn for embroidery)
- Small amount of black yarn for nose and whiskers
- Tapestry needle
- Scissors
- Stitch markers
Gauge
- 14 stitches and 16 rows = 4″ (10 cm) in single crochet
Finished Size
- Approximately 7” wide x 6” tall (without handles or ears)
Pattern Overview
The Classic Bunny Basket is the perfect starting point. It’s a sturdy round-bottom basket worked in single crochet for durability, with simple bunny ears attached at the rim. The face is embroidered or stitched on for a cute, timeless look.
Step-by-Step Instructions
Basket Base
- Begin with a magic circle, ch 1.
- Round 1: 6 sc into the circle. (6 sts)
- Round 2: 2 sc in each st around. (12 sts)
- Round 3: 1 sc, 2 sc in next st repeat around. (18 sts)
- Round 4: 2 sc, 2 sc in next st repeat around. (24 sts)
- Continue increasing evenly until base measures ~6”.
Basket Sides
- Work 1 round of sc in back loops only to create a crisp edge.
- Continue working sc evenly in rounds without increases until sides measure 6” tall.
Handles
- Attach yarn to rim.
- Ch 20, skip 8 sts, sl st to next. Repeat for other side.
- Work 2 rows of sc across each handle for sturdiness.
Ears (Make 2)
- Ch 10.
- Row 1: sc in 2nd ch from hook, sc across. (9 sts)
- Rows 2–10: sc across.
- Taper top by decreasing 1 st each row until 1 st remains.
- Sew ears to inside rim of basket.
Face
- Embroider or stitch on small triangle nose, whiskers, and attach safety eyes.
Customization Ideas
- Use variegated yarn for a speckled Easter-egg look.
- Add a bow under one ear for extra charm.
- Line the basket with fabric to hold candy more securely.
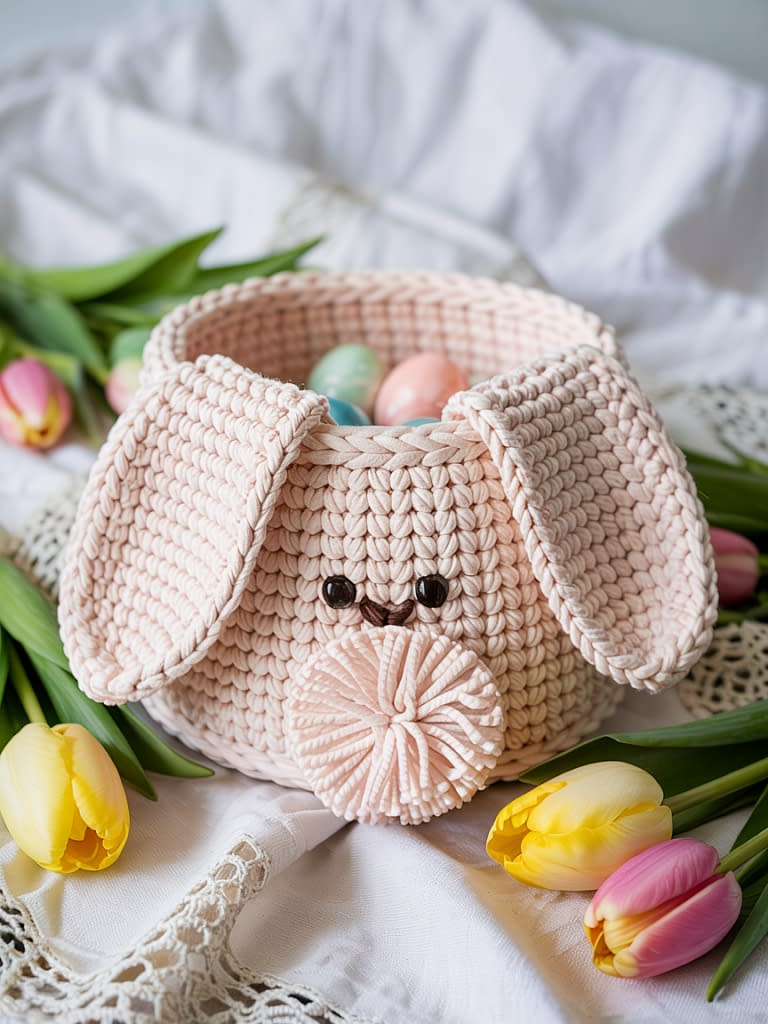
Pattern 2: Floppy-Eared Bunny Basket
Skill Level: Intermediate
Materials
- Bulky cotton yarn in soft pastels or neutrals
- Crochet hook size J/6.0mm
- Safety eyes or black buttons
- Small pom-pom for tail (or crocheted puff)
- Stitch markers, tapestry needle
Gauge
- 12 stitches and 14 rows = 4″ (10 cm) in half double crochet
Finished Size
- Approximately 9” wide x 7” tall (not including ears)
Pattern Overview
This basket has a slightly larger body, using half double crochet stitches for a softer, more flexible fabric. The standout feature is the long, floppy bunny ears that drape adorably to the side. A pom-pom tail adds the finishing touch.
Step-by-Step Instructions
Basket Base
- Magic circle, ch 2.
- Round 1: 8 hdc into circle. (8 sts)
- Round 2: 2 hdc in each st. (16 sts)
- Round 3: 1 hdc, 2 hdc in next st repeat. (24 sts)
- Increase in rounds until base measures 7–8”.
Basket Sides
- Work 1 round of hdc in back loops only.
- Continue working hdc evenly until basket is 7” tall.
Handles
- Same method as Pattern 1, but ch 25 for longer handles.
Floppy Ears (Make 2)
- Ch 20.
- Row 1: hdc in 2nd ch from hook, hdc across. (19 sts)
- Rows 2–12: hdc across.
- Shape top by decreasing 2 sts per row for 4 rows.
- Sew ears onto sides of basket so they fall naturally.
Tail
- Sew pom-pom to back center of basket.
Face
- Embroider sleepy eyes and tiny whiskers for a sweet, relaxed expression.
Customization Ideas
- Crochet ears in a contrasting color (pink inner ear, white outer ear).
- Add decorative flower appliqués along the rim.
- Create a rainbow yarn version for a playful basket.
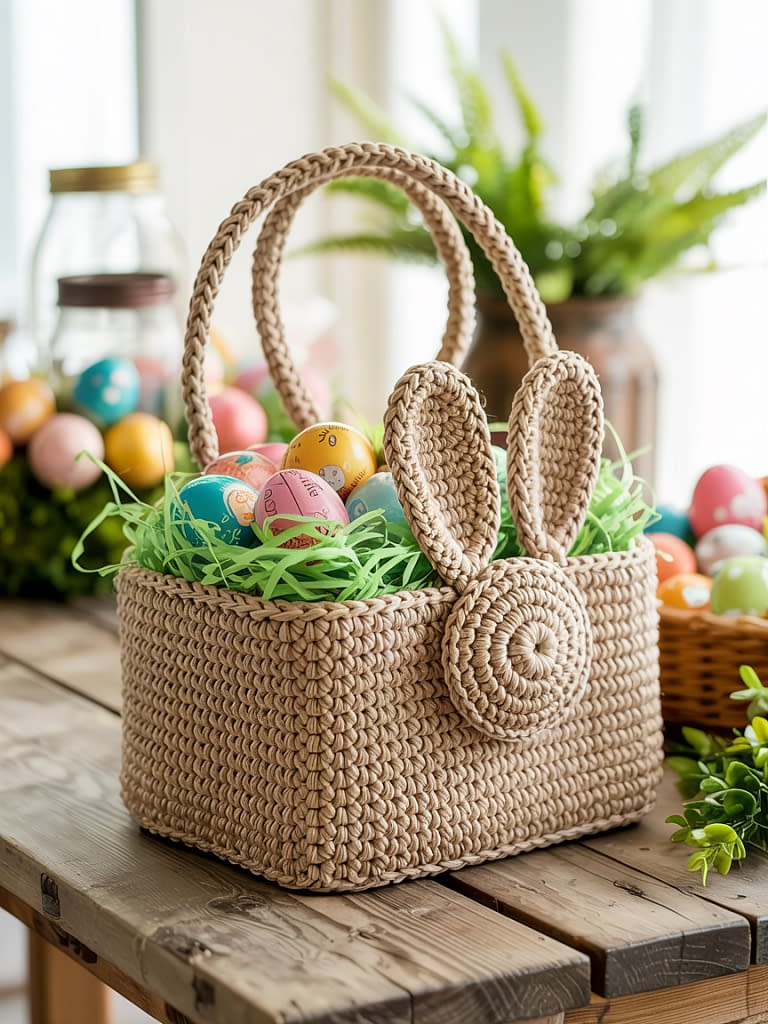
Pattern 3: Mini Bunny Favor Basket
Skill Level: Beginner-Friendly / Quick Project
Materials
- DK-weight cotton yarn in pastel shades
- Crochet hook size G/4.0mm
- Small beads or buttons for eyes
- Ribbon or twine for decoration
Gauge
- 16 stitches and 18 rows = 4″ (10 cm) in single crochet
Finished Size
- Approximately 4” wide x 3.5” tall
Pattern Overview
The Mini Bunny Favor Basket is perfect for holding a few chocolates, small gifts, or even acting as place settings at an Easter table. It works up quickly, making it great for bulk projects like party favors or kids’ Easter egg hunts.
Step-by-Step Instructions
Basket Base
- Magic circle, ch 1.
- Round 1: 6 sc into circle.
- Round 2: 2 sc in each st. (12 sts)
- Round 3: 1 sc, 2 sc in next st repeat. (18 sts)
- Stop increasing when base measures 3”.
Basket Sides
- Work sc in back loops only for one round.
- Continue sc in the round until basket is 3.5” tall.
Handles
- Ch 12, skip 4 sts, sl st to next, repeat for other side.
Ears (Make 2)
- Ch 6.
- Row 1: sc across. (5 sts)
- Row 2–4: sc across.
- Decrease 1 st each row until 1 remains.
- Attach to rim.
Face & Details
- Sew on tiny bead eyes and stitch nose.
- Tie ribbon bow on one ear.
Customization Ideas
- Make in sets of pastel colors for a cohesive Easter table décor.
- Add lace trim or mini pom-poms around rim.
- Personalize with embroidered initials on the basket front.
Final Thoughts & Styling Tips
These 3 Crochet Easter Bunny Basket patterns range from large and practical to small and decorative, giving you options for egg hunts, gifts, or table styling.
Styling Ideas:
- Fill baskets with shredded paper grass and pastel-wrapped candy.
- Use as centerpieces for Easter brunch.
- Mix sizes and colors for a whimsical display.
Handmade baskets add a personal, heirloom-quality touch to your Easter celebrations — and best of all, they can be reused year after year.


